
Image Source: images.squarespace-cdn.com
How To Make Pressed Flower Art In Glass Simple Steps
Can you make pressed flower art at home? Absolutely! Making pressed flower art in glass is a rewarding and beautiful way to preserve nature’s delicate beauty. This guide will walk you through the process, from selecting your blooms to the final presentation, making it easy for anyone to create stunning botanical art in glass.
Gathering Your Botanical Treasures
The first step in creating beautiful pressed flower art in glass is to find the right flowers and leaves. Not all plants press equally well, so choosing wisely is key. You want flowers that have a relatively flat profile and aren’t too thick or fleshy.
What Flowers Press Best?
- Delicate Blooms: Pansies, violas, cosmos, daisies, and forget-me-nots are excellent choices. Their thin petals press beautifully.
- Foliage: Fern fronds, delicate tree leaves (like maple or oak in autumn), and small sprigs of greenery add wonderful texture and color.
- Herbs: Lavender, rosemary, and mint leaves can also press nicely and offer lovely scents.
What to Avoid
- Thick, Fleshy Flowers: Roses, peonies, and hydrangeas can be challenging. Their thick centers often don’t dry completely, leading to mold. If you must use them, you might need to separate the petals.
- Succulents: These are too fleshy and won’t press well.
- Flowers with a lot of pollen: While some pollen can add character, excessive amounts can make a mess.
Harvesting Your Flowers
The best time to pick flowers for pressing is on a dry, sunny morning after the dew has evaporated. This ensures the flowers are as dry as possible, reducing the risk of mold during the pressing process.
- Choose healthy specimens: Look for flowers that are in full bloom but not yet wilting.
- Cut with sharp scissors or secateurs: This makes a clean cut and minimizes damage to the stem.
- Handle with care: Flowers are fragile, so treat them gently.
Mastering Pressed Flower Techniques
There are several ways to press flowers, each yielding slightly different results. For pressed flower art, achieving a good, flat press is crucial for successful glass framing flowers.
The Classic Book Pressing Method
This is the most accessible and widely used technique for making pressed flowers for display.
Materials You’ll Need:
- Heavy books (old, unused ones are best)
- Blotting paper or plain, absorbent paper towels
- Newspaper (optional, as an extra layer)
Steps:
- Prepare Your Flowers: Gently remove any damaged petals or excess leaves. If your flowers are large, you might want to press them in halves or as individual petals.
- Layering: Open a heavy book. Place a sheet of blotting paper or paper towel inside. Arrange your flowers on the blotting paper, ensuring they don’t overlap. Leave a little space between each specimen.
- Cover and Press: Place another sheet of blotting paper or paper towel on top of the flowers. Close the book.
- Add More Weight: Stack several more heavy books on top of the book containing your flowers. The more weight, the flatter your flowers will become.
- Drying Time: Leave the flowers to press for 2-3 weeks. Change the blotting paper every few days, especially in the first week, to absorb any moisture and prevent mold. You can tell if the paper needs changing if it feels damp.
Using a Flower Press
A dedicated flower press offers more controlled pressure and is ideal for larger batches or more delicate specimens. This is a fundamental step in pressed flower techniques.
Materials You’ll Need:
- A flower press (you can buy these or make one)
- Blotting paper or absorbent paper
- Cardboard or corrugated plastic sheets
Steps:
- Assemble the Press: Unscrew the bolts from the flower press. Place a cardboard or plastic sheet on the bottom plate.
- Layering: Place a layer of blotting paper on the cardboard. Arrange your prepared flowers on the blotting paper, keeping them separate.
- Add Layers: Place another sheet of blotting paper, then a cardboard sheet on top of your flowers. Continue layering until you’ve used your flowers or filled the press.
- Tighten the Press: Place the top plate on the stack and screw the bolts down evenly. Tighten them firmly, but not so much that you crush the flowers.
- Drying Time: Leave the press undisturbed for 2-3 weeks. Periodically check and tighten the bolts if needed, as the cardboard can compress.
Microwave Pressing for Speed
For a quicker result, the microwave method is effective, although it requires careful attention. This is a great shortcut for DIY pressed flower art.
Materials You’ll Need:
- Two ceramic plates
- Blotting paper or paper towels
- Rubber bands or heavy objects to secure the plates
- Microwave
Steps:
- Prepare the Sandwich: Place a layer of blotting paper on one plate. Arrange your flowers on the blotting paper, ensuring they don’t overlap. Cover with another layer of blotting paper. Place the second ceramic plate on top.
- Secure: Use rubber bands to hold the plates together firmly, or place heavy, microwave-safe objects on top of the upper plate.
- Microwave in Bursts: Place the “sandwich” in the microwave. Microwave on high power for 30-second intervals. After each burst, carefully open the plates and check the flowers and blotting paper. The paper will absorb moisture.
- Continue Until Dry: Repeat the 30-second intervals, checking frequently, until the flowers are completely dry and brittle. This can take anywhere from 1 to 5 minutes, depending on the flower and your microwave. Be very careful not to burn them.
- Cool and Press (Optional): Once dry, you can place the flowers in a book with blotting paper for a day or two under gentle pressure to ensure they are perfectly flat.
Preserving Flowers in Glass: The Art of Encapsulation
Once your flowers are perfectly pressed and dried, the next step is to bring them to life within glass. Preserving flowers in glass creates a timeless piece that protects your botanical art.
Choosing Your Glass Medium
There are several attractive ways to present your pressed flowers using glass.
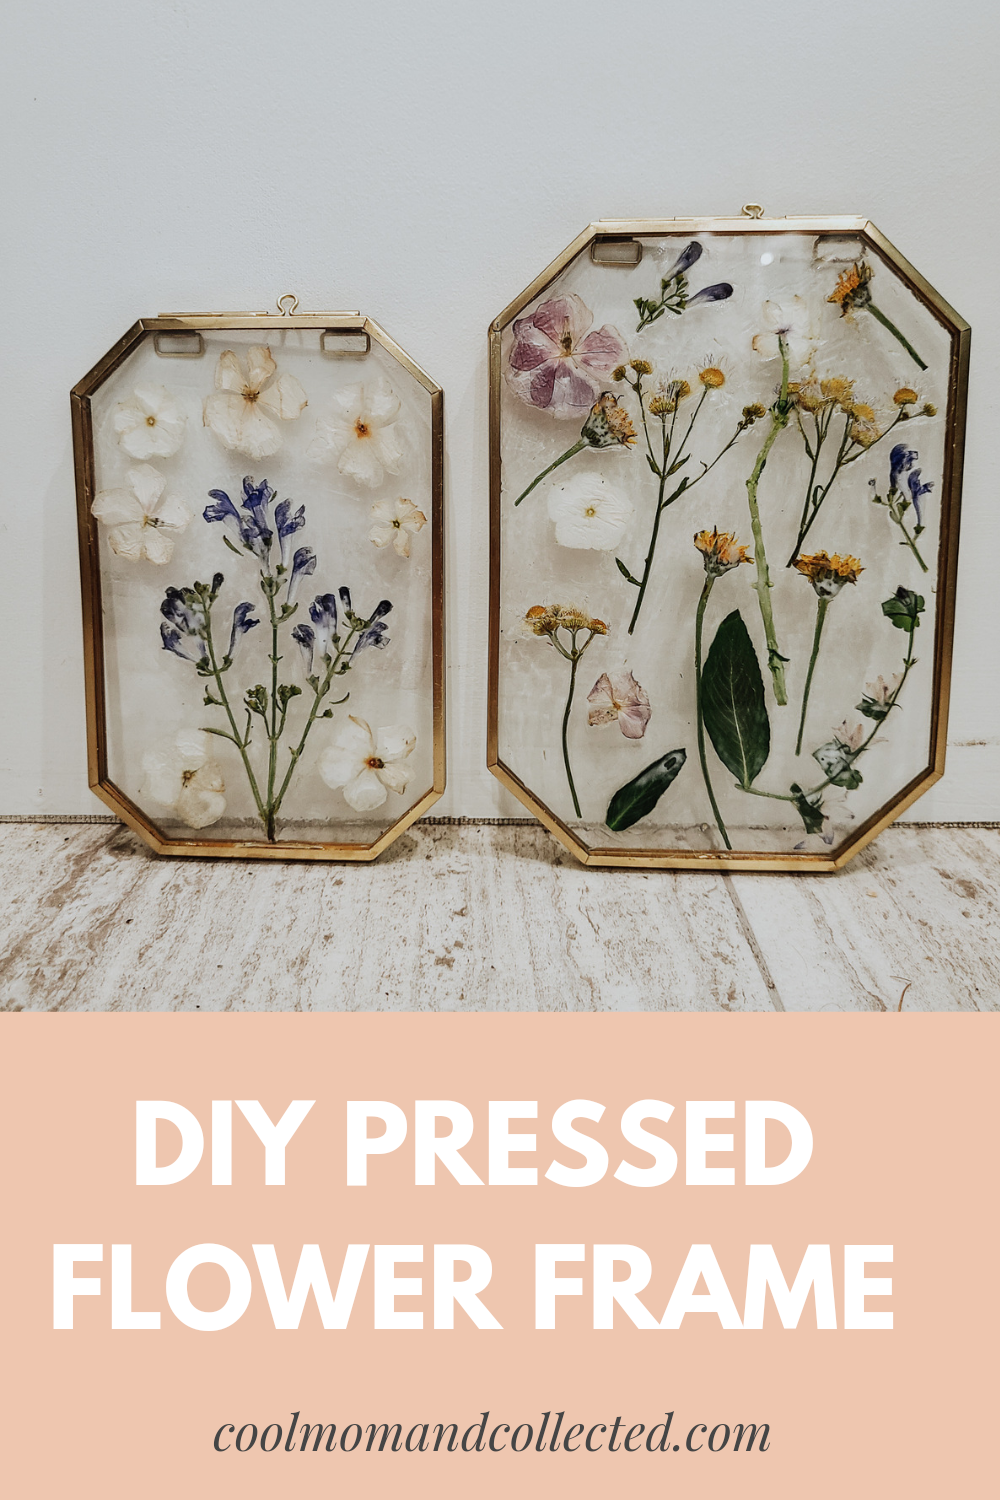
- Floating Frames: These frames have two panes of glass with a small gap between them, allowing the flowers to appear as if they are floating. This is a popular choice for dried flower framing.
- Traditional Picture Frames with Glass: You can use standard frames and place your pressed flowers directly against the glass or on a backing card.
- Glass Photo Blocks/Paperweights: These are solid blocks of acrylic or glass with a cavity for inserting your pressed flowers. They offer a modern, minimalist look.
- Resin Casting (with caution): While not strictly “in glass,” resin can create a similar encapsulated effect. However, it requires different techniques and can sometimes yellow or distort the flowers if not done correctly. For this guide, we’ll focus on traditional glass methods.
Preparing for Glass Framing
Before you put your flowers into their glass homes, a little preparation ensures a beautiful finish.
Materials You’ll Need:
- Your beautifully pressed flowers
- Chosen glass frame or photo block
- Tweezers (for delicate placement)
- Clear adhesive dots or a tiny amount of archival glue (optional, for securing)
- Gloves (optional, to avoid fingerprints)
Steps:
- Clean the Glass: Ensure the inside surfaces of your glass frames or blocks are spotless. Any dust or smudges will be very noticeable. Use a glass cleaner and a microfiber cloth.
- Plan Your Layout: This is where your creativity shines! Arrange your pressed flowers on a clean surface to visualize your final design. Consider color, texture, and shape.
- Symmetry vs. Asymmetry: Do you prefer a balanced arrangement or a more free-flowing one?
- Focal Point: Choose one or two prominent flowers to be the center of attention.
- Background Elements: Add smaller flowers, leaves, or delicate tendrils to fill out the composition.
- Careful Placement:
- Floating Frames: Gently place your flowers between the two glass panes. Use tweezers for precision. You can add tiny dots of acid-free adhesive to the glass or the back of the flower to keep them from shifting, but be sparing.
- Standard Frames: You can adhere flowers directly to a clean piece of cardstock or the back of the frame’s glass. Ensure the flowers are fully dry to prevent moisture transfer onto the glass. If adhering to a backing card, use a small dab of archival glue or adhesive dots.
- Glass Blocks: Carefully insert the flowers into the designated cavity. If it’s a block with a removable back, arrange them before reassembling.
Assembling Your Botanical Masterpiece
The final assembly is where your botanical art in glass comes together.
Working with Floating Frames
Floating frames are particularly popular for showcasing the delicate nature of pressed flowers.
- Open the Frame: Most floating frames have clips or a small mechanism to open them.
- Position the First Pane: Lay one pane of glass flat.
- Arrange Flowers: Using tweezers, carefully place your pressed flowers onto this pane of glass. You can apply tiny, almost invisible dots of adhesive to the glass where the flower will sit to prevent movement, but this is optional. Many prefer a truly “floating” effect without any adhesive.
- Position the Second Pane: Gently place the second pane of glass on top, sandwiching the flowers.
- Secure the Frame: Close the frame, ensuring the glass panes are held firmly in place.
- Clean and Display: Wipe away any fingerprints and hang or stand your beautiful pressed flower art.
Using Traditional Picture Frames
These are versatile and readily available.
- Open the Frame: Remove the backing and any existing artwork.
- Prepare the Backing: If you’re attaching flowers to a backing card, select a neutral or complementary color. Acid-free cardstock is recommended to prevent yellowing over time.
- Adhere Flowers: Using a tiny amount of archival glue or acid-free adhesive dots, carefully attach your pressed flowers to the backing card or directly to the inside of the glass. Work slowly and deliberately.
- Reassemble: Place the backing card (with flowers attached) back into the frame, followed by the glass. Secure the backing.
- Enjoy: Your dried flower framing is complete!
Glass Encapsulation in Blocks or Paperweights
These provide a solid, elegant display.
- Insert Flowers: If your block has an opening, carefully insert the pressed flowers using tweezers. Arrange them as desired.
- Seal the Block: If the block has a removable back or a way to seal it, do so carefully.
- Display: These pieces are often self-supporting and can be placed on shelves or desks.
Enhancing Your Pressed Flower Art
Once you’ve mastered the basics, you can explore ways to elevate your creations.
Adding Color and Dimension
- Layering: Place larger leaves or flowers underneath smaller ones for depth.
- Combinations: Mix different types of flowers and foliage for a richer tapestry.
- Color Palettes: Consider a monochromatic scheme or a vibrant contrast of colors.
Incorporating Other Elements
- Delicate Fabrics: Small snippets of lace or sheer fabric can add texture.
- Metallic Accents: Tiny flecks of gold or silver leaf can add a touch of luxury.
Maintaining Your Pressed Flower Art
Proper care will ensure your botanical art in glass remains beautiful for years.
- Avoid Direct Sunlight: Prolonged exposure to sunlight can fade the colors of your pressed flowers.
- Keep in a Stable Environment: Avoid areas with high humidity or extreme temperature fluctuations, which can damage the flowers or cause condensation on the glass.
- Gentle Cleaning: If the glass needs cleaning, use a soft cloth and a gentle glass cleaner. Be careful not to disturb the flowers.
Frequently Asked Questions (FAQ)
Here are some common questions about making pressed flower art in glass.
Q1: How long do pressed flowers last?
A1: Pressed flowers, when properly dried and protected from light and moisture, can last for many years, sometimes decades. The colors may fade gradually over time.
Q2: Can I press flowers that have been in a vase?
A2: It’s best to press flowers as soon as possible after picking. Flowers that have been in a vase may already be too hydrated or starting to wilt, making them more prone to mold during pressing.
Q3: What if my pressed flowers turn brown?
A3: Brown discoloration usually indicates that the flower was not dried thoroughly or was exposed to too much air. Some flowers naturally turn brown as they dry, like certain ferns. You can still use them for a more vintage look.
Q4: How do I prevent mold on my pressed flowers?
A4: Ensure flowers are completely dry before pressing. Change the blotting paper frequently, especially in the first week. Avoid pressing overly fleshy flowers or those picked on damp days.
Q5: Can I use any type of paper for pressing?
A5: It’s best to use absorbent, plain paper like blotting paper, paper towels, or even newsprint (though newsprint can sometimes transfer ink). Avoid glossy or coated papers, as they won’t absorb moisture effectively.
Q6: Is it better to press flowers with or without stems?
A6: For most pressed flower art, it’s best to remove the stems or cut them very short to achieve a flatter press. Delicate leaves and individual petals are often easier to work with.
Q7: What is archival glue, and why should I use it?
A7: Archival glue is acid-free and designed not to degrade or damage delicate materials like paper and dried flowers over time. Using it helps ensure your botanical art in glass will last longer without discoloration or deterioration.
Q8: Can I combine different types of pressed flowers in one frame?
A8: Yes, absolutely! Combining different textures, colors, and shapes is a fantastic way to create unique and visually interesting flower art crafts. Experiment with different arrangements to find what you like best.
By following these simple steps, you can transform humble blooms into beautiful pieces of pressed flower art in glass, bringing a touch of nature’s enduring elegance into your home. Happy pressing and framing!