
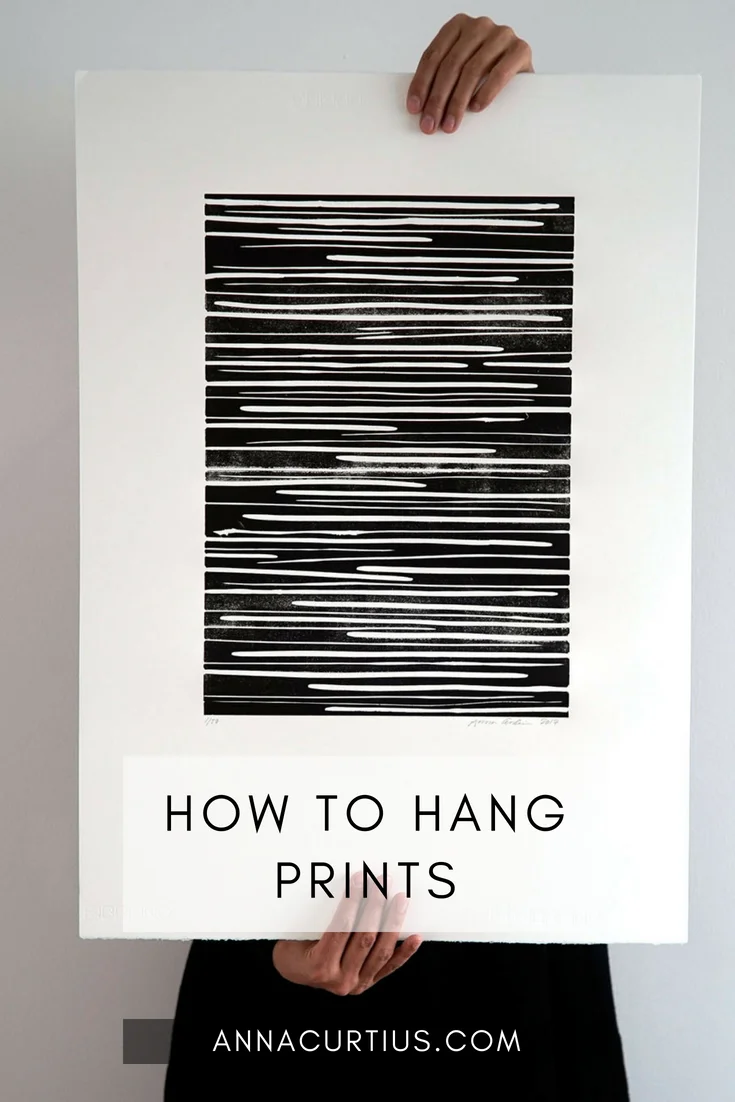
Can you hang a picture with just one nail? Yes, you can, but it’s not always the best or most secure way, especially for heavier art or in high-traffic areas. This guide will show you how to achieve perfect picture hanging for your wall decor, ensuring your artwork is displayed beautifully and safely. We’ll cover everything from choosing the right spot to mastering various wall hanging techniques.
Image Source: images.squarespace-cdn.com
Planning Your Display: The Foundation of Perfect Picture Hanging
Before you even pick up a hammer, thoughtful planning is key to successful mounting artwork. This initial stage sets the stage for a flawless DIY art installation.
Finding the Ideal Spot
Where you hang your art is as important as how you hang it. Consider the room’s layout, existing furniture, and the artwork itself.
- Eye Level is Key: A general rule of thumb is to hang the center of the artwork at eye level, which is typically around 57 to 60 inches from the floor. This ensures comfortable viewing.
- Consider the Furniture: If hanging above a sofa or console table, leave about 6 to 10 inches of space between the bottom of the artwork and the top of the furniture.
- Lighting Matters: Natural light can fade artwork over time. Consider where sunlight hits your walls. Artificial lighting can also enhance or detract from your piece. Aim for lighting that highlights the art without causing glare.
- Room Scale and Balance: A tiny piece of art can get lost on a large wall, while an oversized piece might overwhelm a small space. Consider the overall scale of the room and the artwork to create a harmonious look. This is a crucial part of effective displaying art.
- Gallery Walls: If creating a gallery wall, plan the layout on paper or digitally first. This helps you visualize how the pieces will fit together and ensures balanced spacing.
Measuring and Marking with Precision
Accurate measurements prevent mistakes and ensure your hanging frames are level and well-positioned.
- Measure Twice, Hammer Once: It sounds cliché, but it’s true. Double-check all your measurements before making any marks on the wall.
- Use a Level: A bubble level or a digital level is essential for ensuring your artwork is perfectly straight.
- Mark Lightly: Use a pencil to make faint marks on the wall. These are easy to erase if you need to adjust.
Selecting the Right Hardware for Secure Hanging
The hardware you choose is critical for the safety and longevity of your artwork. Using the wrong fasteners can lead to damage to your walls or, worse, your art falling.
Types of Wall Fasteners
The type of wall and the weight of your artwork will dictate the best fastener.
For Drywall
Drywall alone is not strong enough to hold most art. You’ll need to anchor into studs or use drywall anchors.
- Picture Hooks with Nails: These are suitable for lighter pieces. The nail goes through the hook and into the wall. For slightly heavier items, use the thicker nails often supplied with these hooks.
- Drywall Anchors: These are inserted into the drywall and provide a secure point for screws. They come in various types:
- Plastic Expansion Anchors: These are common and work by expanding as a screw is driven in. Best for lighter to medium-weight items.
- Self-Drilling (Threaded) Anchors: These screw directly into the drywall without needing a pilot hole. They offer good holding power for medium-weight art.
- Toggle Bolts: These have a spring-loaded wing that opens up behind the drywall, distributing the weight over a larger area. Excellent for heavier pieces when you can’t find a stud.
- Studs: The strongest option is to screw directly into a wooden or metal stud within the wall. Use a stud finder to locate these.
For Plaster Walls
Plaster walls can be more brittle than drywall.
- Picture Hooks with Nails: Again, for lighter pieces. Use a gentle tapping motion to avoid cracking the plaster.
- Toggle Bolts: These are often the best choice for heavier items on plaster walls, as they spread the weight effectively.
- Masonry Anchors: If your plaster wall has a concrete or brick structure behind it, you’ll need masonry anchors and screws.
For Brick or Concrete Walls
- Masonry Screws and Anchors: These are specifically designed for hard surfaces. You’ll need a hammer drill and the correct drill bit to create pilot holes.
Weight Considerations
Always check the weight of your artwork. Most frame hardware will indicate the maximum weight it can support.
- Lightweight (Under 5 lbs): Small picture hooks with nails, self-drilling drywall anchors.
- Medium Weight (5-20 lbs): Larger picture hooks, heavier-duty drywall anchors, or screwing into studs.
- Heavyweight (Over 20 lbs): Toggle bolts, French cleats, or screwing directly into studs. For very heavy items, consider professional installation or specialized hanging systems.
Tools You’ll Need for Your DIY Art Installation
Having the right tools makes the job much easier and ensures a professional finish.
- Measuring Tape: Essential for accurate placement.
- Pencil: For marking the wall lightly.
- Level: Crucial for ensuring your artwork hangs straight. A laser level can be very helpful for aligning multiple pieces.
- Hammer: For tapping in nails or picture hooks.
- Screwdriver or Drill: For screws and anchors. A drill with various drill bits will be necessary for anchors.
- Stud Finder: To locate wall studs for the most secure hanging.
- Utility Knife or Scissors: To open packaging and cut tape.
- Safety Glasses: Always wear eye protection when drilling or hammering.
- Wall Anchors and Screws/Nails: Appropriate for your wall type and artwork weight.
- Picture Hanging Wire or D-rings: If your artwork doesn’t already have them.
Step-by-Step Guide to Hanging Your Art Print
Now, let’s get down to the actual picture hanging process.
Step 1: Prepare Your Artwork
- Check the Hanging Hardware: Ensure your frame has secure D-rings or a sturdy wire attached. If using wire, make sure it’s taut and rated for the weight of the piece. A loose wire can cause the art to tilt.
- Clean the Artwork and Frame: Gently dust the glass and frame to remove any smudges that might have occurred during transport or handling.
Step 2: Determine the Hanging Point
This is where your planning and measurements come in.
- Measure the Frame: Measure the height and width of your artwork.
- Calculate the Center Point: Find the center of the artwork horizontally.
- Determine the Top of the Artwork: Decide how high you want the top of the frame to be, considering your eye-level rule and furniture placement.
- Mark the Wall for the Hanging Point:
- Measure the distance from the top of the frame to the hanging mechanism (wire or D-ring) when it’s pulled taut.
- Mark your desired top-of-frame height on the wall.
- From that mark, measure down the distance you just calculated (top of frame to hanging point). This is where your hook or screw will go.
Example Calculation:
Let’s say your artwork is 24 inches tall, and the hanging wire, when taut, sits 4 inches below the top of the frame. You want the center of the artwork to be at 60 inches from the floor.
- The top of the frame will be at 60 inches (center) + (24 inches / 2) = 72 inches from the floor.
- You then measure down from that 72-inch mark by the 4 inches (top of frame to hanging wire).
- Your hanging point (where the nail or screw goes) should be at 72 – 4 = 68 inches from the floor.
- Use Your Level: Place your level on the wall at the measured height to ensure your mark is perfectly horizontal, especially if hanging multiple pieces in a row.
Step 3: Install the Hardware
This is a critical step for secure hanging methods.
-
If Screwing into a Stud:
- Use your stud finder to locate the center of the stud at your marked hanging point.
- Drill a pilot hole slightly smaller than your screw.
- Drive the screw into the stud, leaving enough of the head exposed to catch your hanging wire or D-ring.
-
If Using Drywall Anchors:
- Select the appropriate anchor for your artwork’s weight.
- If the anchor requires a pilot hole, drill one using the size specified by the anchor manufacturer.
- Insert the anchor into the hole. Some anchors tap in, others screw in.
- If the anchor requires a screw, drive the screw into the anchor, again leaving enough of the head exposed.
-
If Using Picture Hooks:
- Position the hook on your marked spot.
- Gently tap the nails through the hook into the wall with a hammer until the hook is flush against the wall.
Step 4: Hang Your Artwork
- Carefully Lift: Lift your artwork by the sides of the frame.
- Align and Hang: Align the hanging wire or D-rings with the hardware you installed on the wall. Gently lower the artwork onto the hook or screw.
- Check for Level: Place your level on the top of the frame to confirm it’s straight. Adjust slightly if needed.
- Secure (Optional): For extra security, especially with heavier pieces or in earthquake-prone areas, you can use museum putty or a clear plastic security strap on the bottom corners of the frame to prevent tilting or bouncing.
Advanced Techniques for Displaying Art
Beyond the basic hook and nail, various methods offer different aesthetics and security levels.
Using D-Rings and Wire
- Pros: Versatile, allows for minor adjustments, distributes weight well.
- Cons: Can sometimes cause the artwork to tilt if the wire is too slack or the hanging point is off.
- Installation: Attach D-rings to the back sides of the frame, about one-third of the way down from the top. Thread picture wire through the D-rings and twist it securely. Ensure the wire is taut but not so tight that it pulls the D-rings inward.
French Cleats
- Pros: Extremely secure, distributes weight evenly, perfect for heavy or large pieces, allows for easy removal and repositioning.
- Cons: Requires precise alignment of two interlocking pieces, can be more complex to install.
- Installation: A French cleat system consists of two interlocking pieces, each with a beveled edge. One cleat is attached to the wall (ideally into studs), and the other is attached to the back of the artwork. The beveled edges then lock together. This is a professional-grade method for mounting artwork.
Mounting Artwork Directly to the Wall
- Pros: Creates a very clean, flush look with no visible hardware.
- Cons: Requires precise drilling into the wall, can be difficult to remove without leaving visible holes.
- Methods: This often involves using specialized adhesive strips or mounting brackets that are screwed directly into the wall and then adhere to the back of the artwork. Always follow the manufacturer’s instructions carefully.
Gallery Wall Layouts
Creating a visually appealing gallery wall requires careful planning.
- Templates: Cut out paper templates the exact size of your artwork. Tape these to the wall in your desired layout. This allows you to experiment with spacing and arrangement without making holes.
- Spacing: Maintain consistent spacing between pieces, typically 2-4 inches, depending on the size of the art and the wall.
- Balance: Mix different sizes, shapes, and orientations of artwork for visual interest.
Frequently Asked Questions (FAQ)
Q: What is the best way to hang a very heavy painting?
A: For heavy paintings, you absolutely need to screw into wall studs or use heavy-duty anchors like toggle bolts or a French cleat system. Always check the weight rating of your hardware.
Q: Can I hang pictures using command strips?
A: Yes, Command brand strips are a popular and effective option for lighter to medium-weight framed art and prints, especially in rentals where you can’t put nails in the wall. Always follow the weight guidelines on the package and ensure the wall surface is clean and dry before application.
Q: How far apart should framed pictures be on a gallery wall?
A: A common guideline is to keep about 2 to 4 inches of space between frames, but this can vary based on the size of the pieces and the overall aesthetic you’re aiming for. Consistency is key.
Q: What if I can’t find a stud?
A: If you can’t locate a stud, you must use appropriate drywall anchors. Toggle bolts or heavy-duty self-drilling anchors are good options for holding significant weight.
Q: How do I hang a picture without a level?
A: While a level is highly recommended for perfection, you can try using a smartphone app that functions as a level, or you can prop up one side of the frame until it appears visually straight and then measure the distance from the ceiling or another parallel line. However, this is less precise.
Q: What is the ideal height to hang artwork in a hallway?
A: In a hallway, where people are typically standing, the eye-level rule of 57-60 inches from the floor to the center of the artwork still applies. Ensure there’s enough clearance for people to walk by without bumping into the art.
Q: Should I hang art higher if I have high ceilings?
A: With high ceilings, you can often hang art a bit higher than the standard eye level to fill the vertical space. However, it’s still important to consider furniture placement and the overall scale. Aim for the center of the artwork to be around 65-70 inches from the floor in rooms with very high ceilings, but always step back and view it from a distance.
Final Thoughts on Interior Design Tips for Art Placement
Displaying art is a crucial element of interior design tips. The way you hang your prints can transform a room. Remember to consider the artwork’s message, the colors it brings, and how it interacts with the surrounding decor. Don’t be afraid to experiment with different arrangements and heights until you find what looks best in your space. With careful planning and the right techniques, you can achieve beautiful and lasting wall decor that you’ll enjoy for years to come. Mastering hanging frames and installing picture frames is a skill that enhances any home.