
Can you frame small art pieces yourself? Absolutely! DIY art framing is a rewarding and often budget-friendly way to showcase your treasures. The good news is that framing petite paintings, prints, or cherished photographs doesn’t require a fine arts degree or a professional framer’s hefty invoice. With a little know-how and the right materials, you can achieve gallery-worthy results right in your own home. This guide will walk you through the steps to frame small art pieces like a pro, making your displaying small artwork efforts truly shine.
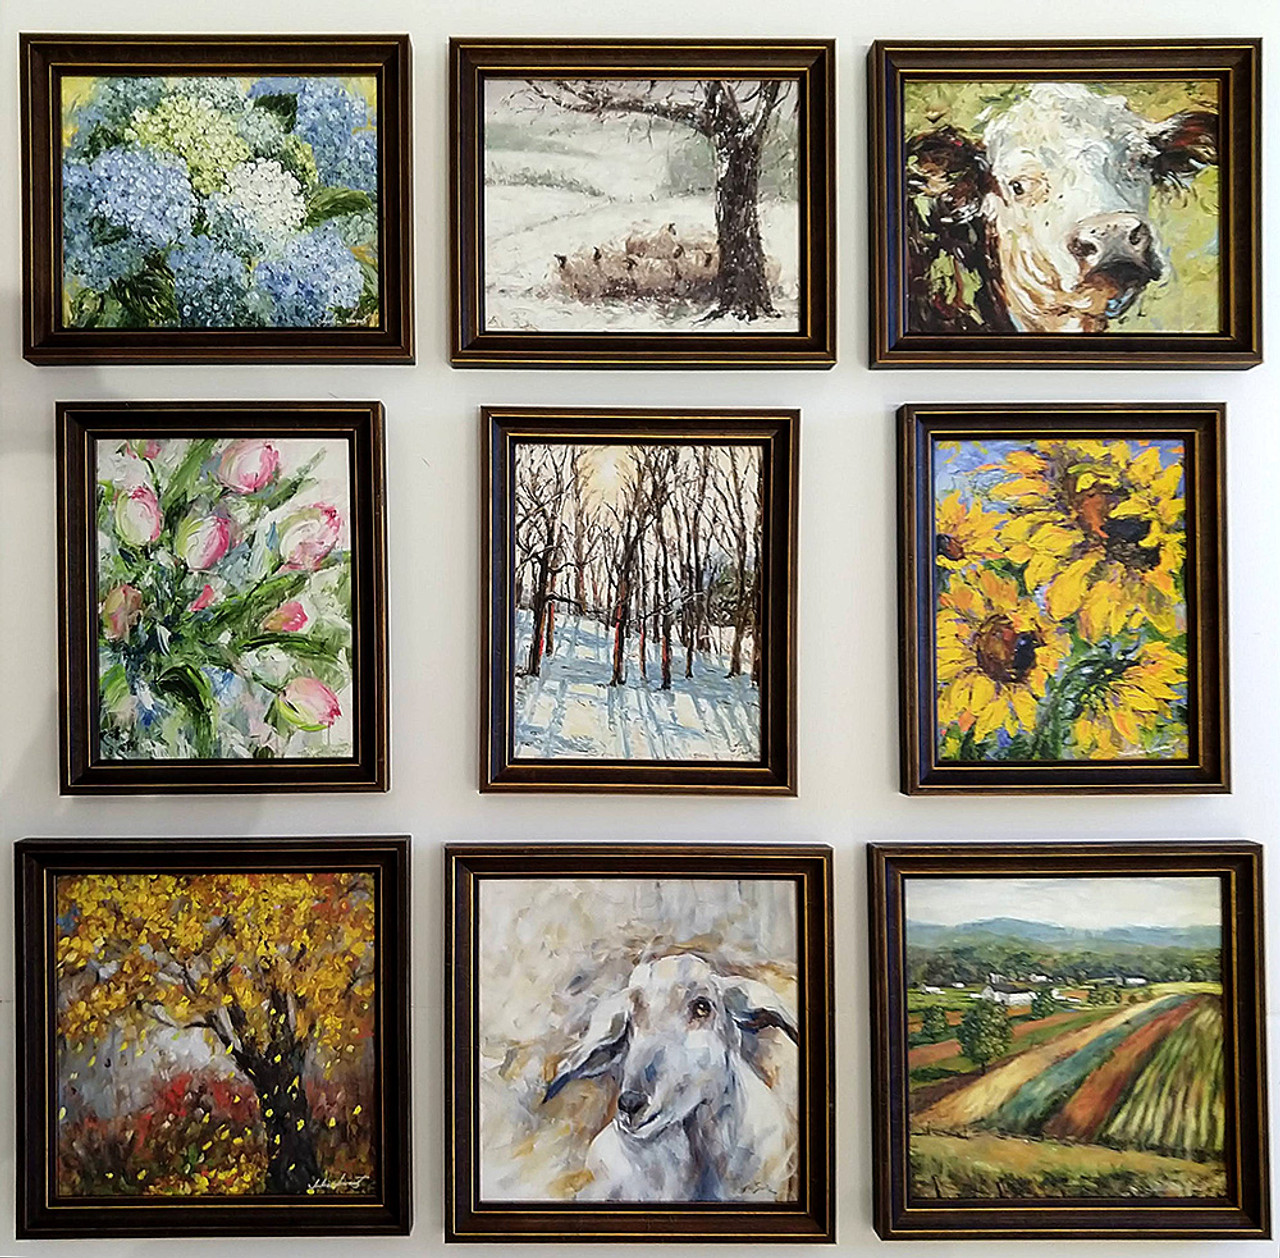
Image Source: cdn11.bigcommerce.com
Why Framing Small Art Matters
Small art pieces often get overlooked or shoved into drawers, but they hold immense potential to add personality and charm to any space. A well-framed small piece can be a focal point on a gallery wall, a delightful surprise on a bookshelf, or a thoughtful gift. Proper framing not only protects your artwork from dust, UV light, and physical damage but also elevates its aesthetic appeal, transforming it from a simple image into a finished work of art.
The Impact of Proper Framing
- Protection: Archival-quality mats and backing boards prevent direct contact with the glass, safeguarding your art from moisture and acidity. UV-protective glass shields it from fading.
- Presentation: A thoughtfully chosen frame and mat can complement the artwork’s style, colors, and subject matter, enhancing its overall impact.
- Dimension: Adding a mat or using a floating frame small art technique can give your artwork depth and presence, making it stand out.
- Cohesion: Framing allows you to integrate small pieces into a larger decorative scheme, tying together different styles and sizes on a wall.
Choosing the Right Frame for Petite Paintings and Prints
Selecting the perfect frame is crucial for bringing out the best in your small art. It’s not just about fitting the artwork; it’s about enhancing its mood and style.
Frame Materials and Styles
Frames come in a vast array of materials, each offering a different look and feel:
- Wood: Classic and versatile, wood frames can be stained, painted, or left natural. They range from ornate carved designs to simple, modern profiles.
- Pros: Durable, warm aesthetic, wide variety of finishes.
- Cons: Can be heavier, prone to damage from extreme humidity.
- Metal: Sleek and contemporary, metal frames (like aluminum or steel) offer a minimalist look.
- Pros: Lightweight, modern, durable, often less expensive.
- Cons: Can sometimes feel less “warm” than wood, sharp edges.
- Acrylic/Lucite: Clear acrylic frames offer an ultra-modern, almost invisible framing solution, perfect for minimalist art framing.
- Pros: Ultra-modern, allows artwork to be the sole focus, lightweight.
- Cons: Can be prone to scratching, may attract dust.
- Ornate/Decorative: These frames feature intricate carvings, gilding, or patterns, adding a touch of vintage or luxury.
- Pros: Creates a dramatic statement, adds a unique character.
- Cons: Can overpower simpler artwork, may be more expensive.
Matching Frame to Artwork
Consider these points when making your choice:
- Artwork Style: A rustic landscape might suit a weathered wood frame, while an abstract geometric piece could look stunning in a slim metal frame.
- Color Palette: The frame color should complement or contrast intentionally with the artwork’s colors.
- Interior Decor: Ensure the frame style and finish integrate with your room’s existing aesthetic.
- Size and Scale: For small pieces, overly bulky or ornate frames can overwhelm the art. A simpler, more proportionate frame often works best.
How to Mat Small Artwork: Adding Depth and Protection
Matting is a fundamental technique in DIY art framing and is especially important for framing small artwork. A mat is the border placed between the artwork and the frame. It does more than just fill space; it significantly impacts the final presentation.
The Purpose of Matting
- Visual Breathing Room: A mat creates a visual buffer, preventing the artwork from touching the glass and allowing the viewer’s eye to focus on the piece itself.
- Emphasis: The mat draws attention to the artwork, making it appear more significant and professional.
- Protection: Acid-free mats prevent the artwork from sticking to the glass or frame, which can cause irreversible damage.
- Aesthetic Enhancement: Mats can add color and depth, complementing the artwork’s tones and style.
Choosing the Right Mat
- Material: Always opt for acid-free or archival-quality mat board. Regular cardboard can degrade over time, staining and damaging your artwork.
- Color:
- White/Off-White: Classic and timeless, these colors work with almost any artwork, providing a clean, crisp look.
- Cream/Ivory: Softer than pure white, these can add warmth and a vintage feel.
- Colored Mats: A colored mat can be a bold choice, especially if the color is pulled from the artwork itself. Use sparingly for small pieces to avoid overpowering them.
- Width: The width of the mat border can affect the perceived size and importance of the artwork.
- Equal Borders: A consistent width all around is the most common and versatile choice.
- Wider Bottom Border: A slightly wider bottom border (known as the “reveal”) is a traditional framing technique that creates visual balance, as the artwork itself often has more visual weight at the bottom. For small pieces, a subtle increase is best.
- Narrower Mats: For very small pieces, a very narrow mat can work, but ensure there’s still enough space to prevent contact with the glass.
How to Mat Small Artwork: Step-by-Step
- Measure Your Artwork: Accurately measure the height and width of your artwork.
- Determine Mat Opening: The mat opening should be slightly smaller than your artwork (e.g., 1/4 inch less on each side) to ensure the artwork doesn’t slip through. For example, if your artwork is 5×7 inches, you’d cut the mat opening to 4.5×6.5 inches.
- Measure Your Frame: Measure the inside dimensions of your frame. This will determine the outer dimensions of your mat board.
- Cut the Mat Board: Using a mat cutter or a sharp craft knife and a metal ruler, carefully cut the mat board to the required outer dimensions.
- Cut the Mat Opening: This is the most critical step for a professional finish.
- Mat Cutter: A dedicated mat cutter (like a Logan or Craftech) makes this process much easier and yields cleaner cuts. Set the depth of the blade correctly for your mat board.
- Craft Knife: If using a craft knife, use a cutting mat and a metal ruler. Score the mat repeatedly along your pencil lines until you cut through. Aim for a bevelled edge, as most mat cutters create this automatically. This bevelled edge helps hide slight imperfections and looks more professional.
- Attach Artwork to Mat:
- Hinged Mount: Use archival framing tape (like linen tape or specialized framing tape) to create a hinge on the back of your artwork. Attach one end of the tape to the top edge of the artwork and the other end to the back of the mat, directly behind the opening. This allows the artwork to expand and contract naturally without buckling.
- Adhesive Strips: Alternatively, archival adhesive strips can be used, but the hinged method is preferred for long-term preservation.
- Assemble the Frame:
- Place the glass in the frame.
- Carefully place the matted artwork onto the glass.
- Add a backing board (acid-free is best) to the back of the mat.
- Secure the backing board to the frame using the provided clips or tape.
Exploring Alternative Framing Styles
Beyond traditional matting, there are other creative ways to frame small art that add unique character.
Floating Frame Small Art: A Modern Approach
A floating frame small art style is perfect for works on paper, canvas panels, or even mounted photographs where you want to showcase the edges of the artwork and create a sense of depth. The artwork appears to float within the frame, usually with a small gap around it.
How it Works:
- Mounting: The artwork is mounted onto a backing board (often slightly larger than the artwork itself) using an archival method like a hinged mount.
- Framing: The mounted artwork is then placed into a frame that is larger than the backing board. The backing board sits behind the artwork, and the frame’s lip holds both in place, creating the “floating” effect. This often requires a shadow box style frame or a frame with a deeper rabbet.
Benefits:
- Showcases Edges: Ideal for deckled-edge prints or when you want to display the entire piece, including any artist’s signature or border.
- Modern Aesthetic: Creates a clean, contemporary look that’s very popular.
- Depth: Adds significant dimension and visual interest.
DIY Tips for Floating Frames:
- Shadow Box Frames: These are the easiest option for a floating effect. They have a deeper interior space. Mount your artwork onto a smaller backing board and then place it inside the shadow box, positioning it as desired.
- Deeper Rabbet Frames: Some standard frames have deeper “rabbets” (the groove that holds the artwork). You can achieve a floating look by mounting your artwork onto a backing board and then fitting it into the frame, ensuring the backing board is secured within the frame’s depth.
Shadow Box Small Art: Displaying More Than Just a Picture
A shadow box is ideal for framing small 3D objects, collages, or a combination of flat art and mementos. They create a contained environment that protects and highlights these precious items.
What You Can Frame:
- Small sculptures or figurines
- Medals, ribbons, or awards
- Pressed flowers or leaves
- Jewelry
- Photographs with small accompanying objects (e.g., a concert ticket)
- Miniature paintings on canvas or board
Key Considerations for Shadow Boxes:
- Depth: Choose a shadow box with sufficient depth for your items.
- Mounting: Use archival adhesives, foam board, or mounting pins to secure items within the shadow box.
- Background: Consider adding a fabric liner or a complementary mat to the back of the shadow box for a more polished look.
Minimalist Art Framing: Less is More
For minimalist art framing, the goal is to let the artwork speak for itself with minimal distraction.
Techniques:
- Thin Metal Frames: Slim silver, black, or gold metal frames create a sleek, unobtrusive border.
- Simple Wood Frames: Unfinished wood, whitewashed wood, or thin black wood frames offer subtle warmth without being overpowering.
- No Matting: For some contemporary pieces or when framing a canvas, skipping the mat can enhance the minimalist aesthetic. Ensure the artwork fits snugly within the frame or use spacers if necessary to keep it from touching the glass.
- Floating Mounts: As mentioned, a floating mount with a simple, thin frame can achieve a very clean, modern look.
Affordable Art Framing: Budget-Friendly Solutions
Achieving professional-looking results doesn’t always mean expensive custom framing small art. There are many ways to keep costs down.
Smart Shopping and DIY Tips
- Pre-Made Frames: Retailers like IKEA, Michaels, Hobby Lobby, and Amazon offer a wide range of affordable pre-made frames in standard sizes. Look for sales and use coupons.
- Thrift Stores and Flea Markets: You can often find unique, high-quality frames at bargain prices. Even if the color isn’t perfect, frames can often be repainted or spray-painted for a custom look.
- DIY Mat Cutting: Invest in a good mat cutter if you plan to mat many pieces. It’s significantly cheaper than professional matting.
- Print Your Own Mats: If you’re good with software, you can design and print your own mats on heavy cardstock (ensure it’s acid-free).
- Consider the Glass: Standard glass is fine for most decor purposes. If UV protection is a major concern for valuable or sensitive artwork, consider the cost of UV-protective glass and whether it’s necessary for your specific piece. For truly valuable art, professional framing might be worth the investment.
DIY Art Framing: A Step-by-Step Overview
Let’s recap the essential steps for DIY art framing:
- Gather Your Materials:
- Artwork
- Frame
- Mat board (acid-free) and backing board (acid-free recommended)
- Glass (clean)
- Tools: Measuring tape, craft knife or mat cutter, metal ruler, cutting mat, archival tape (linen or framing tape), pencil, screwdriver or frame-closing tool.
- Prepare the Frame: Clean the glass and the inside of the frame.
- Mat the Artwork (If applicable): Follow the steps outlined in the matting section.
- Assemble:
- Place glass in the frame.
- Lay the matted artwork (or just the artwork if no mat) onto the glass.
- Add backing board.
- Secure the backing board to the frame, ensuring everything is snug and aligned.
- Add Hanging Hardware: Attach a wire or appropriate hanging hardware to the back of the frame.
Framing Petite Paintings: Special Considerations
Framing petite paintings, whether oils, acrylics, or watercolors, requires a touch of finesse to match their delicate size.
Canvas Panels and Board Paintings
- Frame Directly: Small canvas panels or paintings on board can often be framed directly into a frame with a suitable rabbet. No mat is typically needed.
- Frame with Mat: You can still use a mat for a small painting on a panel to add a sophisticated border and make it stand out.
- Float Mounting: Consider a floating frame small art approach if the edges of the painting are finished or interesting.
Watercolors and Works on Paper
- Always Mat: Watercolors and other works on paper absolutely require matting to protect them from direct contact with the glass. Use archival mats and backing.
- Consider Glass Type: For watercolors, which can be sensitive to light, UV-protective glass is a good investment if the piece is valuable or exposed to sunlight.
- Frame Size: Ensure the frame is proportional. A tiny painting doesn’t need a huge, chunky frame.
Displaying Small Artwork: Making Them Shine
Once framed, how do you best showcase your small treasures?
Gallery Walls
- Mix and Match: Small framed pieces are perfect for creating dynamic gallery walls. Mix them with larger pieces for visual interest.
- Grouping: Create smaller, cohesive groupings of 2-4 small pieces on a wall.
- Spacing: Maintain consistent spacing between frames (e.g., 2-3 inches) for a polished look.
Shelf and Tabletop Displays
- Easels: Small tabletop easels are a simple way to display framed art on shelves, mantels, or side tables.
- Bookcases: Tuck framed art among books and decorative objects for layers of interest.
- Layering: Lean framed art against the wall on a shelf, and then place other objects in front of it.
Unexpected Places
- Kitchen Backsplashes: Frame small recipe cards or illustrations and display them in the kitchen.
- Hallways: Use smaller pieces to add personality to often-underutilized hallway walls.
- Entryways: Greet guests with a charming framed piece in your entryway.
Frequently Asked Questions (FAQ)
Q1: What is the best way to hang a small framed picture?
For small frames, a single picture hook or a small nail is usually sufficient. For heavier frames or if you want extra security, use a drywall anchor. Ensure the hook is rated for the weight of your framed piece. For gallery walls, use a level to ensure straight lines.
Q2: Can I reuse frames from old pictures?
Yes, absolutely! Thrift stores and flea markets are great places to find frames. You can repaint them, change the mat, or even repurpose them for a completely new look. Ensure the frame is structurally sound before reusing it.
Q3: How do I clean the glass on my framed artwork?
Use a glass cleaner and a soft, lint-free cloth. Spray the cleaner onto the cloth, not directly onto the glass, to avoid liquid seeping behind the mat. For archival pieces, be very careful not to disturb the artwork.
Q4: What is the difference between a frame rabbet and a mat opening?
The rabbet is the groove on the inside edge of the frame where the glass, artwork, and backing board sit. The mat opening is the hole cut into the mat board that reveals the artwork.
Q5: Do I need special tools for DIY art framing?
While you can get by with a good craft knife and ruler, a mat cutter significantly improves the quality and ease of cutting mats. A screwdriver or frame-closing tool helps secure the backing, and archival tape is essential for preserving your artwork.
Framing small art pieces is an accessible art form in itself. By following these guidelines, you can confidently tackle your framing projects, elevate your treasured artworks, and enjoy a more beautiful and personalized living space. Happy framing!