
What is a fine art photographer? A fine art photographer creates images with a strong personal vision, aiming to evoke emotion and communicate ideas rather than simply document reality. Can I become a fine art photographer without formal training? Yes, while formal education can be beneficial, dedication, practice, and a keen eye are paramount. Who is a fine art photographer? Anyone who uses photography as a medium for personal expression and artistic exploration.
Embarking on the journey to become a fine art photographer is an exciting path of self-discovery and creative expression. It’s about more than just taking pictures; it’s about cultivating an artistic vision, a unique way of seeing and interpreting the world. This journey involves a deep dive into the craft, from mastering the technical aspects to developing a personal style that resonates with your inner voice.
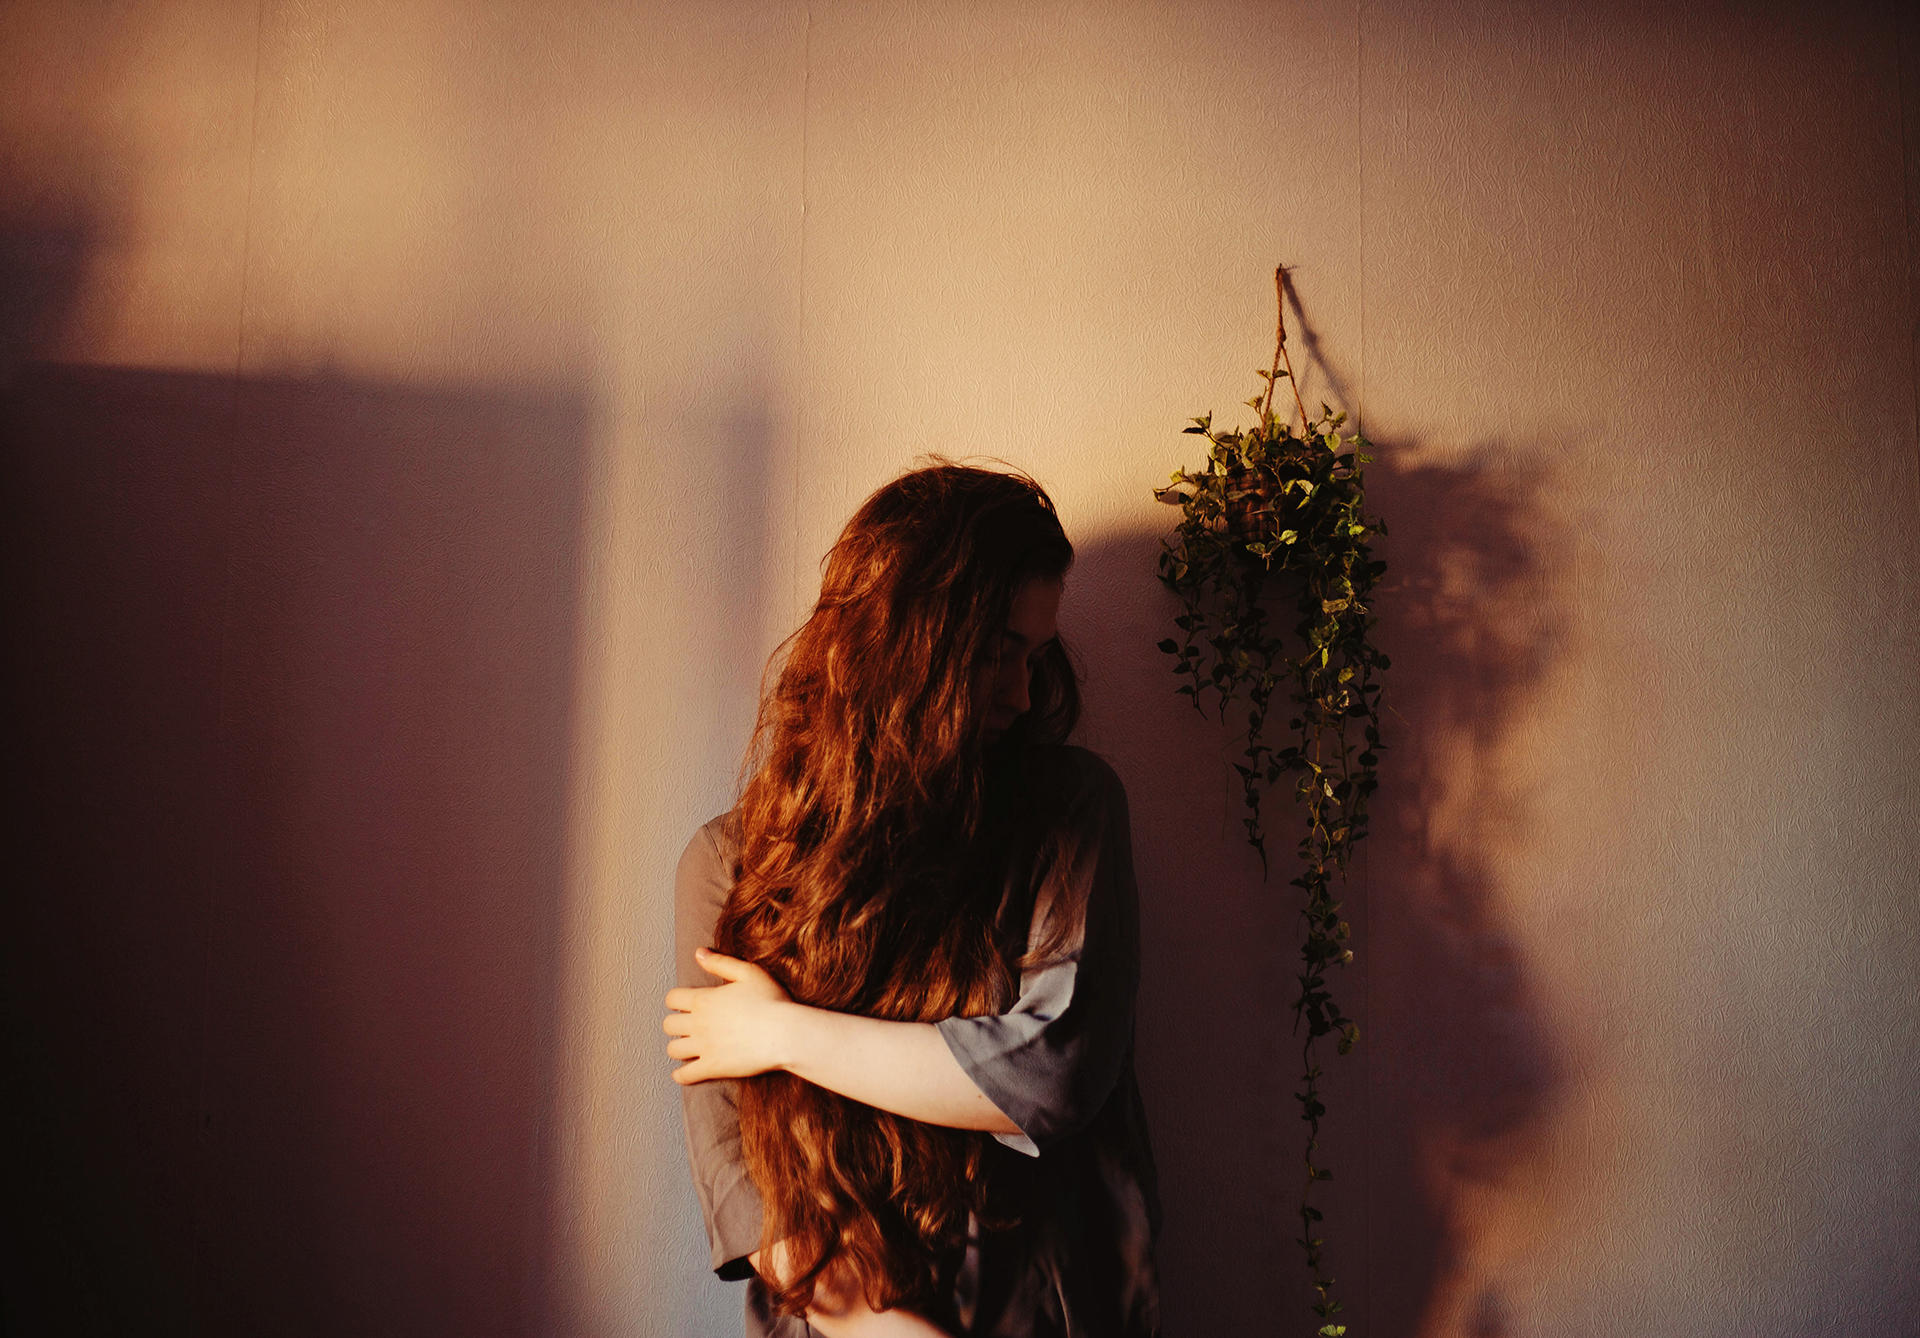
Image Source: iso.500px.com
Cultivating Your Artistic Vision
Your artistic vision is the bedrock of fine art photography. It’s what differentiates your work from others and gives it a distinct personality. This isn’t something that appears overnight; it’s a seed that needs nurturing and constant tending.
Exploring Your Inner World
- Self-Reflection: What moves you? What stories do you want to tell? What emotions do you want to convey? Spend time journaling, sketching, or simply contemplating what themes and subjects ignite your passion.
- Inspiration from Other Arts: Look beyond photography. Explore painting, sculpture, literature, music, and film. Identify artists whose work speaks to you and analyze what elements contribute to their impact.
- Experimentation: Don’t be afraid to try new things. Experiment with different genres, techniques, and subjects. The more you explore, the more you’ll discover what truly resonates with your artistic vision.
Finding Your Niche
While a broad approach can be beneficial initially, many fine art photographers find a niche that allows them to deepen their exploration. This could be a specific subject matter (e.g., landscapes, portraits, abstract), a particular style (e.g., minimalist, surreal, conceptual), or a thematic focus.
Mastering the Craft: Technical Foundations
While vision is paramount, a strong technical foundation empowers you to translate that vision into compelling images.
Deciphering Light
Light is the painter’s brush, and for photographers, it’s the very essence of the image. Fathoming how light behaves is crucial.
- Natural Light: Observe how light changes throughout the day. Golden hour (sunrise and sunset) offers soft, warm light. Midday sun can be harsh, creating strong shadows. Overcast days provide diffused, even light.
- Artificial Light: Experiment with studio lights, speedlights, and continuous lighting. Learn about modifiers like softboxes, umbrellas, and reflectors to shape light and create different moods.
- Light Qualities: Distinguish between hard light (direct, creating sharp shadows) and soft light (diffused, creating subtle shadows). Each has a distinct impact on the mood and texture of your photographs.
Mastering Composition
Mastering composition is about arranging elements within the frame to create a visually pleasing and impactful image. It guides the viewer’s eye and enhances the overall message.
Fundamental Principles of Composition
- Rule of Thirds: Imagine a tic-tac-toe grid over your image. Place key subjects along these lines or at their intersections.
- Leading Lines: Use natural or man-made lines (roads, fences, rivers) to guide the viewer’s eye into the scene.
- Symmetry and Patterns: Symmetrical arrangements can create a sense of harmony and balance. Repetitive patterns can be visually engaging.
- Framing: Use elements within the scene (doorways, branches) to frame your subject, adding depth and context.
- Negative Space: The empty areas around your subject can be as important as the subject itself, drawing attention and creating a sense of calm or isolation.
- Perspective: Experiment with different camera angles and viewpoints to alter the viewer’s perception of the scene.
Experimenting with Compositional Techniques
| Technique | Description | Impact on Image |
|---|---|---|
| Rule of Thirds | Dividing the frame into nine equal parts by two horizontal and two vertical lines. | Creates visual interest and balance. |
| Leading Lines | Using lines within the image to draw the viewer’s eye toward the subject. | Guides the viewer’s gaze and creates depth. |
| Symmetry | Creating a mirror image effect within the frame. | Evokes a sense of order, balance, and harmony. |
| Framing | Using elements within the scene to create a “frame” around the main subject. | Adds depth, context, and draws attention to the subject. |
| Negative Space | The area surrounding the main subject. | Emphasizes the subject and creates a sense of space. |
Technical Settings and Their Impact
- Aperture: Controls depth of field (how much of the image is in focus). A wide aperture (low f-number) creates a shallow depth of field, blurring the background. A narrow aperture (high f-number) creates a large depth of field, keeping more of the scene in focus.
- Shutter Speed: Controls motion blur. A fast shutter speed freezes action, while a slow shutter speed blurs movement.
- ISO: Determines the sensor’s sensitivity to light. A higher ISO allows for shooting in low light but can introduce noise (grain).
- Focus: Precise focus is essential. Learn about different autofocus modes and manual focus techniques.
Developing Your Portfolio: The Visual Narrative
Your portfolio is your calling card, a curated collection of your finest work that showcases your artistic vision and visual storytelling abilities.
Selecting Your Best Work
- Quality Over Quantity: Choose only your strongest images. Each photograph should contribute to the overall narrative of your portfolio.
- Cohesion and Consistency: Ensure your selected images exhibit a consistent style and theme, reflecting your unique vision.
- Variety within Cohesion: While consistency is key, a portfolio can benefit from showcasing a range of subjects or moods within your chosen artistic direction.
Curating for Impact
- Logical Flow: Arrange your images in a sequence that tells a story or leads the viewer through your work in a compelling way.
- Presentation Matters: Decide whether your portfolio will be primarily digital or physical. For online portfolios, ensure high-resolution images and a user-friendly website.
- Get Feedback: Share your portfolio with trusted peers or mentors and solicit constructive criticism to refine your selection.
Honing Your Skills: Continuous Artistic Development
Becoming a fine art photographer is a lifelong pursuit of artistic development. It requires constant learning and refinement.
Practical Exercises
- Themed Projects: Undertake personal projects with a specific theme or concept. This allows for in-depth exploration and pushes your creative boundaries.
- Daily Shooting: Make photography a regular habit. The more you shoot, the more you’ll develop your eye and technical proficiency.
- Revisiting and Reinterpreting: Look back at your older work. Can you reinterpret them with your current skills and vision?
Learning from Others
- Study Master Photographers: Analyze the work of renowned fine art photographers. What techniques do they use? What is their message?
- Workshops and Courses: Attend workshops or online courses to learn new techniques, gain new perspectives, and connect with other artists.
- Critique Groups: Join or form a critique group where you can share your work and receive honest feedback.
Digital Editing Techniques: Enhancing Your Vision
Digital editing is an integral part of the fine art photography process, allowing you to further shape and refine your images to match your artistic vision.
Essential Software and Tools
- Adobe Photoshop: The industry standard for advanced image manipulation.
- Adobe Lightroom: Excellent for organizing, editing, and processing large volumes of images, particularly for global adjustments and workflow management.
- Capture One: Another powerful professional editing software known for its superior raw file processing.
Non-Destructive Editing
Always work non-destructively. This means making edits in a way that doesn’t permanently alter the original image data, allowing for flexibility and revisions.
Key Editing Processes
- Color Correction and Grading: Adjusting colors to evoke specific moods or to accurately represent your vision.
- Exposure and Contrast Adjustments: Fine-tuning the brightness and contrast to create depth and visual impact.
- Dodging and Burning: Selectively lightening (dodging) or darkening (burning) areas of the image to draw attention or create dimension.
- Sharpening: Enhancing detail where appropriate, but over-sharpening can look unnatural.
- Noise Reduction: Minimizing digital noise, especially in images shot at high ISOs.
- Cropping and Straightening: Refining the composition for maximum impact.
Printing and Presentation: Bringing Your Vision to Life
The final output – the print – is often where the artistic vision truly materializes. It’s the tangible manifestation of your creative process.
Choosing the Right Medium
- Paper Types: Explore various papers, from matte to glossy, textured to smooth. Each paper type affects the look and feel of the final print.
- Canvas and Metal Prints: Consider alternative printing materials that can offer different aesthetic qualities and durability.
Achieving High-Quality Prints
- Monitor Calibration: Ensure your monitor accurately displays colors and tones.
- Color Management: Use ICC profiles to ensure consistent color reproduction from your screen to the print.
- Printing Services:
- Professional Labs: For top-tier quality and consistency, consider reputable printing services. They often have specialized equipment and expertise.
- In-House Printing: If you have a high-quality printer and the necessary skills, you can print your own work for maximum control.
The Art of Presentation
- Matting and Framing: The choice of mat and frame can significantly enhance or detract from your photograph. Consider archival quality materials.
- Display: Think about how your work will be displayed. Will it be in a gallery, a home, or online? The context influences the presentation.
Exhibition Opportunities and Sharing Your Work
To truly establish yourself as a fine art photographer, you need to share your work with the world and seek exhibition opportunities.
Building Your Online Presence
- Website and Portfolio: A professional website is essential for showcasing your work and providing information about yourself.
- Social Media: Platforms like Instagram can be powerful tools for connecting with an audience and other artists. Focus on consistent, high-quality posts.
Traditional Exhibition Pathways
- Galleries: Research galleries that exhibit contemporary fine art photography. Submitting your work to galleries can be a competitive process, so ensure your portfolio is strong and professional.
- Art Fairs and Festivals: Participate in local or national art fairs to gain exposure and sell your work directly to collectors.
- Competitions and Awards: Entering photography competitions can provide recognition, exposure, and opportunities for exhibiting your work.
- Juried Shows: Many art organizations and galleries hold juried exhibitions, which are a great way to get your work seen by curators and critics.
Networking and Community
- Connect with Other Artists: Attend gallery openings, workshops, and photography events. Building relationships within the art community is invaluable.
- Join Photography Organizations: Many organizations offer resources, networking opportunities, and exhibition possibilities.
Frequently Asked Questions (FAQ)
- How long does it take to develop a fine art photography style? There’s no set timeline; artistic development is an ongoing process. Some find their style quickly, while for others, it evolves over years of practice and experimentation.
- Is it necessary to have expensive equipment to be a fine art photographer? While quality equipment can be helpful, a strong artistic vision and mastery of fundamental techniques are more important than the most expensive gear.
- What is the difference between fine art photography and commercial photography? Fine art photography focuses on personal expression and artistic intent, while commercial photography aims to sell products or services.
- How do I price my fine art prints? Pricing depends on factors like print size, edition number (limited vs. open), your reputation, and the market. Research similar artists’ pricing.
- Can I sell my fine art photographs? Absolutely. Building a strong portfolio, exhibiting your work, and marketing effectively are key to selling your prints and establishing a career.
Becoming a fine art photographer is a deeply rewarding journey. By nurturing your artistic vision, honing your technical skills, diligently developing a portfolio, and strategically seeking exhibition opportunities, you can effectively bring your unique perspective to the world through the powerful medium of photography. Remember, visual storytelling is at the heart of it all – what stories will you tell?