
What is the secret to a smooth finish when painting? The secret lies in mastering paint application techniques, proper tool selection, and meticulous painting surface prep. Can you achieve a brush-stroke-free look with latex paint? Yes, you can, with the right approach. Who is this guide for? Anyone looking to elevate their painting projects from amateur to professional.
Achieving a flawlessly smooth finish is the holy grail for many DIYers and professional painters alike. The sight of visible brush strokes can quickly detract from an otherwise beautiful paint job. Fortunately, this is a common concern with readily available solutions. By focusing on the right preparation, the correct tools, and specific application methods, you can minimize or even eliminate those dreaded brush marks, leaving you with a professional-looking, seamless surface. This comprehensive guide will walk you through every step, from preparing your walls to the final brushstroke, ensuring your next painting project is a triumph.
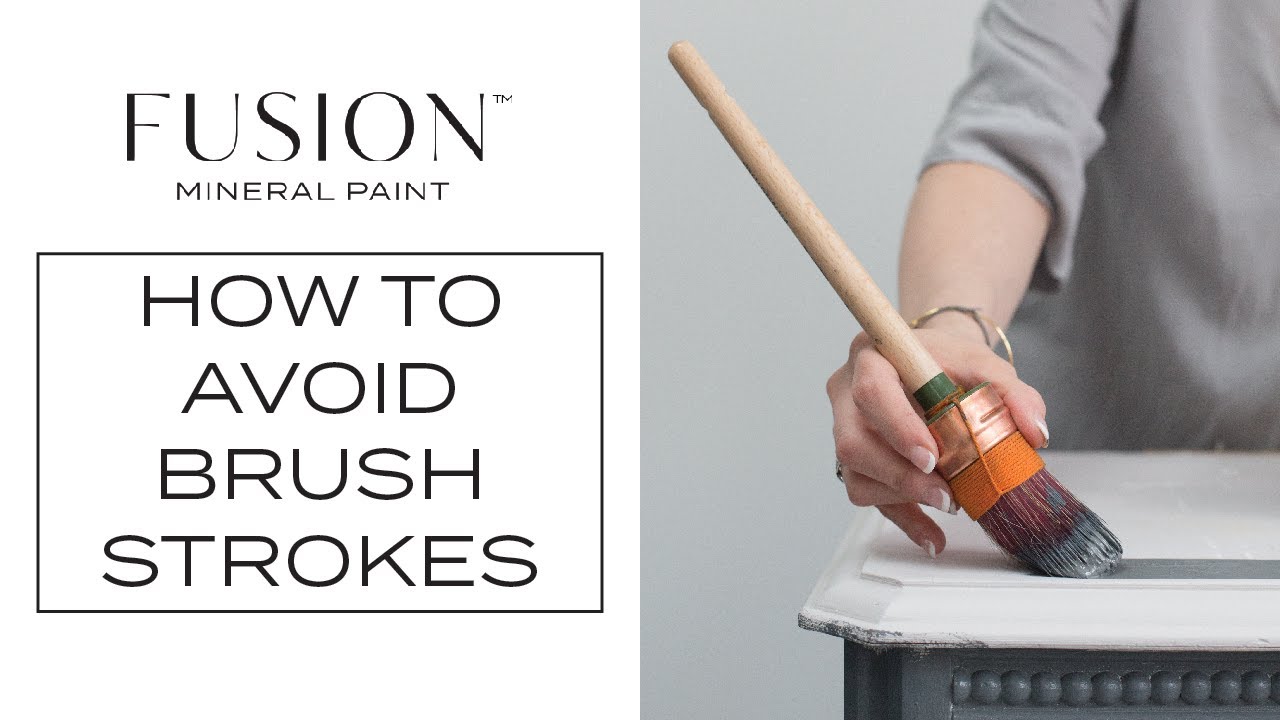
Image Source: i.ytimg.com
The Foundation: Impeccable Painting Surface Prep
Before a single drop of paint touches your surface, a solid foundation is crucial. Painting surface prep is arguably the most critical step in avoiding brush strokes and achieving a truly smooth finish. Skipping this phase is like building a house on sand – it’s destined to falter.
Cleaning the Canvas
Any dust, dirt, grease, or grime on the surface will adhere to the paint and create an uneven texture.
- Gather your supplies: You’ll need a mild detergent (like dish soap), warm water, sponges or soft cloths, and buckets.
- Wipe down the walls: Mix the detergent with warm water. Dampen a sponge or cloth, wring it out thoroughly, and wipe down the entire surface. Rinse your sponge or cloth frequently in clean water.
- Rinse thoroughly: After washing, use a clean cloth dampened with plain water to wipe down the walls and remove any soap residue. This step is vital, as leftover soap can prevent paint from adhering properly.
- Allow to dry completely: Ensure the surface is bone dry before proceeding. Any lingering moisture can affect paint adhesion and create an uneven finish.
Patching and Repairing Imperfections
Even the best paint application techniques can’t hide significant imperfections.
- Identify damage: Look for holes, cracks, dents, or peeling paint.
- Fill and sand: Use spackling paste or filler to repair any holes or cracks. For larger imperfections, you might need joint compound. Allow the filler to dry completely according to the product instructions. Once dry, sand the filled areas smooth with fine-grit sandpaper (around 120-220 grit).
- Feather the edges: When sanding, feather the edges of the filled areas so they blend seamlessly with the surrounding wall. You don’t want to feel a bump when you run your hand over it.
- Clean sanding dust: After sanding, wipe down the walls again with a damp cloth to remove all dust. Dust left behind will become part of your paint layer.
Priming for Perfection
Primer is not just a preparatory step; it’s a critical component for achieving even coverage and a smooth finish, especially when dealing with significant color changes or porous surfaces.
- Purpose of primer: Primer seals porous surfaces, blocks stains, and provides a uniform base for your topcoat, ensuring the paint adheres well and the color appears true.
- Choosing the right primer:
- Latex-based primers: Good for most interior walls, drywall, and previously painted surfaces.
- Oil-based primers: Excellent for blocking stains, covering dark colors, and for wood surfaces.
- Stain-blocking primers: Essential if you have water stains, smoke damage, or ink marks.
- Application: Apply primer evenly, just as you would paint. Use a roller for large areas and a brush for edges and corners. Allow the primer to dry completely as per the manufacturer’s recommendations. If you’re using a dark color or painting over a dark color, you might need two coats of primer for optimal even coverage.
The Art of Tool Selection
Your choice of tools significantly impacts the final smooth finish. Using the wrong brush or roller can embed bristles or leave behind a textured pattern that’s hard to remove.
Brushes: Your Precision Instruments
For cutting in edges and painting intricate areas, brushes are indispensable. To avoid brush strokes, the type and quality of your brush are paramount.
- Bristle Type:
- Synthetic Bristles (Nylon/Polyester): Best for latex and water-based paints. They don’t swell in water, maintaining their shape and stiffness for a smoother application.
- Natural Bristles (Boar/China Bristle): Ideal for oil-based paints and varnishes. They absorb solvents, becoming softer and allowing for a smooth, even spread.
- Brush Shape and Size:
- Angled Sash Brush: Essential for cutting in around trim, windows, and doors. An angle of 2 to 3 inches is versatile.
- Flat Brush: Good for larger flat surfaces, but generally less ideal for achieving a completely smooth finish without careful technique.
- Round Brush: Useful for detailed work, but not typically used for large wall areas.
- Quality Matters: Invest in good quality brushes. Higher-quality brushes have more bristles, which are flagged (split at the ends) to hold more paint and release it evenly, greatly assisting in minimizing brush marks. Cheap brushes often shed bristles, leaving them embedded in your paint.
Rollers: For Broad Surfaces
Rollers are your workhorses for large areas like walls and ceilings.
- Nap Length: The “nap” is the fuzzy coating on the roller cover.
- Short Nap (1/4″ to 3/8″): Best for smooth surfaces like drywall, plaster, or previously painted walls. This length holds less paint, reducing the chance of drips and providing a smoother finish.
- Medium Nap (1/2″): Suitable for lightly textured surfaces.
- Long Nap (3/4″ and up): For heavily textured surfaces, but not recommended if you’re aiming for a smooth finish.
- Material:
- Mohair/Woven Covers: Offer excellent coverage and minimal lint, ideal for a smooth finish.
- Foam Rollers: Can provide a very smooth finish, but they don’t hold as much paint and can sometimes create a “foamy” texture if not used correctly. They are best for smooth, glossy finishes.
- Roller Frame and Tray: Ensure your roller frame is sturdy and your tray has a good texture for loading the roller evenly.
Mastering Paint Application Techniques
Even with the best preparation and tools, how you apply the paint is key to minimizing brush marks and achieving a smooth finish.
The “Wet-Edge” Technique
This is the golden rule for avoiding visible roller or brush marks.
- What it is: The wet-edge technique involves always painting into the previously painted, still-wet section of the wall. This allows the paint to blend seamlessly.
- How to do it:
- Start in a corner: Begin in a corner or along an edge that is out of sight.
- Apply paint in sections: Work in manageable sections, typically 3-4 feet wide.
- Overlap your strokes: As you move to the next section, slightly overlap the wet edge of the previous section.
- Maintain a wet edge: Always ensure the edge you’re painting into is still wet. If a section starts to dry, you’ll create lap marks. If you need to take a break, plan it strategically at a natural break point like a corner.
Brush Application Tips
- Load the brush evenly: Dip the brush about one-third to one-half of the way into the paint. Tap the brush lightly against the inside edge of the can to remove excess paint; do not wipe it on the rim.
- Apply in long, even strokes: For walls, use long, consistent strokes. Apply moderate pressure.
- Feather the paint: At the end of each stroke, lift the brush away smoothly, feathering the paint to reduce buildup.
- “Back-brushing” or “Lay-off” technique: After rolling a section, lightly go over it with a brush in one direction (top to bottom) to smooth out any roller texture and ensure even coverage. This is an excellent method for minimizing brush marks from the roller itself.
Roller Application Tips
- Load the roller evenly: Roll the roller in the paint tray, ensuring it’s evenly coated but not dripping. Roll it back and forth on the ribbed section of the tray to distribute paint and remove excess.
- Apply in a “W” or “M” pattern: Start by applying paint in a large “W” or “M” pattern on the wall. This helps distribute the paint without overloading any one area.
- Fill in the pattern: Without lifting the roller, fill in the “W” or “M” shape with parallel, slightly overlapping strokes.
- Maintain consistent pressure: Apply even pressure throughout your strokes to avoid creating ridges.
- Work from ceiling to floor: For walls, start at the top and work your way down.
The Importance of Paint Consistency and Layering
The type of paint you use and how you apply it in layers significantly impacts the final smooth finish.
Paint Consistency
- Stir, don’t shake: Always stir paint thoroughly before and during use. Shaking can introduce air bubbles, which can lead to an uneven surface and brush marks.
- Paint Viscosity: Different paints have different viscosities (thickness). Thicker paints can be more prone to showing brush strokes. If a paint seems too thick for your liking, you can sometimes add a small amount of water (for latex) or thinner (for oil-based) as recommended by the manufacturer. However, be cautious: adding too much can compromise the paint’s durability and finish. Always check the paint can for thinning instructions.
Layering Paint for a Smooth Finish
- Multiple Thin Coats: It’s almost always better to apply two or three thin coats of paint than one thick coat. Thin coats dry more evenly and are less likely to show brush strokes or roller marks.
- Drying Time: Allow each coat to dry thoroughly according to the manufacturer’s instructions. Rushing this process will lead to a poor finish.
- Light Sanding Between Coats: For an exceptionally smooth finish, especially on trim or furniture, lightly sand between coats with very fine-grit sandpaper (220-320 grit). This knocks down any tiny imperfections or dried drips. After sanding, always wipe the surface clean with a tack cloth or a slightly damp cloth to remove all dust.
Brush Care: Prolonging Tool Life and Quality
Proper brush care is essential for maintaining your tools and ensuring they continue to help you achieve a smooth finish in future projects.
- Cleaning Latex Paint Brushes:
- Remove excess paint by wiping the brush on the edge of the can or a piece of cardboard.
- Rinse the brush under warm running water.
- Use a brush comb or your fingers to work a mild soap or brush cleaner through the bristles.
- Rinse thoroughly until the water runs clear.
- Reshape the bristles by hand and hang the brush to dry or lay it flat. Never store a brush bristles-down.
- Cleaning Oil-Based Paint Brushes:
- Wipe off as much excess paint as possible.
- Use mineral spirits or the recommended solvent to rinse the brush. Work the solvent through the bristles.
- Dispose of the solvent properly.
- Repeat the rinsing process until the solvent runs clear.
- Wash the brush with soap and water to remove any remaining solvent.
- Rinse, reshape, and dry as you would a latex brush.
Artist Tips for an Ultra-Smooth Finish
Beyond the basic techniques, seasoned painters have a few tricks up their sleeves.
Use a Paint Extender
- What it is: Additives like Floetrol (for latex) or Penetrol (for oil-based) can extend the wet edge time of your paint.
- How it helps: This gives you more time to blend strokes and achieve a smoother application, particularly in warm or dry conditions that speed up paint drying. Follow product instructions carefully for the correct ratio.
Roller Extension Pole
- Benefits: An extension pole allows you to paint larger areas with fewer, more fluid strokes, reducing the likelihood of overlap marks and promoting even coverage. It also makes it easier to reach high areas without overstretching.
Consider a Sprayer
- When to use: For the absolute smoothest, most professional finish, especially on trim, furniture, or large smooth surfaces, a paint sprayer is the ultimate tool. However, it requires practice, masking, and specific ventilation.
The “Light Touch” Approach
- Gentle Pressure: Avoid pressing too hard with your brush or roller. Excessive pressure can force paint into the bristles or nap unevenly, leading to marks. Let the paint and the tool do the work.
Common Pitfalls and How to Avoid Them
Let’s look at frequent mistakes and how to sidestep them for that sought-after smooth finish.
Pitfall: Using a Paint That’s Too Thick
- Problem: Thick paint is harder to spread evenly and is more prone to showing brush marks.
- Solution: Check the manufacturer’s recommendations for thinning. Add a small amount of the appropriate solvent or water to achieve the right paint consistency.
Pitfall: Overworking the Paint
- Problem: Going back and forth over the same area too many times, especially as the paint begins to dry, creates visible streaks and texture.
- Solution: Apply the paint efficiently in sections, aiming for the wet-edge technique. Once a section is covered, try not to revisit it unless absolutely necessary.
Pitfall: Not Stirring Paint Adequately
- Problem: Pigments can settle at the bottom of the can. If not stirred properly, your paint will have inconsistent color and texture.
- Solution: Stir paint thoroughly for several minutes. Stirring periodically throughout the project is also a good practice.
Pitfall: Using Low-Quality Tools
- Problem: Cheap brushes shed bristles, and cheap rollers leave lint or uneven textures.
- Solution: Invest in good quality brushes and roller covers. They are a worthwhile investment for a superior finish and overall project satisfaction.
Pitfall: Painting in Poor Lighting
- Problem: Inadequate lighting can hide imperfections and make it difficult to see where you’ve painted or if the coverage is even.
- Solution: Ensure you have good, consistent lighting, preferably natural light or bright task lighting, to see your work clearly.
Frequently Asked Questions (FAQ)
Q1: Can I achieve a perfectly smooth finish without a roller, using only a brush?
A1: Yes, it’s possible, but it requires exceptional brush technique, high-quality brushes, and often multiple thin coats with light sanding between them. Using a brush exclusively for large areas can be time-consuming and challenging for beginners aiming for a completely seamless look.
Q2: What’s the best type of paint for a smooth finish?
A2: High-quality acrylic latex paints or enamels generally provide a smooth finish. The sheen also plays a role; satin, semi-gloss, and gloss finishes tend to highlight imperfections more than flat or matte finishes. However, the application technique and tool selection are more critical than the paint type itself.
Q3: How do I fix brush strokes after the paint has dried?
A3: If the strokes are minor, you can try lightly sanding the dried paint with very fine-grit sandpaper (220-320 grit) and then applying another thin coat, using proper techniques. For significant strokes, you might need to sand down the entire area and repaint.
Q4: Is it okay to use different brushes for different coats?
A4: It’s generally best to use the same type and quality of brush throughout your project for consistency. However, if you switch between latex and oil-based paints, you must use separate, thoroughly cleaned brushes.
Q5: How does humidity affect my painting project and brush strokes?
A5: High humidity can slow down drying times, potentially leading to sagging or unevenness if not managed. Very low humidity, especially when combined with heat, can cause paint to dry too quickly, making it harder to blend and increasing the likelihood of lap marks and brush strokes. Using a paint extender can help in both scenarios.
By diligently following these steps and artist tips, you can confidently tackle any painting project and achieve that coveted smooth finish. Patience, preparation, and the right tools are your greatest allies in minimizing brush marks and creating beautifully painted surfaces.