
Can you paint pressure-treated wood soon after you buy it? The short answer is no; you need to wait for it to dry properly. This guide will walk you through everything you need to know about painting and staining your pressure-treated wood projects, ensuring a beautiful and lasting finish.
Pressure-treated wood is a popular choice for outdoor projects like decks, fences, and pergolas. Its resistance to rot, insects, and decay makes it a durable option. However, the treatment process adds moisture to the wood, and this moisture needs to evaporate before you can successfully paint or stain it. Rushing the process can lead to peeling paint, poor adhesion, and a finish that doesn’t last.
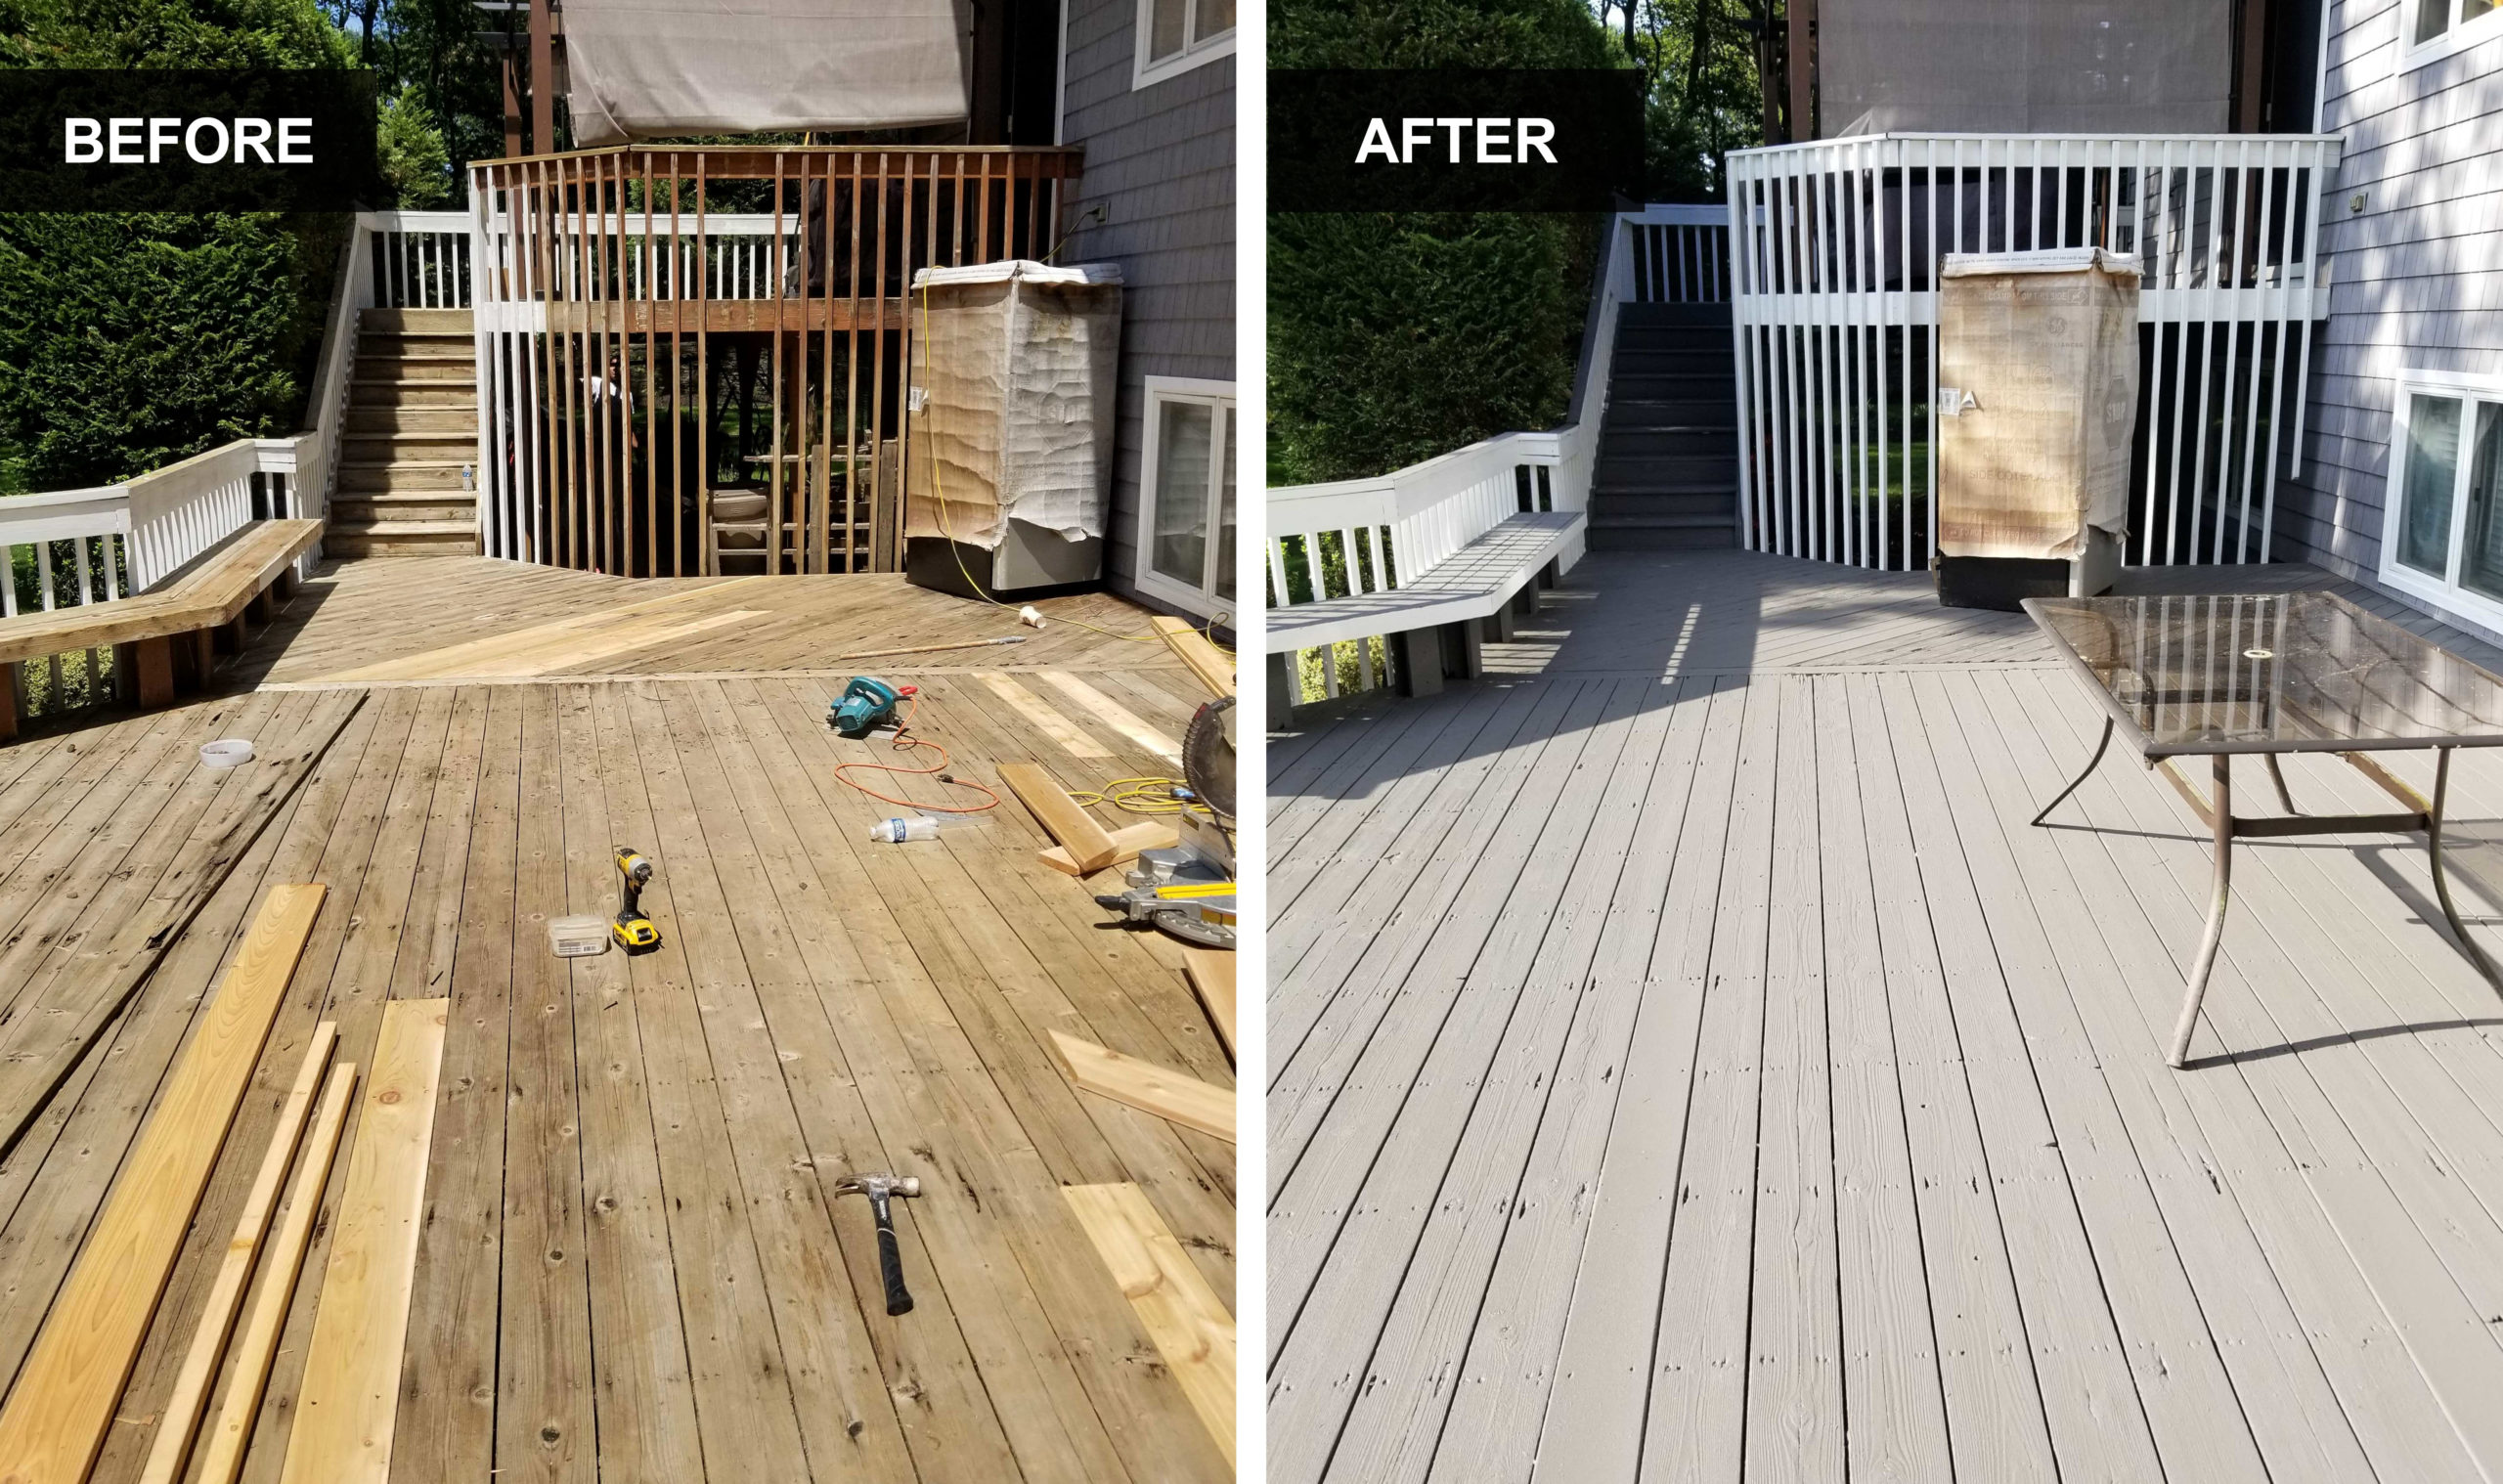
Image Source: www.precisionpaintingplus.net
Why Waiting is Crucial
When wood is pressure treated, it’s infused with chemicals under pressure. This process forces a significant amount of liquid into the wood fibers. This liquid is essential for the wood’s protection but is the enemy of paint and stain adhesion. Paint and stains are designed to bond with dry wood. If the wood is too wet, the paint or stain will struggle to penetrate and adhere properly.
Moisture Content Matters
The key to a successful paint job on pressure-treated wood is achieving the right moisture content pressure treated wood. Manufacturers recommend waiting until the wood has dried out considerably. The chemicals themselves can also interfere with paint adhesion if they are still near the surface in high concentrations.
Preventing Paint Failure
Painting too soon can cause several problems:
- Peeling and Flaking: Moisture trapped beneath the paint acts like a wedge, forcing the paint layer off the wood surface as it tries to escape.
- Poor Adhesion: The paint simply won’t stick well to wet wood, leading to a weak bond that will fail over time.
- Blistering: Trapped moisture can create bubbles or blisters under the paint film.
- Mold and Mildew Growth: Excess moisture provides a breeding ground for mold and mildew, which can grow through the paint layer.
- Warping and Cracking: While pressure treatment helps prevent these issues, painting wet wood can exacerbate them as the wood continues to expand and contract unevenly.
How Long to Wait: The General Rule
So, how long to wait before painting pressure treated wood? The most common recommendation from manufacturers and painting experts is to wait at least six months to a year after the wood has been installed. This timeframe allows the wood to adequately dry and the treatment chemicals to leach out of the surface.
However, this is a general guideline. Several factors can influence the actual drying time pressure treated lumber.
Factors Affecting Drying Time
- Climate: Warm, dry, and sunny climates will dry wood much faster than cool, damp, or humid conditions.
- Wood Exposure: Wood exposed to direct sunlight and good airflow will dry faster than wood that is shaded or enclosed.
- Wood Thickness: Thicker pieces of lumber will take longer to dry than thinner boards.
- Type of Pressure Treatment: Different treatment solutions and levels of treatment can affect drying times. Some newer treatments may dry out faster.
- Storage Conditions: If the wood was stored wet or covered, it will take longer to dry.
Testing for Dryness: The Key to Success
Since the waiting period can vary, it’s essential to test your wood to ensure it’s ready for painting or staining. Don’t just rely on the calendar.
The Wet Towel Test
This is a simple and effective method:
- Take a small piece of the pressure-treated wood you plan to use.
- Place it in a plastic bag with a damp (not wet) towel.
- Seal the bag tightly with tape or a twist tie.
- Leave the bag in a warm, sunny spot for 24 hours.
- After 24 hours, check the wood and the inside of the bag.
- If the wood is still wet and the bag has condensation or moisture inside: The wood is not dry enough. The moisture trapped in the bag has come from the wood itself.
- If the wood feels dry and there is no condensation inside the bag: The wood is likely dry enough for painting or staining.
Using a Moisture Meter
A more precise method is to use a moisture meter. These tools measure the amount of moisture in the wood.
- Select the correct setting: Most moisture meters have settings for different wood types.
- Insert the pins: Gently push the meter’s pins into the wood.
- Read the result: The meter will display the moisture content percentage.
For most exterior paint and stain applications on pressure-treated wood, you want the moisture content to be below 15-18%. Some manufacturers recommend even lower, around 12%. Always check the recommendations for the specific paint or stain you plan to use.
Preparing Pressure Treated Wood for Paint or Stain
Once you’ve confirmed your wood is dry, proper preparation is crucial for a lasting finish. This is often called preparing pressure treated wood for paint.
Cleaning the Wood
New pressure-treated wood often has a surface layer of “mill glaze” or “efflorescence” from the treatment process. This can prevent paint and stains from adhering.
- New Wood: You might see a chalky residue or a smooth, almost plastic-like surface. This needs to be removed.
- Washing: A mild detergent and water solution, along with a stiff brush, can help clean the surface.
- Wood Cleaner/Brightener: For tougher mill glaze, consider using a specialized wood cleaner or brightener. These products are designed to remove surface contaminants and open the wood grain. Follow the product instructions carefully.
- Rinsing: Thoroughly rinse the wood with clean water after cleaning.
- Older Wood: If your wood has been exposed to the elements for a while, it might have dirt, mold, or mildew.
- Scrubbing: Use a stiff brush and a mixture of water and a mild detergent or a dedicated deck cleaner.
- Power Washing (Use with Caution): A power washer can be effective, but it must be used on a low setting (below 1500 PSI) and held at a consistent distance (at least 12 inches) to avoid damaging the wood fibers. Too much pressure can scar the wood and create a surface that is harder to paint or stain.
Allowing the Wood to Dry After Washing
After cleaning, you must allow the wood to dry completely again. This could take another 24-48 hours or more, depending on the weather conditions. Again, a moisture meter is the best tool to confirm dryness.
Sanding for Adhesion
Sanding is a vital step for applying paint to pressure treated lumber for optimal adhesion.
- Purpose: Sanding removes any remaining surface contaminants, opens up the wood grain, and creates a slightly rougher texture for the paint or stain to grip.
- Grit: Use medium-grit sandpaper (around 80-100 grit) for initial sanding. If the wood is very rough, you might start with a coarser grit but always finish with a medium grit.
- Technique: Sand with the grain of the wood. Ensure you sand the entire surface to be painted or stained.
- Dust Removal: After sanding, always clean off all dust. A vacuum cleaner with a brush attachment or a leaf blower works well. You can also use a tack cloth for a very clean surface.
Painting Pressure Treated Wood: The Best Approach
Now that your wood is prepped and dry, you’re ready to paint. Painting new pressure treated wood requires a few key considerations.
Choosing the Right Paint
- Exterior Grade: Always use an exterior-grade paint. These paints are formulated to withstand UV rays, moisture, temperature fluctuations, and general wear and tear.
- Type of Paint:
- Latex or Acrylic Paints: These are generally the best choice for pressure-treated wood. They are flexible, breathable (allowing some moisture to escape), and offer good adhesion. Look for high-quality, 100% acrylic exterior paints.
- Oil-Based Paints: While durable, oil-based paints are less flexible than latex and can trap moisture more easily, potentially leading to peeling. They are generally not recommended for new pressure-treated wood.
Priming is Essential
A good quality exterior primer is crucial when painting pressure-treated wood.
- Purpose of Primer: Primer seals the wood, blocks any remaining treatment chemicals from bleeding through the paint, provides a uniform surface for the topcoat, and enhances paint adhesion.
- Type of Primer: Use an exterior-grade, stain-blocking primer, especially one designed for use with pressure-treated lumber. Alkyd (oil-based) primers are often recommended for their stain-blocking properties, but ensure they are compatible with your chosen latex topcoat. Many high-quality water-based primers also offer excellent stain blocking.
Application Steps
- Apply Primer: Apply one or two thin, even coats of your chosen exterior primer. Allow each coat to dry completely according to the manufacturer’s instructions.
- Light Sanding (Optional but Recommended): After the primer has dried, a light sanding with fine-grit sandpaper (150-220 grit) can create an even smoother surface for the topcoat and improve adhesion. Wipe away all dust.
- Apply Topcoat: Apply two thin, even coats of your exterior paint. Avoid applying paint too thickly, as this can lead to cracking and peeling.
- Brush: Good for detailed areas and getting into the wood grain.
- Roller: Efficient for larger, flat surfaces like deck boards or siding.
- Sprayer: Can provide a very even finish but requires careful masking and technique.
- Drying Between Coats: Allow adequate drying time between coats of paint, as recommended by the paint manufacturer. This is usually several hours, but can be longer in humid or cool conditions.
Staining Pressure Treated Wood: An Alternative Finish
If you prefer a more natural look, stain pressure treated wood is an excellent option. Stains penetrate the wood rather than forming a surface film like paint, allowing the wood grain to show through.
When to Stain
The same waiting period and dryness tests apply when you want to stain pressure treated wood. You need the wood to be dry and free of mill glaze for the stain to penetrate properly. The duration before staining pressure treated wood is typically the same as for painting – six months to a year.
Choosing the Right Stain
- Exterior Grade: Always use an exterior-grade stain.
- Types of Stains:
- Water-Based Stains: Easier to clean up, generally lower in VOCs, and dry faster.
- Oil-Based Stains: Tend to penetrate deeper into the wood and can offer more UV protection.
- Translucent Stains: Allow the most wood grain to show.
- Semi-Translucent Stains: Offer more color and UV protection while still showing some grain.
- Solid Stains: Act more like a paint, covering the wood grain completely. These have similar application requirements to paint.
- Sealers: Many stains contain built-in sealers. If you are using a stain without a sealer, you may want to follow up with an exterior wood sealer.
Preparing for Staining
The preparation steps are similar to painting, with a focus on removing mill glaze and ensuring dryness.
- Clean the wood: Remove dirt, debris, and mill glaze.
- Allow to dry: Ensure the wood is completely dry.
- Sand lightly: A light sanding (80-100 grit) can help the stain penetrate evenly.
- Remove dust: Clean all sanding dust.
Application of Stain
- Test the Stain: Always test the stain on an inconspicuous area of the wood to ensure you like the color and how it penetrates.
- Apply Stain: Apply the stain in thin, even coats, following the wood grain. Work in manageable sections.
- Wipe Off Excess: For most stains (especially translucent and semi-translucent), you’ll need to wipe off any excess stain that doesn’t penetrate the wood within 10-15 minutes using a clean cloth. This prevents a blotchy appearance.
- Second Coat (Optional): A second coat can be applied for deeper color or more protection, but wait for the first coat to dry and check the manufacturer’s recommendations.
Sealing Pressure Treated Wood
Sealing pressure treated wood is an important step for longevity, whether you paint or stain it, or leave it natural.
- Purpose of Sealer: Sealers protect the wood from moisture penetration, UV damage, and mildew. They can also enhance the wood’s natural color.
- When to Seal: You can seal pressure-treated wood once it’s dry. If you are painting or staining, the primer or stain often acts as the first layer of protection. However, many people choose to apply a clear sealer over a stain for added protection, or as a standalone finish for natural wood.
- Application: Apply sealers with a brush, roller, or sprayer, following the product’s instructions. Ensure even coverage and allow adequate drying time.
Table: Painting vs. Staining Pressure Treated Wood
| Feature | Painting Pressure Treated Wood | Staining Pressure Treated Wood |
|---|---|---|
| Finish | Opaque, hides wood grain, wide color range. | Translucent to solid, allows wood grain to show (depending on type). |
| Protection | Forms a protective film, good UV and moisture resistance. | Penetrates wood, offers UV and moisture protection. |
| Maintenance | Can chip/peel if not applied correctly, may need repainting. | Tends to fade rather than peel, usually requires reapplication. |
| Application | Requires primer, multiple thin coats. | Can be applied directly after prep, often requires wiping excess. |
| Preparation | Thorough cleaning, sanding, priming. | Thorough cleaning, light sanding. |
| Best For | Creating a specific color scheme, covering imperfections. | Enhancing natural wood beauty, achieving a more rustic look. |
| DIY Difficulty | Moderate (requires careful prep and application). | Easy to Moderate (depends on stain type and desired finish). |
When to Paint Deck Boards Specifically
For decks, when to paint deck boards follows the same principles. A new deck needs time to dry. Inspect the deck boards for dryness. If you notice water beads up on the surface, it’s not ready. Use the wet towel test or a moisture meter on several boards.
Once the deck is dry and prepped, choose an exterior-grade deck paint or stain designed for high-traffic areas. Applying paint to deck boards requires careful attention to detail to ensure an even, durable finish.
Common Mistakes to Avoid
- Painting or staining too soon: This is the most common and detrimental mistake.
- Skipping the prep work: Not cleaning or sanding the wood properly will lead to poor adhesion.
- Using the wrong products: Always use exterior-grade paints, stains, primers, and sealers.
- Applying paint too thickly: Thin, even coats are always better.
- Not testing for dryness: Relying solely on time instead of actual moisture levels.
- Ignoring the weather: Don’t paint or stain in direct sunlight, when it’s too cold, or when rain is expected. Ideal conditions are mild temperatures (50-80°F or 10-27°C) and low humidity.
Frequently Asked Questions (FAQ)
Q1: Can I paint pressure-treated wood immediately after buying it?
A1: No, you should not. The wood is saturated with moisture and treatment chemicals. Waiting is essential for proper adhesion and a lasting finish.
Q2: How can I tell if my pressure-treated wood is dry enough?
A2: You can use the wet towel test or a moisture meter. The goal is to have a moisture content below 15-18%.
Q3: What is mill glaze, and why do I need to remove it?
A3: Mill glaze is a surface layer formed during the milling and pressure-treatment process. It can act as a barrier, preventing paint or stain from penetrating and adhering to the wood.
Q4: Can I use any exterior paint on pressure-treated wood?
A4: It’s best to use high-quality 100% acrylic latex exterior paint. Always use an exterior-grade primer, preferably one that blocks stains.
Q5: How long does it typically take for pressure-treated wood to dry enough for painting?
A5: Generally, it takes between six months and a year, but this can vary significantly based on climate, exposure, and wood thickness. Always test for dryness.
Q6: What’s the difference between painting and staining pressure-treated wood?
A6: Paint forms a surface film and hides the wood grain, offering a solid color. Stain penetrates the wood, allowing the grain to show through, and comes in various opacities.
Q7: Do I need to seal pressure-treated wood after painting it?
A7: A good quality exterior paint and primer system usually provides adequate protection. However, some people choose to apply a sealer over the paint for extra durability, especially on decks.
By following these expert guidelines, you can ensure your pressure-treated wood projects are beautifully and durably finished, providing years of enjoyment. Patience and proper preparation are the secrets to success.