
Can you paint treated lumber immediately? No, you generally cannot paint treated lumber immediately after it’s been purchased. Treated lumber needs time to dry and outgas before it can be effectively painted.
Treated lumber is a popular choice for outdoor projects like decks, fences, and pergolas. It’s built to withstand rot, decay, and insect damage. However, if you’re planning to paint or stain it for aesthetic purposes, patience is key. Applying a finish too soon can lead to problems like peeling, bubbling, and poor adhesion. This guide will help you figure out the right time to pick up that paintbrush.
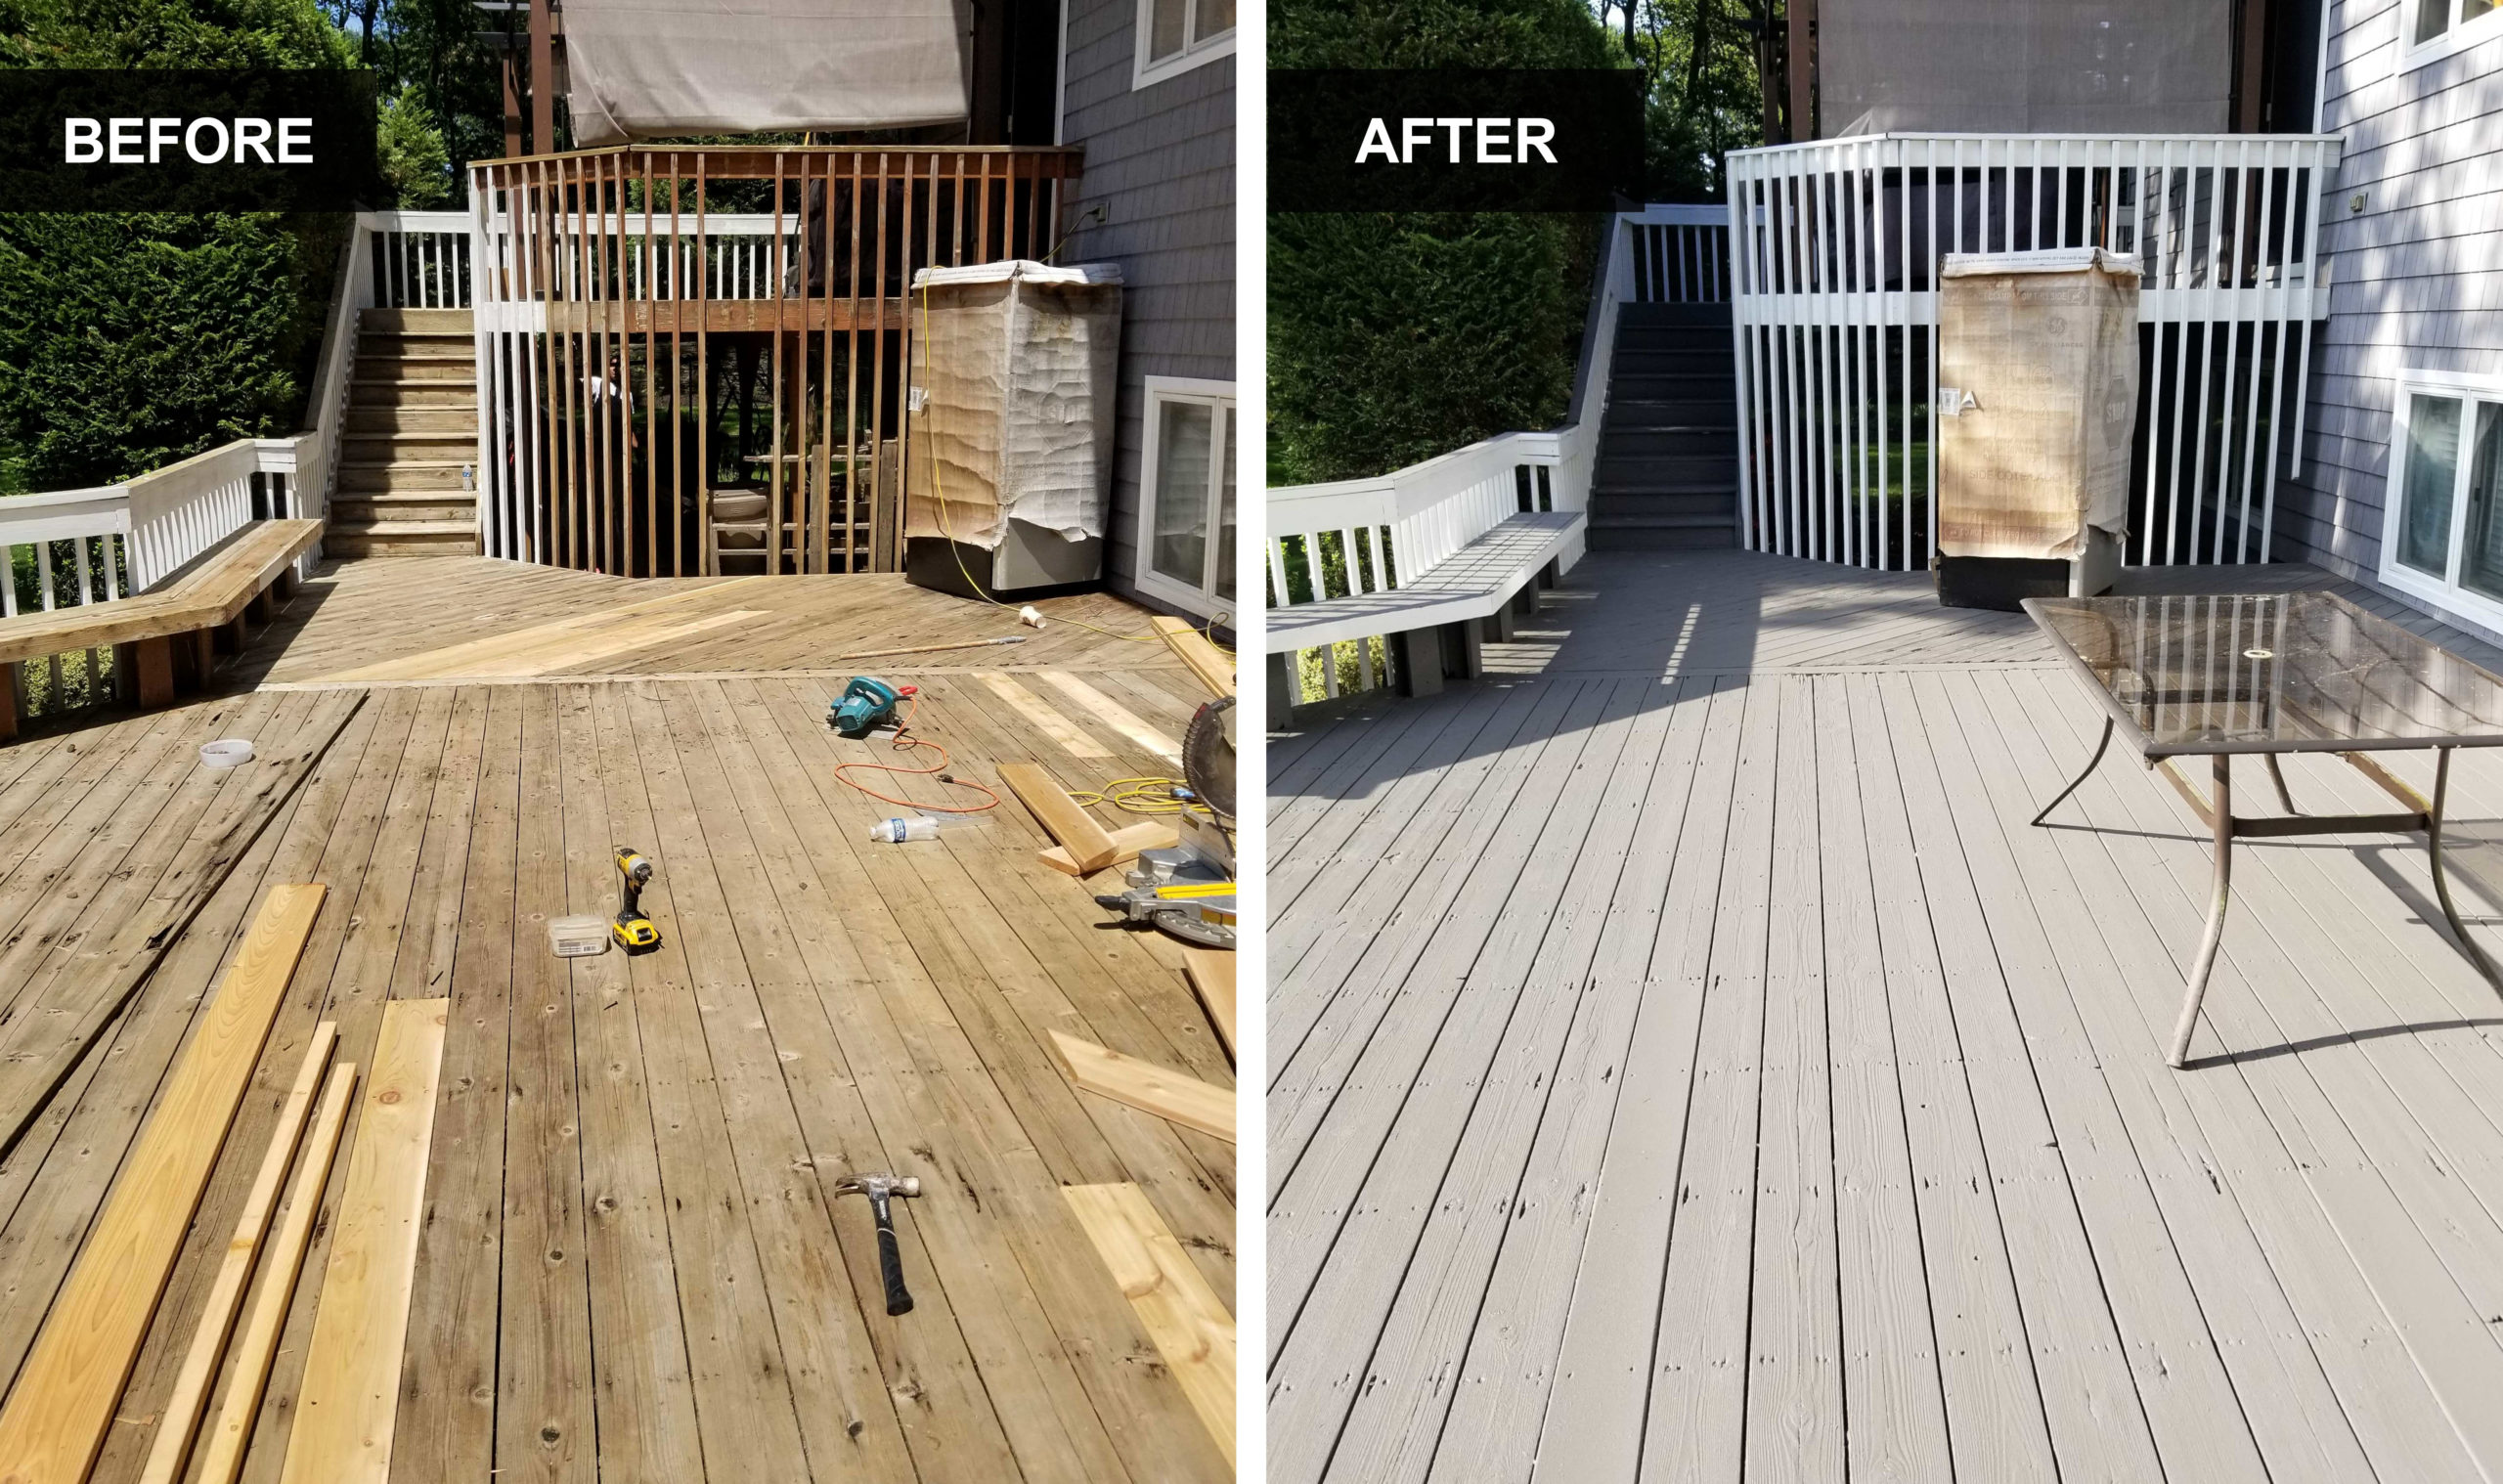
Image Source: www.precisionpaintingplus.net
Why Treated Lumber Needs Time to Dry
Treated lumber is infused with chemicals to protect it. These chemicals, while beneficial for durability, are often carried in a water-based solution. When the lumber is treated, it becomes saturated with this solution. This means the wood is quite wet when you buy it.
The Role of Moisture Content
The key factor determining when you can paint treated lumber is its moisture content. High moisture levels prevent paint and stains from properly adhering to the wood. Think of it like trying to stick a sticker onto a wet surface – it just won’t hold.
- Water-Based Treatment: The most common type of wood treatment uses water-based preservatives. This water needs to evaporate from the wood before any finishing product can be applied.
- Chemical Outgassing: Beyond just water, the treatment chemicals themselves need time to settle and release any volatile compounds. This process is often referred to as “outgassing.” If you paint over these compounds, they can push the paint away from the wood.
Factors Affecting Drying Time
The drying time for treated lumber isn’t a one-size-fits-all answer. Several factors influence how quickly the wood will be ready for finishing.
- Type of Treatment: Different treatment processes can affect how quickly the wood dries.
- Environmental Conditions: Warm, dry, and breezy weather speeds up drying. Cold, humid, or rainy conditions will significantly slow it down.
- Exposure to Elements: How the lumber is stored and handled after purchase also plays a role.
- Wood Species: Some types of wood absorb and retain moisture differently.
Determining Readiness: The Moisture Meter Test
The most reliable way to know if your treated lumber is ready for paint or stain is to test its moisture content.
What is a Moisture Meter?
A moisture meter is a handheld device with two probes that you insert into the wood. It measures the electrical resistance, which directly correlates to the moisture level within the wood.
Ideal Moisture Content for Painting
For most exterior painting projects, including treated lumber, a moisture content of 15% or lower is generally recommended. Some professionals aim for an even lower percentage, around 12-13%, for optimal paint adhesion.
How to Use a Moisture Meter
- Select Test Locations: Choose several random spots on the lumber, avoiding knots or areas that look particularly wet.
- Insert Probes: Gently push the probes into the wood to the depth recommended by the meter’s manufacturer.
- Read the Measurement: The meter will display a percentage.
- Repeat: Test multiple pieces of lumber and multiple spots on each piece to get an average reading.
The Recommended Waiting Period: A General Guideline
While a moisture meter is the most accurate method, there are general guidelines based on common practices and experience.
The “Wait and See” Approach (with Caveats)
Many sources suggest waiting a certain amount of time after purchasing treated lumber. However, this is less precise than a moisture meter.
- Summer Months: If you buy treated lumber during the warm, dry summer, it might be ready in as little as 30-60 days.
- Colder or Wetter Seasons: If purchased during fall or winter, or in a humid climate, it could take 6 months to a year or even longer.
Important Note: This is a very general guideline. Always rely on the moisture meter test for the most accurate assessment.
Factors Influencing the Waiting Period
- Lumber Storage: Was the lumber stored in a dry, well-ventilated area or left exposed to rain and humidity?
- Sun Exposure: Direct sunlight can help dry the wood faster, but it can also cause warping if the wood dries too quickly and unevenly.
- Air Circulation: Stacked lumber with good air circulation around it will dry more effectively than lumber stacked tightly without airflow.
Preparing Treated Lumber for Painting
Once your treated lumber has reached the appropriate moisture content, proper preparation is crucial for a lasting finish.
Cleaning the Surface
The surface of treated lumber can accumulate dirt, mold, mildew, or a chalky residue from the treatment process.
- Washing: Use a stiff brush and a mild detergent or a specialized wood cleaner. For stubborn stains or mildew, a solution of one part bleach to three parts water can be used.
- Rinsing: Thoroughly rinse the lumber with clean water to remove all cleaning agents.
- Allow to Dry: Let the wood dry completely after washing, which might take a day or two depending on the weather.
Sanding for Optimal Adhesion
Sanding provides a smoother surface and helps create a profile for the primer and topcoat to grip.
- Grits: Start with a medium-grit sandpaper (around 80-100 grit) to smooth out any rough spots and remove surface debris. Follow up with a finer grit (120-150 grit) for a smoother finish.
- Power Sanders: Orbital or belt sanders can speed up the process, but be careful not to over-sand or create an overly smooth, polished surface, which can hinder paint adhesion.
- Dust Removal: After sanding, use a shop vacuum or a tack cloth to remove all dust.
Priming Treated Lumber
A good quality primer is essential for a successful paint job on treated lumber.
Why Use a Primer?
- Adhesion: A primer designed for exterior wood will significantly improve paint adhesion, creating a strong bond between the wood and the topcoat.
- Sealing: It seals the wood surface, preventing the tannins and chemicals in the treated lumber from bleeding through the paint.
- Uniformity: It creates an even surface for the topcoat, ensuring consistent color and coverage.
- Moisture Barrier: Some primers offer additional moisture protection.
Choosing the Right Primer
Look for an exterior-grade, oil-based or high-quality latex primer. For treated lumber, it’s especially important to choose a primer that is specifically formulated to adhere to new wood or treated surfaces and offers good stain-blocking properties.
- Oil-Based Primers: Generally offer excellent adhesion and stain-blocking capabilities. They are a good choice for new or tricky surfaces.
- Water-Based (Latex) Primers: Modern water-based primers have improved significantly. Look for those that are specifically recommended for exterior use and treated wood.
Application of Primer
- Apply Evenly: Apply one or two thin, even coats of primer according to the manufacturer’s instructions.
- Allow to Dry: Let the primer dry completely between coats and before applying the topcoat. This is crucial for proper curing.
Applying the Topcoat: The Paint or Stain Choice
Once the primer is dry and ready, you can apply your chosen exterior paint or wood stain.
Exterior Paint vs. Wood Stain
Both paint and stain can protect and beautify treated lumber, but they offer different looks and levels of protection.
- Exterior Paint:
- Pros: Offers a solid, opaque color finish. Available in a vast range of colors. Can provide excellent protection against the elements when applied correctly.
- Cons: Can peel or chip if not applied to a well-prepared surface. Hides the natural wood grain. Requires more prep for future recoating.
- Wood Stain:
- Pros: Enhances the natural beauty of the wood grain. Can offer UV protection and water repellency. Often easier to reapply than paint.
- Cons: Offers less protection than solid paint. Color options are more limited to wood tones. May need more frequent reapplication depending on the product and weather exposure.
Choosing the Right Paint or Stain
- For Paint: Select a high-quality exterior paint designed for wood. Acrylic latex paints are a popular choice for their durability and flexibility.
- For Stain: Choose an exterior wood stain that suits your desired look – semi-transparent for a natural look, or solid stain for a more opaque, paint-like finish. Look for products with good water repellency and UV protection.
Application Techniques
- Apply in Favorable Conditions: Avoid painting or staining in direct sunlight, extreme heat, high humidity, or when rain is expected. Ideal conditions are mild temperatures (50-85°F or 10-30°C) and low humidity.
- Apply Thin, Even Coats: Apply the paint or stain in thin, even coats using a brush, roller, or sprayer. Follow the grain of the wood.
- Allow for Curing: This is where many people rush. Paint adhesion and durability depend on proper curing period, not just drying time. The paint needs time for the chemical bonds to fully form. Check the product’s label for recommended drying and recoating times, and understand that full curing can take several days or even weeks.
- Multiple Coats: Most projects will require at least two coats of paint or stain for optimal coverage and protection. Ensure adequate drying time between coats.
Maintaining Your Painted Treated Lumber
Proper maintenance will extend the life and beauty of your painted treated lumber.
Regular Inspections
Periodically check your painted surfaces for any signs of peeling, cracking, or fading.
Cleaning
Clean the surface gently with mild soap and water to remove dirt and grime.
Recoating
When the paint starts to show wear, it’s time for a recoat. Light sanding might be necessary before applying a new coat to ensure good paint adhesion.
Frequently Asked Questions (FAQ)
Q1: Can I paint my deck made of treated lumber right after it’s built?
No, it’s generally not recommended. Treated lumber is saturated with chemicals and water. You must allow it to dry out until its moisture content is 15% or less, which can take several weeks to several months depending on the weather.
Q2: What if I’ve already painted treated lumber that was too wet?
If you notice peeling or bubbling paint, the likely cause is that the moisture content was too high when the paint was applied. You’ll need to remove the failing paint, allow the wood to dry thoroughly (testing with a moisture meter), and then re-prime and repaint.
Q3: Does treated lumber need a special primer?
Yes, it’s best to use an exterior-grade primer specifically designed for new wood or treated lumber. This helps with paint adhesion and prevents the chemicals in the wood from bleeding through the paint.
Q4: What’s the difference between drying time and curing period for paint?
Drying time refers to when the paint is no longer wet to the touch. The curing period is the longer process where the paint’s chemical bonds fully strengthen, providing maximum durability and adhesion. It’s crucial to respect the full curing time before exposing the painted surface to heavy use or moisture.
Q5: Can I use a wood stain instead of paint on treated lumber?
Yes, you can. Wood stain can offer good protection and enhances the natural wood grain. Ensure you choose an exterior-grade stain and follow the same waiting and preparation guidelines as for painting.
Q6: How can I tell if the treated lumber is dry enough without a moisture meter?
While a moisture meter is the most accurate method, you can get a general idea by observing the wood. It should look lighter in color than when you bought it, and feel dry to the touch. You can also try scratching it with a knife – if a lot of liquid comes out, it’s not ready. However, for the best results, a moisture meter is highly recommended.
Q7: How does weather exposure affect the drying time of treated lumber?
Significant weather exposure, especially rain or high humidity, will prolong the drying time. Conversely, warm, dry, and breezy conditions will speed it up.
Q8: Will the wood stain protect the treated lumber from the elements?
Yes, exterior-grade wood stains provide protection against UV rays and moisture, contributing to the water repellency of the wood. However, paint generally offers a more robust barrier against extreme weather exposure.
Q9: Is it okay to apply a sealant after painting treated lumber?
Typically, you would not apply a separate sealant over exterior paint. The paint itself acts as the sealant. If you are using a wood stain, some stains are also sealants, while others may recommend a clear topcoat sealant for added protection. Always check the product’s recommendations.
Q10: How important is sanding treated lumber before painting?
Sanding is very important. It creates a slightly rougher surface that allows the primer and subsequent topcoat to adhere much better, preventing future peeling and improving the overall finish. It also removes any loose fibers or residues from the treatment process.