
Can you paint pressure-treated wood immediately after purchase? No, you cannot paint or stain pressure-treated wood right away. It needs time to dry out and for the chemicals to stabilize within the wood fibers. This waiting period is crucial for ensuring proper adhesion and a long-lasting finish.
Pressure-treated wood is a popular choice for outdoor projects like decks, fences, and pergolas. Its resistance to rot, decay, and insect infestation makes it durable. However, the chemicals used in the treatment process leave the wood wet and can interfere with paint and stain adhesion if not allowed to dry properly. Deciding how long to wait before painting treated lumber is a common question for DIY enthusiasts and contractors alike. This guide will delve into the factors influencing the waiting period, the best methods for testing readiness, and the essential preparation steps for a successful paint job.
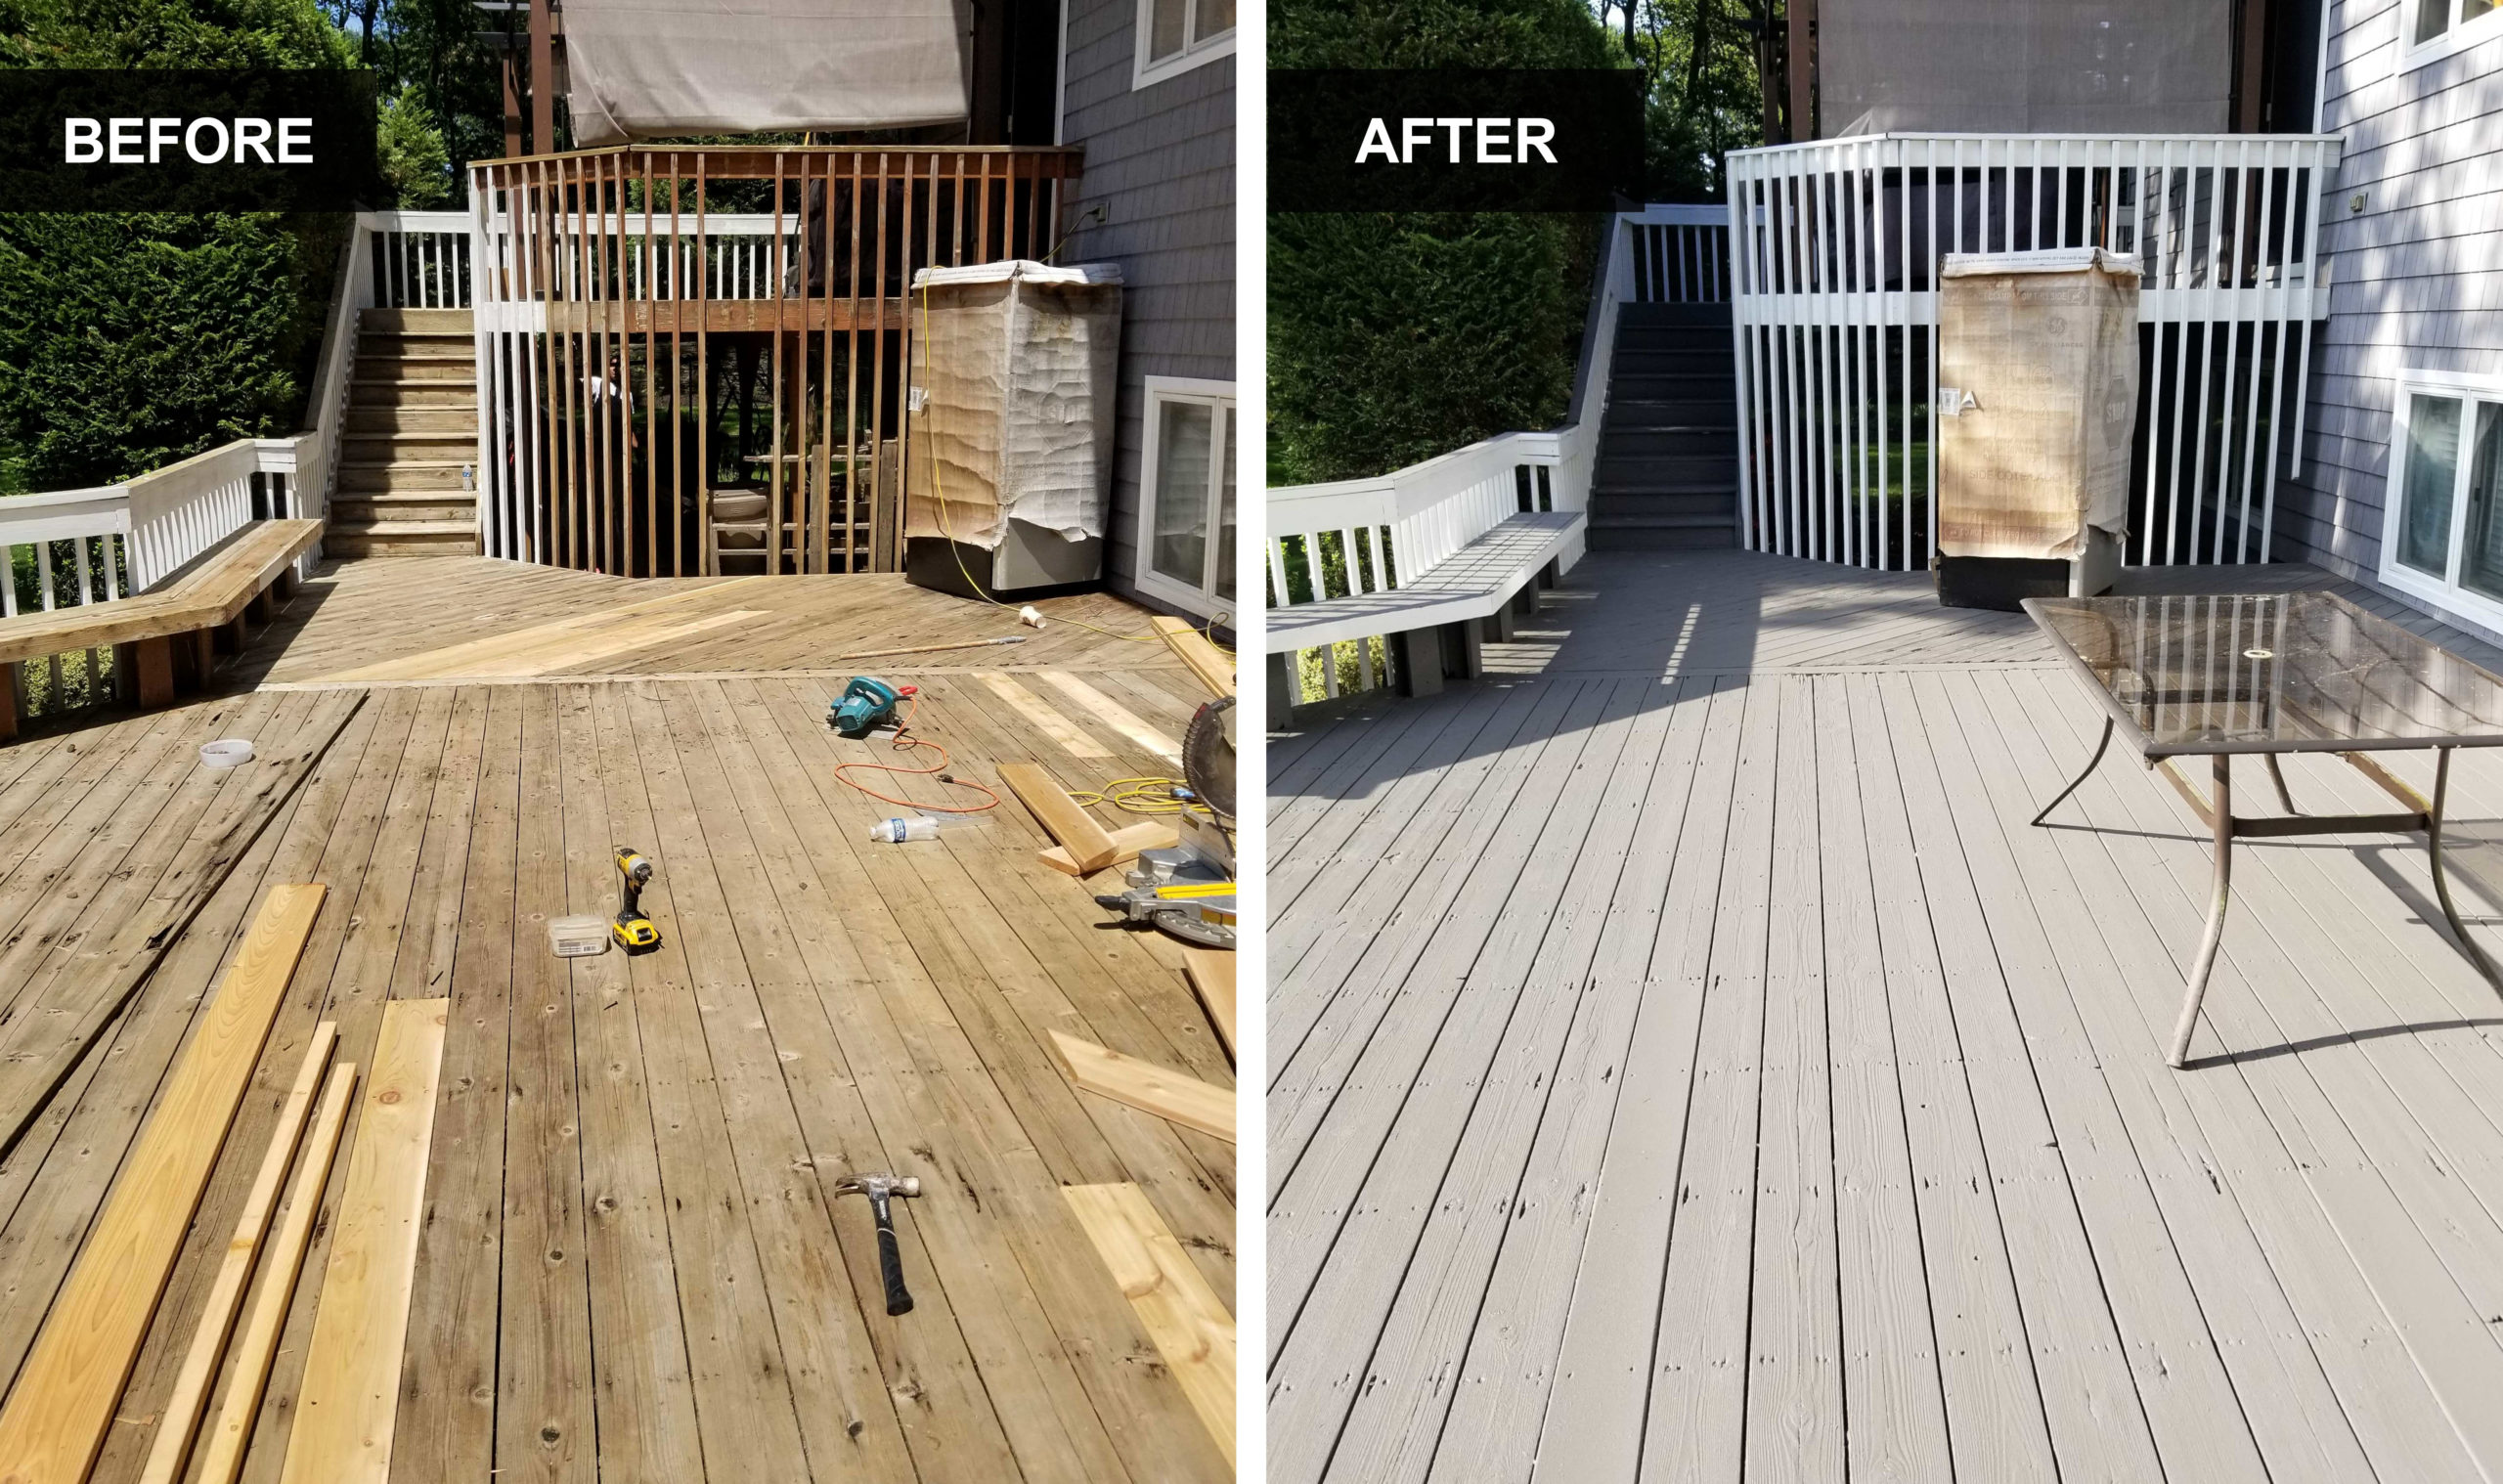
Image Source: www.precisionpaintingplus.net
The Importance of a Waiting Period
When wood is pressure-treated, it’s infused with chemical preservatives under pressure. This process, while beneficial for protection, saturates the wood with moisture and the treatment solution. If you try painting or staining too soon, several problems can arise:
- Poor Adhesion: The wetness and residual chemicals can prevent paint or stain from bonding effectively to the wood surface. This leads to peeling, flaking, or bubbling paint.
- Discoloration: Moisture trapped beneath the paint can cause dark spots or uneven coloration.
- Premature Failure: The finish might not last long, requiring frequent recoating pressure treated wood.
- Chemical Reactions: In some cases, uncured treatment chemicals can react with paint, leading to an unsightly finish.
Therefore, allowing the wood adequate drying time is not just a suggestion; it’s a necessity for a professional and durable finish.
Factors Affecting Drying Time
The exact waiting period for painting pressure-treated wood can vary significantly based on several factors:
1. Wood Species and Density
Different types of wood absorb and release moisture at different rates. Denser hardwoods may take longer to dry than softer woods.
2. Treatment Level and Method
The type and concentration of the wood preservative, as well as the specific pressure-treating process used, can influence how much moisture remains in the wood and how long it takes to dissipate.
3. Environmental Conditions
- Temperature: Warmer temperatures accelerate the drying process.
- Humidity: High humidity levels will slow down drying, as the wood will struggle to release moisture into the air.
- Airflow: Good ventilation and a gentle breeze help carry moisture away from the wood surface. Direct sunlight can also aid in drying, but excessive heat can sometimes warp the wood.
- Rainfall: If the wood is exposed to rain, it will prolong the drying time.
4. Storage Conditions
How the wood was stored after treatment also plays a role. Wood stored in a dry, well-ventilated area will dry faster than wood left exposed to the elements.
How Long Should You Wait? General Guidelines
While specific conditions matter, there are general guidelines for how long to wait before painting pressure-treated wood:
- General Rule of Thumb: Most manufacturers and painting experts recommend waiting at least 6 to 12 months after installation. For some very humid or cooler climates, this could extend to 18 months or even two years.
- Exterior vs. Interior: For exterior applications like decks, where the wood is exposed to significant weather exposure, a longer drying period is typically needed compared to interior applications (though interior use of pressure-treated wood is less common).
It’s crucial to remember that these are just estimates. Relying solely on a time frame without testing the wood’s readiness can lead to a poor paint job.
Testing the Wood’s Readiness for Painting
The most reliable way to determine if your pressure-treated lumber is ready for paint is by performing simple tests. These tests help gauge the moisture content of the wood.
1. The Water Drop Test
This is a quick and easy method to check surface dryness:
- Procedure: Sprinkle a few drops of water onto the surface of the pressure-treated wood.
- What to Look For:
- If the water beads up and sits on the surface, the wood is still too wet and oily from the treatment process.
- If the water is quickly absorbed into the wood, it’s likely dry enough to proceed with preparation and painting.
2. The Moisture Meter Test
For a more precise measurement, use a reliable wood moisture meter:
- Procedure: Insert the pins of the moisture meter into the wood. For best results, take readings from multiple spots on different boards, especially in shaded areas which may retain more moisture.
- What to Look For:
- Most paints and stains require a moisture content of 15% or lower for optimal adhesion. Some high-quality exterior paints might even specify 12% or less.
- If your meter reads above 15%, the wood still needs more time to dry.
Table 1: Moisture Meter Readings and Readiness for Painting
| Moisture Meter Reading (%) | Wood Readiness | Action Required |
|---|---|---|
| Below 10 | Very Dry | Ready for prep and painting. |
| 10 – 15 | Dry Enough | Ready for prep and painting. |
| 15 – 20 | Slightly Damp | Requires more drying time. Re-test in a few weeks. |
| Above 20 | Very Wet | Significantly more drying time needed. |
Important Note: Always consult the paint or stain manufacturer’s recommendations for the maximum acceptable moisture content.
Preparing Pressure Treated Wood for Painting
Once you’ve confirmed your lumber is dry enough, proper wood preparation is essential for a successful painting project. Rushing this stage can negate the benefits of waiting for the wood to dry.
1. Cleaning the Wood
- Remove Dirt and Debris: Use a stiff brush or a broom to sweep away any loose dirt, leaves, or cobwebs.
- Wash the Wood: For more stubborn grime, mold, or mildew, use a dedicated wood cleaner or a solution of mild detergent and water. You can use a soft-bristled brush for scrubbing.
- Rinsing: Thoroughly rinse the wood with clean water. Avoid using a high-pressure washer, as it can damage the wood fibers and force water deeper into the wood, potentially undoing some of the drying you’ve achieved. If you must use a pressure washer, use the lowest setting and keep the nozzle at a safe distance.
2. Removing Old Finishes (If Applicable)
If the pressure-treated wood has been previously painted or stained and you’re looking at recoating pressure treated wood, you’ll need to prepare the surface.
- Sanding: Lightly sand the entire surface to remove any loose paint, glossy finishes, or rough spots. Use a medium-grit sandpaper (around 80-120 grit). Sanding helps create a uniform surface for the new paint to adhere to.
- Chemical Strippers: For heavily peeling or flaking paint, a chemical stripper might be necessary, followed by neutralization and thorough rinsing.
3. Addressing Rough Spots and Splinters
- Sanding: After cleaning and stripping (if applicable), go over the wood again with a finer-grit sandpaper (120-220 grit) to create a smooth surface and remove any minor splinters or rough patches. Pay attention to edges and corners.
4. Ensuring Complete Dryness After Washing
After washing or rinsing, it’s critical to allow the wood to dry completely before proceeding with priming or painting. This might take another day or two, depending on the weather conditions.
Priming for Success
Priming pressure-treated wood before painting is a critical step that shouldn’t be skipped, especially with newer pressure-treated lumber.
- Why Prime? A good primer acts as a bridge between the wood and the topcoat. It seals the wood, prevents the topcoat from soaking in unevenly, blocks any potential tannins from bleeding through, and improves paint adhesion.
- Choosing the Right Primer:
- Look for primers specifically designed for exterior use and compatible with pressure-treated wood.
- Oil-based or shellac-based primers are often recommended for pressure-treated wood because they offer excellent adhesion and blocking properties. They are particularly good at preventing potential issues with tannins that might leach from the wood, especially if it’s cedar or redwood.
- Water-based acrylic primers can also work, but ensure they are formulated for exterior use and explicitly state suitability for pressure-treated wood. Always check the primer’s product information.
- Application: Apply the primer evenly according to the manufacturer’s instructions. Ensure complete coverage. Allow the primer to dry thoroughly as per the product’s recommendations before applying the paint.
Selecting the Right Paint
Choosing the appropriate paint is as important as the preparation and waiting period.
- Exterior Grade: Always opt for high-quality exterior-grade paints. These are formulated to withstand harsh weather conditions, UV exposure, and temperature fluctuations.
- Paint Type:
- Acrylic Latex Paints: These are popular for their durability, flexibility, and ease of cleanup. They expand and contract with the wood, reducing the risk of cracking.
- Oil-Based Paints: While durable, they can become brittle over time and may be more prone to cracking on wood that moves. They are also harder to clean up.
- Sheen: A satin or semi-gloss finish often holds up well on exterior surfaces and is easier to clean than a flat finish.
Painting and Staining Treated Wood
Once the wood is dry, prepped, and primed, you’re ready to paint.
Painting Process
- Apply the First Coat: Apply the paint evenly using a brush, roller, or sprayer. Work with the grain of the wood. Avoid applying the paint too thickly, as this can lead to runs and drips.
- Allow Drying Time: Let the first coat dry completely according to the paint manufacturer’s instructions. This usually takes several hours, but check the product label.
- Apply Second Coat: Apply a second coat for optimal coverage and durability. Two thin coats are almost always better than one thick coat.
- Allow Full Cure Time: While the paint may feel dry to the touch after a few hours, it needs time to cure fully. This curing process can take several days to a couple of weeks, during which the paint hardens and reaches its maximum durability. During this time, avoid heavy foot traffic or scrubbing on painted decks.
Staining Treated Wood
If painting isn’t your preference, staining treated wood is another excellent option for protecting treated lumber. Stains penetrate the wood, offering protection while allowing the wood grain to show through.
- Stain Types:
- Transparent Stains: Offer minimal color but provide UV protection and allow the natural wood grain to be highly visible.
- Semi-Transparent Stains: Provide more color than transparent stains but still allow some wood grain to show.
- Solid Stains: Mimic the look of paint, completely hiding the wood grain. They offer excellent protection.
- Application: Stains are typically applied with a brush, roller, or sprayer and often require back-brushing to ensure even coverage. Always follow the specific product instructions for application and drying times.
- Waiting Period for Stain: While the drying time is still important for stain, some stains can be applied slightly sooner than paint, often after a few months of drying, provided the wood passes the water drop test. However, for maximum longevity and best adhesion, waiting the full recommended period is still advisable.
Sealing Pressure Treated Wood
Sealing pressure treated wood is an integral part of its maintenance and protection, whether you’re painting or staining.
- Sealants vs. Paints/Stains: While paints and stains offer color and protection, a dedicated wood sealant (or sealer) is primarily focused on repelling water and preventing moisture absorption.
- When to Seal:
- After Treatment: Some professionals recommend applying a sealant to pressure-treated wood after it has dried sufficiently but before painting or staining, especially if the wood is going to be exposed to harsh elements.
- As a Maintenance Step: If you’ve painted or stained your wood, a clear or tinted sealant can be applied periodically (e.g., every 1-3 years) to refresh the finish and provide an extra layer of protection.
- Choosing a Sealant: Look for exterior-grade sealants that are specifically designed to work with wood and won’t interfere with future coatings. Water-repellent sealants are excellent for decks and other surfaces exposed to moisture.
Maintaining Your Painted or Stained Project
Proper maintenance will extend the life of your painted or stained pressure-treated wood:
- Regular Cleaning: Wash the surface annually to remove dirt, mildew, and debris.
- Inspect for Damage: Periodically check for any signs of peeling, chipping, or fading paint, or wear in the stain.
- Recoating: When the finish starts to show wear, it’s time for recoating pressure treated wood. Clean the surface thoroughly, light sand any glossy areas, and apply a fresh coat of paint or stain.
Frequently Asked Questions (FAQ)
Q1: Can I paint brand new pressure-treated wood?
A1: No, you should not paint brand new pressure-treated wood immediately. It needs to dry out properly first to allow the paint to adhere correctly. Waiting at least 6-12 months is generally recommended.
Q2: How do I know if my pressure-treated wood is dry enough to paint?
A2: You can perform a water drop test by sprinkling water on the surface; if it beads up, it’s too wet. A wood moisture meter is more accurate; aim for a moisture content of 15% or lower.
Q3: Is priming pressure-treated wood necessary?
A3: Yes, priming pressure-treated wood is highly recommended. A good primer seals the wood, improves adhesion, and prevents potential issues like tannin bleed-through.
Q4: What kind of paint is best for pressure-treated wood?
A4: High-quality exterior-grade acrylic latex paints are generally the best choice due to their flexibility and durability. Always check the paint manufacturer’s recommendations.
Q5: How long does it take for paint to fully cure on pressure-treated wood?
A5: While paint may feel dry to the touch in a few hours, it typically takes several days to two weeks for the paint to fully cure and reach its maximum hardness and durability. Avoid heavy use during this period.
Q6: Can I stain pressure-treated wood sooner than painting it?
A6: Generally, the same drying principles apply to staining as to painting. While some stains might adhere slightly better to wood that is a bit wetter than paint requires, waiting for the wood to dry sufficiently (passing the water drop test) is still the best practice for long-term results.
By following these guidelines, you can ensure your pressure-treated wood projects are beautifully and durably finished, providing years of enjoyment. Patience during the waiting period and diligent wood preparation are the keys to a successful outcome.