
Can you paint pressure-treated lumber right away? No, it’s generally not recommended to paint or stain pressure-treated lumber immediately after purchase. The wood needs time to dry and cure properly. Waiting allows the chemicals used in the treatment process to stabilize and excess moisture to escape, ensuring better adhesion and a longer-lasting finish.
Pressure-treated lumber is a fantastic choice for outdoor projects like decks, fences, and pergolas. It’s designed to resist rot, decay, and insect infestation. However, to achieve a beautiful and durable painted or stained finish, you need to give the wood adequate time to dry and prepare it correctly. Rushing the process can lead to peeling paint, poor stain penetration, and premature failure of your coating. This guide will provide expert tips and explain the critical factors involved in determining the right time to paint your pressure-treated lumber.
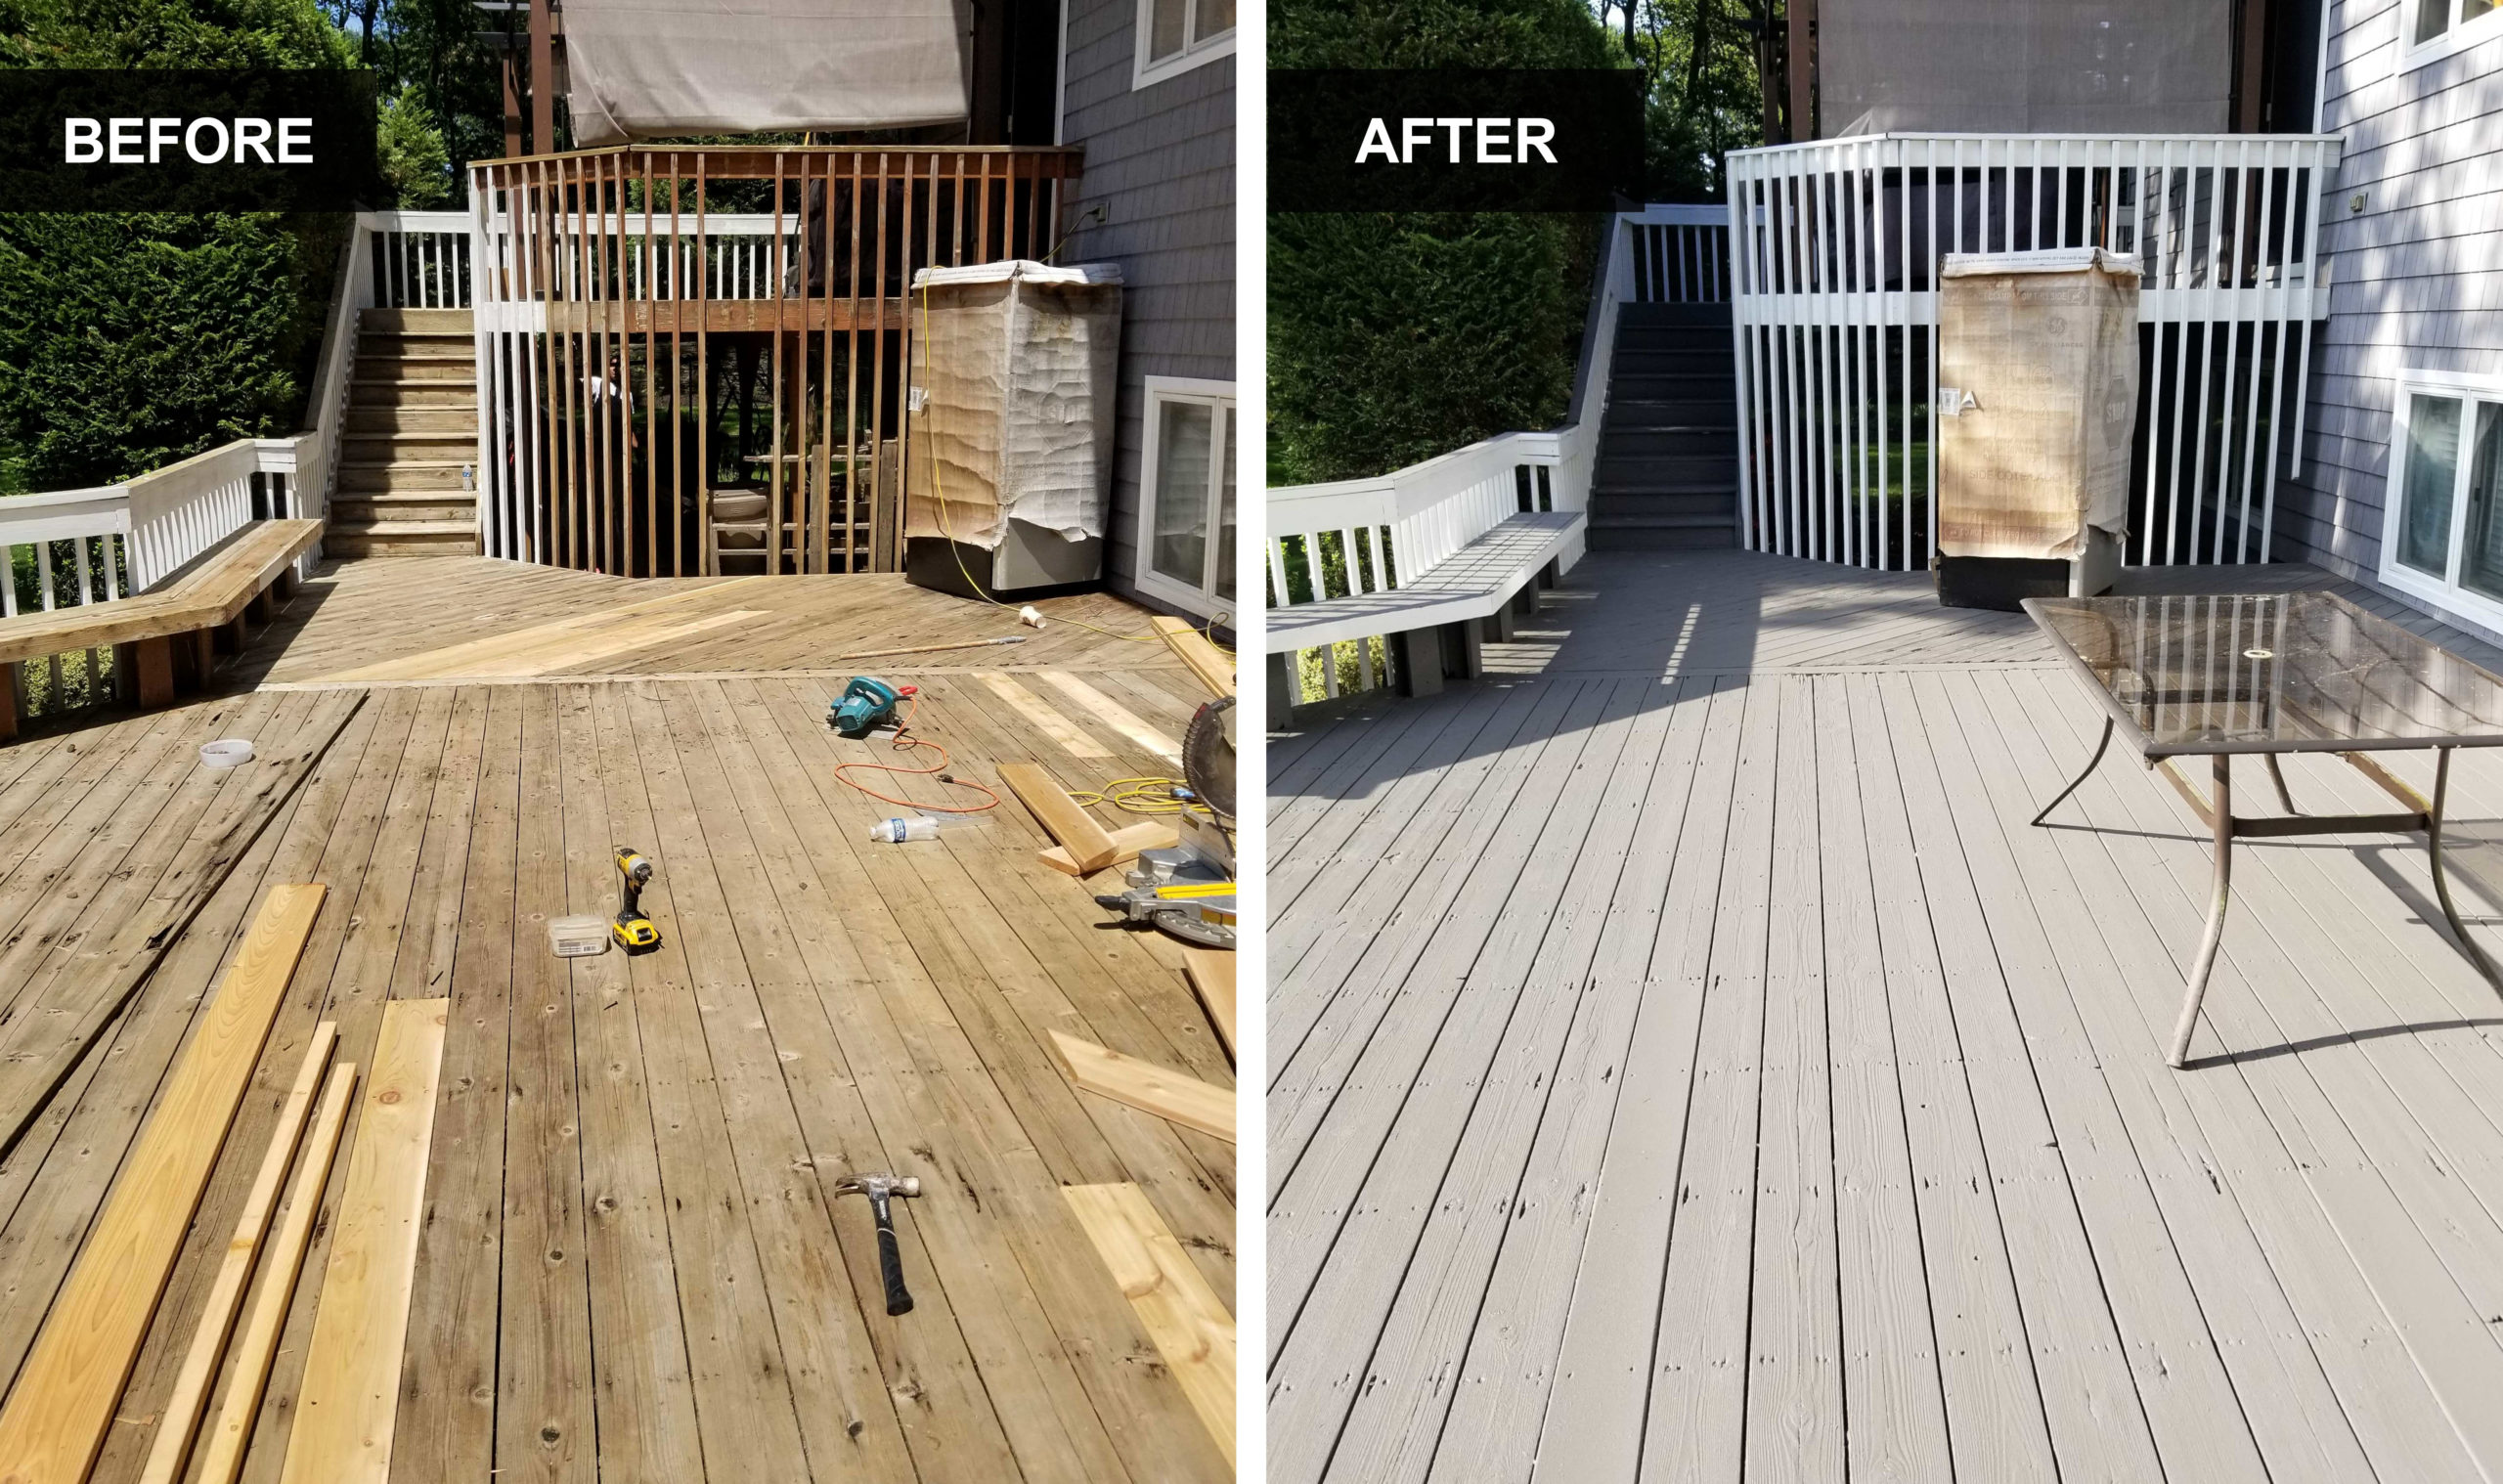
Image Source: www.precisionpaintingplus.net
The Importance of Lumber Curing
Pressure-treated lumber undergoes a process where wood preservatives are forced deep into the wood fibers under pressure. While this treatment significantly enhances the wood’s longevity, it also introduces a considerable amount of moisture into the wood. This moisture content needs to be reduced before you can apply any type of coating.
Why Waiting is Crucial: The Science Behind It
The chemicals used in pressure treatment, often copper-based compounds like alkaline copper quaternary (ACQ) or copper azole (CA), are water-soluble. When the wood is treated, it’s saturated with these solutions. This saturation is beneficial for protection but problematic for painting.
- Moisture Content: Freshly treated lumber can have a moisture content of 30% or even higher. For most paints and stains to adhere properly, the wood’s moisture content should ideally be below 15%, and often closer to 12-13% for optimal results. If you paint over wood that is too wet, the moisture trapped within will try to escape, pushing the paint layer off and causing peeling or blistering.
- Chemical Leaching: The preservatives in the wood can sometimes leach to the surface as the wood dries. This can create a chalky residue or efflorescence. If you paint over this before it’s properly removed, the paint won’t adhere well.
- Dimensional Stability: Wood naturally expands and contracts with changes in moisture and temperature. Applying a finish too early, before the wood has reached a stable state, can exacerbate these movements. As the wood continues to dry and settle, it can crack or warp, taking the paint with it.
Determining the Drying Time
So, how long does pressure-treated lumber need to dry? This is a common question with a variable answer. Several factors influence the lumber curing process.
Key Factors Affecting Drying Time
- Type of Treatment: Different treatment processes and chemical concentrations can affect drying times.
- Wood Species: Dense hardwoods will dry slower than softer woods.
- Environmental Conditions:
- Temperature: Warmer temperatures speed up drying.
- Humidity: High humidity slows down drying.
- Airflow: Good ventilation and breezes help dissipate moisture.
- Sunlight: Direct sunlight can accelerate drying, but can also lead to cracking if too rapid.
- Exposure: How the lumber is stored and handled after treatment plays a role. Stacked lumber with stickers (small wood pieces) between layers allows for better airflow than tightly stacked, uncured wood.
General Guidelines for Drying Time
While there’s no single answer, here are some commonly accepted guidelines:
| Project Type | Recommended Waiting Period | Notes |
|---|---|---|
| Decks | 6-12 months | Exposed to elements, frequent foot traffic. Allows for significant drying and weathering. |
| Fences | 6-12 months | Similar to decks, exposed to weather. |
| Structural Components | 2-4 weeks | Studs, beams, etc., that will be enclosed or painted shortly after installation. Less critical for exposed finish. |
| Planter Boxes/Raised Beds | 4-6 weeks | May benefit from some drying but less critical if interior is lined or not directly exposed to finishes. |
| Outdoor Furniture | 4-8 weeks | Depends on exposure and type of finish planned. |
These are just estimates. The most reliable way to know if your lumber is ready is to test its moisture content.
How to Test Moisture Content
You don’t have to guess! A simple and affordable tool can tell you definitively if your lumber is dry enough for finishing.
Using a Moisture Meter
A pin-type or pinless moisture meter is essential for accurate assessment.
- Pin-type meters: Have two probes that are inserted into the wood. They measure the electrical resistance, which is directly related to the wood’s moisture content.
- Pinless meters: Use radio waves to measure moisture content without penetrating the surface. They are useful for delicate surfaces but can be affected by the density of the wood.
How to Test:
- Take Multiple Readings: Test several pieces of lumber and take multiple readings on each piece. Don’t just test the surface.
- Test Different Areas: Check the ends, edges, and the center of the board.
- Compare to Target: Aim for a moisture content below 15%, ideally 12-13%.
If your moisture meter indicates a moisture content above your target, continue waiting and retesting periodically.
Preparing Pressure Treated Lumber for Painting
Once your lumber has cured sufficiently, proper preparation is key to a lasting finish. Skipping or rushing these steps will undermine your efforts.
Essential Wood Preparation Steps
- Cleaning:
- Remove Debris: Brush off any dirt, dust, cobwebs, or loose particles with a stiff brush.
- Wash if Necessary: If the wood is visibly dirty, stained, or has a chalky residue (efflorescence), you’ll need to wash it. Use a dedicated wood cleaner or a solution of mild detergent and water. For tougher stains or mildew, a solution of 1 part bleach to 3 parts water can be used, but always rinse thoroughly.
- Rinse Thoroughly: After washing, rinse the wood completely with clean water.
- Allow to Dry: Let the wood dry thoroughly after washing. This might take a day or two, depending on the weather.
- Sanding:
- Smooth the Surface: Sanding smooths out any rough patches, splinters, or mill glaze (a smooth, hard surface created during milling).
- Choose the Right Grit: Start with medium-grit sandpaper (around 80-100 grit) to remove imperfections. Follow up with a finer grit (120-150 grit) for a smoother finish.
- Dust Removal: After sanding, always remove all dust using a shop vacuum, a brush, or a tack cloth. Dust left on the surface will interfere with adhesion.
- Inspect for Damage: Check for any cracks, splits, or loose fasteners. Address these issues before painting.
- Controlling Lignin: Pressure-treated lumber can sometimes have residual chemicals that affect adhesion. Applying a wood brightener can help neutralize these and prepare the surface. Follow the product instructions carefully.
Choosing the Right Paint and Primer
Not all paints are created equal, especially when it comes to treated wood. Selecting the correct products is vital for a durable and attractive finish.
Primer for Treated Wood: A Crucial First Step
A good primer is essential for a few reasons:
- Adhesion: Primers are formulated to bond well to challenging surfaces like pressure-treated wood, creating a stable base for your topcoat.
- Blocking Stains: Some primers can block tannins or other extractives that might bleed through lighter-colored paints.
- Uniformity: A primer creates a uniform surface color and texture, so your topcoat will look even.
What to look for in a primer:
- Exterior Grade: Always choose an exterior-grade primer.
- Specific for Treated Wood: Some primers are specifically formulated for use on pressure-treated lumber. These often offer better adhesion and stain-blocking properties.
- Latex or Acrylic-Based: High-quality latex or acrylic-based primers are generally recommended for exterior wood. They are flexible and can expand and contract with the wood. Oil-based primers can also be used, but they may become brittle over time.
Selecting Your Finish Coat
Once primed, you can apply your topcoat.
- Exterior Latex Paint: This is the most popular choice for pressure-treated lumber. It’s durable, flexible, and easy to clean. Look for “100% acrylic” formulas for the best performance.
- Semi-Transparent or Solid Stain: If you prefer a stained look, both semi-transparent and solid stains can be applied to properly prepared pressure-treated wood. Solid stains offer more coverage and protection, similar to paint, while semi-transparent stains allow some of the wood grain to show through.
- Important Note on Stains: Always check the manufacturer’s recommendations for stain application on pressure-treated wood. Some stains are formulated for new, untreated wood and may not perform well on treated lumber without specific preparation.
Painting Guidelines and Application Tips
Now that your lumber is dry and prepped, and you have your chosen coatings, it’s time to paint. Following proper application techniques will ensure a long-lasting and attractive finish.
Application Best Practices
- Weather Conditions:
- Temperature: Apply paint when temperatures are between 50°F (10°C) and 85°F (29°C). Avoid painting in direct sunlight, as this can cause the paint to dry too quickly, leading to brush marks or uneven coverage.
- Humidity: Low humidity is best. High humidity can slow drying and potentially lead to moisture trapping.
- Rain: Never paint if rain is expected within 24-48 hours, as this can wash away the paint before it cures.
- Application Methods:
- Brushing: For detailed work or smaller projects, a high-quality brush provides excellent control.
- Rolling: A roller can speed up the process for larger areas like decks or fences. Use a roller with an appropriate nap for the wood’s texture.
- Spraying: Spraying offers the fastest application and an even finish, but it requires masking off surrounding areas and using a respirator.
- Number of Coats:
- Primer: Apply one to two coats of primer, depending on the product and the wood’s condition.
- Topcoat: Apply two coats of your chosen paint or stain for maximum durability and color richness. Allow adequate drying time between coats as recommended by the manufacturer.
- Stir, Don’t Shake: Always stir paint or stain thoroughly before and during application. Shaking can introduce air bubbles that can mar the finish.
- Test Patch: If you’re unsure about adhesion or appearance, always paint a small, inconspicuous test area first. Wait 24 hours to check for peeling or other issues before proceeding with the entire project.
Stain Application on Pressure Treated Lumber
While painting is a popular choice, staining is another excellent way to protect and beautify your pressure-treated lumber.
When to Stain
You should wait the same amount of time for staining as you would for painting to allow the lumber to cure and dry sufficiently. The same moisture content testing applies.
Preparing for Stain
The preparation steps are similar to painting:
- Cleaning: Remove dirt and debris.
- Sanding: Light sanding with 120-150 grit sandpaper is usually sufficient to create a surface that will accept stain evenly. Don’t over-sand, as this can reduce the wood’s ability to absorb the stain.
- Dust Removal: Ensure all sanding dust is removed.
Stain Application Tips
- Type of Stain:
- Solid Stain: Offers the most protection, similar to paint, and hides the wood grain.
- Semi-Transparent Stain: Allows the wood grain to show through while still providing protection and color.
- Clear Water Repellents/Sealants: These offer minimal color but protect the wood from moisture. They are often used as a first step before applying a stain.
- Application: Apply stain evenly with a brush, roller, or sprayer. Work in sections and maintain a wet edge to avoid lap marks.
- Wipe Excess: For semi-transparent stains, it’s often recommended to wipe off excess stain after a short penetration time (check product instructions) to achieve the desired color depth and prevent a blotchy appearance.
- Multiple Coats: Most stains require one to two coats. Allow sufficient drying time between coats.
- Sealant Application: For added protection, especially on decks, a clear sealant or water repellent can be applied over a stain or on its own. This helps prevent water damage and UV degradation.
Maintaining Your Painted or Stained Finish
Proper maintenance will extend the life and beauty of your painted or stained pressure-treated lumber.
Regular Upkeep
- Cleaning: Periodically clean your project with mild soap and water to remove dirt and grime.
- Inspection: Inspect the finish annually for any signs of peeling, cracking, or fading.
- Recoloring/Restaining: Depending on the product used and the amount of wear and tear, you may need to reapply a coat of paint or stain every 2-5 years. Light cleaning and scuff sanding are usually sufficient before recoating.
Frequently Asked Questions (FAQ)
Q1: Will the green color of pressure-treated lumber fade if I wait to paint it?
A1: Yes, the green or brown colorants used in pressure treatment will fade over time as the wood weathers. This is normal and doesn’t affect the wood’s structural integrity. The fading process is a good indicator that the wood is drying out.
Q2: Can I use a wood bleach on pressure-treated lumber before painting?
A2: Yes, a wood bleach or brightener can be beneficial in removing mill glaze and neutralizing any residual treatment chemicals, preparing the surface for better adhesion. Always follow the product’s instructions and rinse thoroughly.
Q3: What if I absolutely must paint sooner than recommended?
A3: While not advised, if you are in a situation where you must paint sooner, ensure the moisture content is as low as possible (below 20% if possible, though still not ideal). Use a high-quality exterior primer specifically designed for difficult surfaces or new wood. Be prepared for a shorter lifespan of the paint job and potential issues like peeling or blistering down the line.
Q4: Does sealing pressure-treated lumber before painting make a difference?
A4: A primer serves a similar function to a sealant in that it creates a surface for adhesion. While some people might apply a clear water repellent first, it’s generally not necessary if you use a good quality exterior primer. The primer is designed to bond directly to the wood and provide a stable base for paint.
Q5: What are the risks of not waiting long enough to paint pressure-treated lumber?
A5: The primary risks include poor paint adhesion, leading to peeling, blistering, and cracking. The trapped moisture can also cause the paint film to fail prematurely, requiring more frequent repainting and potentially damaging the wood itself over time.
By following these expert tips, you can ensure your pressure-treated lumber is properly prepared and finished, resulting in a beautiful and long-lasting project. Patience and proper preparation are your best allies when it comes to painting or staining this durable material.