
How long for Bondo to dry before painting? Generally, you should wait at least 2 to 4 hours for Bondo to dry before sanding and at least 24 hours for Bondo to fully cure before painting, though these times can vary significantly based on several factors.
Using Bondo, also known as automotive body filler, is a common and effective way to repair dents, scratches, and imperfections in car bodies. However, a crucial step often overlooked by DIYers is allowing sufficient Bondo dry time before proceeding with subsequent steps like sanding and painting. Rushing this process can lead to a flawed finish, cracking, or even the Bondo peeling away later. This guide will delve deep into everything you need to know about Bondo drying time before paint, ensuring your repairs are smooth, durable, and professional-looking.
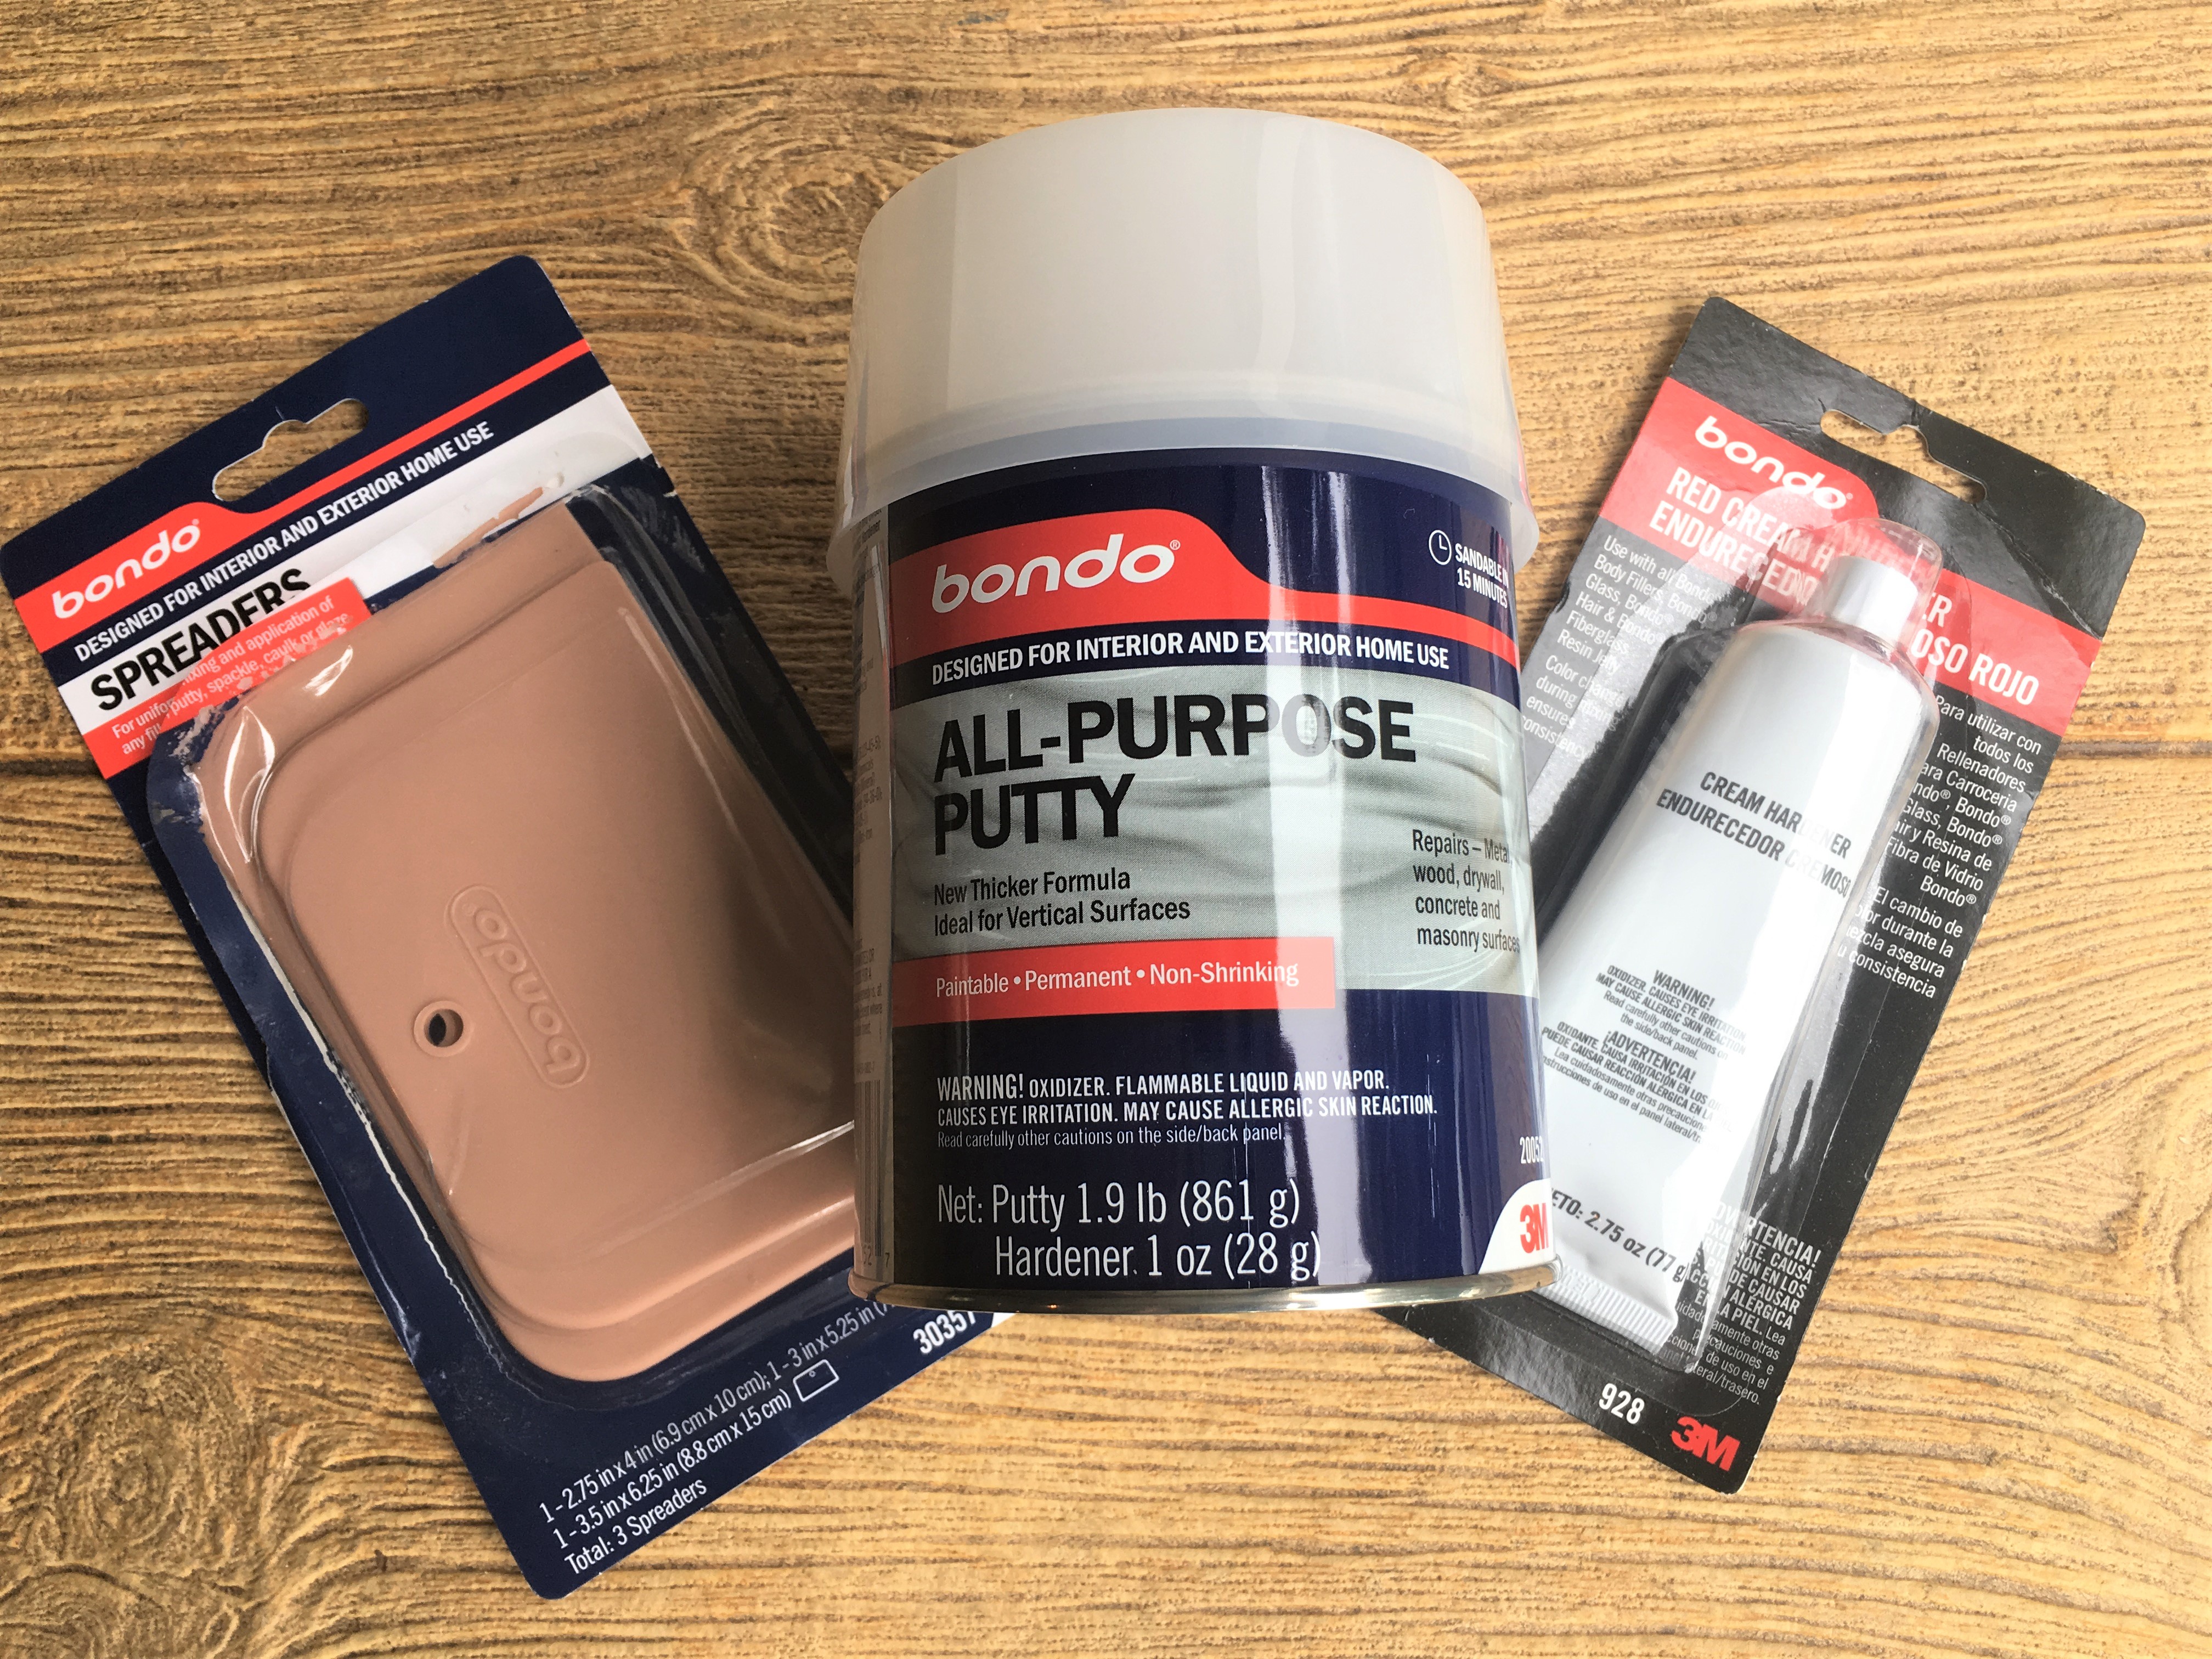
Image Source: megdeldesign.com
The Importance of Proper Bondo Curing
Bondo isn’t just drying like paint; it’s undergoing a chemical reaction. This reaction, called curing, hardens the filler. Bondo cure time is critical for the filler’s strength and adhesion. If you paint over Bondo too soon, the solvents in the paint can react with the uncured filler, causing it to soften, blister, or bubble. This will ruin your paint job and require you to start the repair process over.
What Happens If You Paint Too Soon?
- Adhesion Problems: The paint may not stick well to uncured Bondo, leading to peeling or flaking.
- Cracking and Shrinkage: As the Bondo continues to cure underneath the paint, it can shrink or crack, causing unsightly lines in your finish.
- Soft Spots: Uncured Bondo can remain soft and may be damaged by the heat of a paint oven or even prolonged sun exposure.
- Poor Sanding: Uncured Bondo can gum up sandpaper, making it difficult to achieve a smooth surface.
Factors Affecting Bondo Drying Time
Several Bondo drying factors can influence how quickly your filler hardens. Knowing these will help you estimate Bondo hardening time more accurately for your specific situation.
1. Temperature
- Ideal Range: Most Bondo products perform best in temperatures between 60°F and 80°F (15°C to 27°C).
- Cold Temperatures: Lower temperatures significantly slow down the chemical curing process. If it’s too cold, the Bondo may never cure properly.
- High Temperatures: While warmer temperatures generally speed up curing, excessively high heat can cause the Bondo to harden too quickly, making it difficult to spread and shape. It can also potentially lead to a weaker bond if the exothermic reaction (heat generated during curing) is too intense.
2. Humidity
- High Humidity: High humidity can also slow down the curing process, as moisture in the air can interfere with the chemical reaction.
- Low Humidity: Very low humidity is less of an issue, but extremely dry conditions might slightly speed up the surface drying, though the core curing is the primary concern.
3. Amount of Hardener Used
- Manufacturer’s Instructions: Always follow the manufacturer’s recommended ratio of hardener to filler. This ratio is precisely formulated for optimal curing.
- Too Little Hardener: Using too little hardener will drastically increase Bondo cure time and may result in the Bondo never hardening completely or becoming weak.
- Too Much Hardener: Using too much hardener can make the Bondo harden too quickly, creating a brittle material that is prone to cracking and difficult to sand. It also generates more heat, which can be detrimental.
4. Thickness of the Bondo Application
- Thin Coats: Thinner applications of Bondo will cure faster than thick ones because the chemical reaction can proceed more uniformly throughout the material.
- Thick Applications: Thick patches of Bondo will take longer to cure, especially in the center, as heat dissipation is slower. It’s always better to apply Bondo in thin, even layers, allowing each layer to cure before applying the next.
5. Air Circulation
- Good Airflow: Proper ventilation and airflow can help the curing process by removing any moisture or byproducts from the chemical reaction.
- Stagnant Air: Areas with poor air circulation can trap moisture and slow down curing.
Bondo Drying Time: What to Expect
Understanding the typical timeline for Bondo is essential for planning your repair. Here’s a breakdown:
Initial Hardening and Sanding Readiness
After mixing the Bondo with the hardener, you’ll notice it starts to firm up. This is the initial hardening phase.
- Work Time: You typically have about 5-7 minutes of workable time to apply and shape the Bondo before it becomes too stiff.
- Sanding Readiness: For most Bondo products, it’s usually ready for initial sanding (to knock down high spots and shape it) within 2 to 4 hours after application, assuming standard temperature and humidity conditions. This is often referred to as how long to sand Bondo. However, this is NOT the time to paint.
Full Cure Time Before Painting
The real question for a paint-ready finish is when can I paint over Bondo? This requires the Bondo to be fully cured.
- General Guideline: A safe bet for most standard Bondo products is to wait at least 24 hours before applying primer or paint. This ensures the Bondo has reached its full hardness and stability.
- Extended Curing: In colder temperatures or high humidity, this Bondo drying time before paint could extend to 48 hours or even longer. Conversely, in very warm and dry conditions, it might be ready slightly sooner, but it’s always better to err on the side of caution.
Stages of Bondo Curing
Let’s break down the Bondo curing process into stages:
- Mixing and Application: This is when you combine the Bondo with the hardener and spread it onto the surface. You have a limited window to work with it.
- Initial Hardening: The Bondo begins to firm up, becoming less pliable. It’s still soft enough to sand but gaining structure.
- Sanding Readiness: The Bondo is firm enough to be sanded without gumming up your sandpaper excessively. You can shape and smooth it at this stage. This is crucial for how long to sand Bondo.
- Full Cure: The chemical reaction is complete. The Bondo is at its maximum hardness, stability, and ready for subsequent automotive finishes like primer and paint. This is when you can confidently proceed with your Bondo painting schedule.
Testing for Readiness
You don’t always have to rely solely on time. You can test if the Bondo is ready for sanding or painting.
For Sanding:
- Gentle Pressure: After the estimated sanding readiness time, try to press a fingernail into the Bondo. If it indents easily, it’s not ready. If it feels firm and doesn’t indent, it’s likely ready for sanding.
- Light Sanding Test: The best test is to try sanding a small, inconspicuous area with your chosen grit sandpaper. If the Bondo sands smoothly without gumming up the paper, it’s ready.
For Painting:
- The Acetone Test (Use with Caution): Some professionals use an acetone test. Apply a small amount of acetone on a cotton swab and rub a small, hidden area of the Bondo. If the Bondo smears or becomes soft, it’s not fully cured. If it remains hard and unaffected, it’s likely ready. However, be extremely careful with acetone as it can damage surrounding paint or clear coat. This test is best performed on a small, isolated patch of Bondo.
- Visual Inspection: Once cured, Bondo should look uniformly hard and consistent. There shouldn’t be any soft or gummy spots.
The Bondo Paint Prep Process
Preparing the Bondo for paint is just as important as letting it dry properly.
1. Sanding
- Initial Shaping: After the initial hardening (2-4 hours), you’ll likely need to sand the Bondo to shape it and blend it with the surrounding metal or body panel. Start with a coarser grit sandpaper (e.g., 80-grit) to quickly remove high spots and then move to finer grits (e.g., 180-grit, then 220-grit) for a smoother finish. This is the core of how long to sand Bondo.
- Featheredging: Ensure the edges of the Bondo are feathered smoothly into the surrounding surface. You shouldn’t feel a distinct ridge with your fingertip.
- Final Sanding Before Primer: Before applying primer, the Bondo (and surrounding area) should be sanded with a grit appropriate for your primer, typically 180-grit or 220-grit. The goal is to create a smooth, uniform surface.
2. Cleaning
- Dust Removal: After sanding, it’s crucial to remove all dust. Use compressed air, tack cloths, or a clean, lint-free cloth dampened with wax and grease remover.
- Degreasing: Even after dusting, the surface can retain oils and residues. Wipe down the entire area with a quality wax and grease remover. This step is vital for proper adhesion of primer and paint.
3. Priming
- Primer Application: Once the Bondo is fully cured, sanded, and cleaned, apply a thin, even coat of automotive primer. Primer helps to seal the Bondo, provide a uniform surface for paint, and highlight any imperfections that might have been missed during sanding.
- Primer Drying: Allow the primer to dry according to the manufacturer’s instructions before sanding it with a finer grit (often 320-400 grit) to create a perfectly smooth surface for your topcoat.
Establishing Your Bondo Painting Schedule
A typical Bondo painting schedule might look like this:
- Day 1:
- Morning: Mix and apply Bondo.
- Afternoon (4-6 hours later): Check for initial hardening and perform rough shaping with sandpaper.
- Evening: Allow for further hardening overnight.
- Day 2:
- Morning: Test for sanding readiness. Sand the Bondo smooth, working through progressively finer grits (e.g., 80, 180, 220). Clean thoroughly.
- Afternoon: Apply primer. Allow primer to dry according to its instructions.
- Late Afternoon/Evening: Lightly sand the primer (e.g., 320-400 grit). Clean again.
- Day 3 (or later):
- Apply base coat (color).
- Apply clear coat.
- Allow clear coat to cure fully before polishing or waxing.
This is a general guideline. Bondo drying factors can push this schedule. Always check the specific product instructions for the Bondo and primer you are using.
Common Bondo Products and Their Timelines
Different Bondo products have slightly different formulations and, consequently, varying cure times.
Standard Bondo (All-Purpose)
- Hardener: Typically a small tube of cream hardener.
- Work Time: 5-7 minutes.
- Sanding Time: 2-4 hours.
- Paint Time: 24 hours.
Bondo Glass (Reinforcing Filler)
- Hardener: Similar cream hardener.
- Work Time: Slightly longer, around 10-15 minutes.
- Sanding Time: 4-6 hours.
- Paint Time: 24-48 hours.
Bondo Lightweight (Showroom Finish)
- Hardener: Cream hardener.
- Work Time: 7-10 minutes.
- Sanding Time: 2-3 hours.
- Paint Time: 24 hours.
Table 1: Bondo Product Timelines (Approximate)
| Product Type | Work Time (Minutes) | Sanding Readiness (Hours) | Paint Readiness (Hours) |
|---|---|---|---|
| Standard Bondo | 5-7 | 2-4 | 24 |
| Bondo Glass | 10-15 | 4-6 | 24-48 |
| Bondo Lightweight | 7-10 | 2-3 | 24 |
Note: These are typical times and can be affected by the Bondo drying factors mentioned earlier.
What If I Made a Mistake?
If you accidentally paint over Bondo too soon and notice issues like bubbling or softening, you’ll need to address it.
- Remove the Paint and Bondo: You’ll likely need to scrape or sand away the affected area, including the faulty paint job and the uncured or poorly cured Bondo.
- Reapply and Recure: Clean the area thoroughly and reapply the Bondo, ensuring you follow the proper mixing ratios and allow for adequate Bondo drying time before paint.
- Wait Longer: Use this as a lesson to always respect the full Bondo cure time.
Frequently Asked Questions (FAQ)
Q1: Can I use a heat gun to speed up Bondo drying?
While a heat gun can slightly speed up the surface drying, it’s generally not recommended for significantly accelerating the Bondo curing process. Excessive heat can cause the Bondo to cure unevenly, become brittle, or even crack. It’s best to rely on ambient temperature and air circulation. If you must use heat, use a low setting and keep the gun moving to avoid concentrating heat on one spot.
Q2: What grit sandpaper should I use for Bondo?
You’ll typically start with a coarser grit like 80-grit for initial shaping. Then, you’ll progress through finer grits such as 180-grit, 220-grit, and potentially up to 320-grit or 400-grit before priming, depending on the finish you desire. The exact grits depend on the stage of repair and the primer you plan to use.
Q3: How do I know if the Bondo is fully cured and ready for paint?
The best indicators are time (waiting at least 24 hours under normal conditions) and texture. The Bondo should feel rock-hard and should not indent when pressed with a fingernail. The acetone test can also provide an indication, but use it cautiously.
Q4: Can I paint directly over Bondo without primer?
No, it is not recommended to paint directly over Bondo without primer. Primer provides a uniform surface, seals the Bondo, and ensures better adhesion of your paint. Skipping primer often leads to an inferior and less durable finish.
Q5: My Bondo is still soft after 24 hours. What’s wrong?
This usually indicates a problem with the mixing ratio (too little hardener), low temperatures, or high humidity. Ensure you are following the instructions precisely and that the Bondo drying conditions are within the recommended range. If it’s still soft, it needs more time or favorable environmental conditions to cure.
Q6: How long does Bondo take to harden enough to sand?
Bondo typically hardens enough to be sanded within 2 to 4 hours after application under normal room temperatures (around 70°F or 21°C) and moderate humidity. This initial sanding is crucial for shaping the filler.
Q7: What is the difference between Bondo drying time and Bondo cure time?
“Drying” often refers to the initial hardening where the filler becomes firm enough to sand. “Cure time” refers to the complete chemical hardening process, after which the Bondo reaches its maximum strength and is ready for subsequent finishing steps like painting. For painting, you need the Bondo to be fully cured, not just dry enough to sand.
By adhering to these guidelines and paying close attention to the Bondo drying factors, you can achieve a professional and long-lasting repair when using Bondo. Patience is key; a little extra waiting time now will save you a lot of frustration and rework later.