
Can you paint caulk immediately after applying it? No, you cannot paint caulk immediately after applying it. Caulk needs time to dry and cure properly before it can be painted. This ensures good adhesion and a smooth finish.
Applying caulk is a common DIY task, essential for sealing gaps and cracks around windows, doors, countertops, and bathrooms. It prevents drafts, moisture, and pests, while also offering a clean, finished look. However, a critical step often overlooked or rushed is allowing the caulk to dry sufficiently before painting over it. Rushing this process can lead to a host of problems, from paint peeling and cracking to the caulk itself failing to adhere to the paint. This guide delves into the intricacies of caulk drying time, helping you achieve a durable and attractive finish every time.
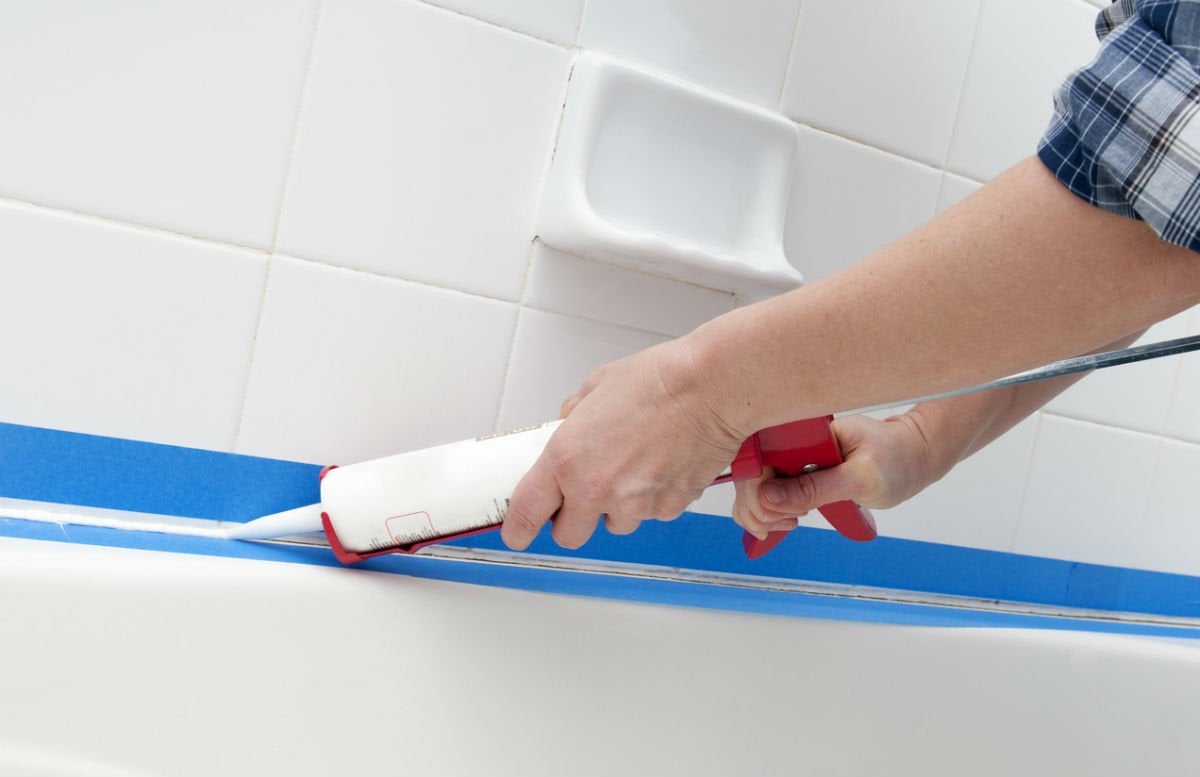
Image Source: contemporarystructures.co.uk
The Caulk Drying Process Explained
The process of caulk drying isn’t simply about the surface feeling dry to the touch. It involves a chemical change, or curing, where the caulk solidifies and becomes ready for further finishing. This process varies significantly depending on the type of caulk used, environmental conditions, and the thickness of the bead applied.
Factors Influencing Caulk Drying Time
Several elements play a role in how quickly caulk dries and cures:
- Caulk Type: Different formulations have different curing mechanisms and timelines. We’ll explore this in detail later.
- Temperature: Warmer temperatures generally speed up the drying process, while cooler temperatures slow it down.
- Humidity: High humidity can significantly extend the drying time, as the caulk needs water to evaporate for curing. Conversely, very low humidity can sometimes lead to the surface skinning over too quickly, trapping moisture underneath.
- Airflow: Good ventilation helps moisture evaporate, speeding up drying.
- Bead Thickness: Thicker beads of caulk take longer to dry than thinner ones because there’s more material to cure.
- Substrate: The material you are caulking onto can also influence drying. Porous surfaces might absorb some moisture, potentially speeding up surface drying, but this isn’t always the case.
How Long Does Caulk Need to Dry Before Painting?
The general rule of thumb is to wait at least 24 hours before painting caulk. However, this is a broad guideline, and the actual time can range from a few hours to several days, depending on the caulk type and conditions.
Different Types of Caulk and Their Drying Times
Understanding the different types of caulk is crucial for determining the correct drying time before painting. Each has unique properties that affect its curing process.
Latex Caulk Drying (Acrylic Latex Caulk)
Latex or acrylic latex caulks are water-based and are the most common choices for interior DIY projects. They are easy to apply, clean up with water, and are paintable once dry.
- Drying Time: Latex caulk typically dries to the touch within 30 minutes to an hour. However, this is just the surface drying.
- Paintable Time: You generally need to wait at least 1 to 2 hours before painting latex caulk. For optimal caulk adhesion to paint, waiting up to 24 hours is often recommended, especially in cooler or more humid conditions. This allows the caulk to cure sufficiently.
- Full Cure: Full curing for latex caulk can take several days, during which it continues to harden and become more durable.
Acrylic Latex with Silicone Caulk Drying
These are a hybrid, offering the flexibility and paintability of latex with the added water resistance and durability of silicone.
- Drying Time: Similar to latex, they dry to the touch relatively quickly.
- Paintable Time: The paintable time is usually around 2 to 6 hours, but it’s always best to check the product label. Some manufacturers may suggest longer waiting periods to ensure the silicone component has adequately bonded and cured for paint adhesion.
Silicone Caulk Drying
Silicone caulk is known for its excellent flexibility, waterproofing, and resistance to mildew. It’s ideal for bathrooms, kitchens, and areas prone to high moisture.
- Drying Time: Silicone caulk typically dries to the touch in 1 to 2 hours.
- Paintable Time: This is where silicone caulk differs significantly from latex. Most silicone caulks are NOT paintable. The silicone’s non-porous surface and flexibility prevent most paints from adhering properly. If you need to paint the area, you must use a specialized “paintable silicone” or opt for an acrylic latex caulk instead. If you are using a paintable silicone, consult the product instructions for its specific drying and painting recommendations, which could be 24 hours or more.
Other Caulk Types
- Butyl Caulk: Primarily for exterior use, often used around windows and doors. It can take 24 hours or more to dry to the touch and may remain slightly tacky for a while. Painting is usually recommended after at least 48 hours.
- Vinyl-Acrylic Caulk: Similar to latex, generally paintable after 1-2 hours, but 24 hours is a safer bet for good adhesion.
- Polyurethane Caulk: Known for its strength and durability, often used in construction. It cures by reacting with moisture in the air. It can take up to 7 days for full cure and is usually paintable after 24-48 hours.
Caulk Adhesion to Paint
Good caulk adhesion to paint is essential for a seamless and lasting finish. Several factors contribute to successful adhesion:
- Proper Drying/Curing: The caulk must be sufficiently dry and cured. If it’s still wet or not fully hardened, the paint will not bond well. It can lead to peeling, cracking, or an uneven texture.
- Clean Surface: The caulk surface must be clean and free from dust, grease, or any other contaminants before painting.
- Priming (Optional but Recommended): For certain types of caulk or when using specific paints, applying a primer to the caulk can significantly improve paint adhesion and ensure a uniform appearance. Always test compatibility if you plan to prime.
- Paint Type Compatibility: Water-based acrylic paints generally adhere well to latex and vinyl-acrylic caulks. Oil-based paints might not adhere as well to water-based caulks.
Assessing Caulk Finish Before Painting
Before you grab your paintbrush, it’s important to assess the caulk’s finish.
Is the Caulk Truly Dry?
- Touch Test: Gently touch the caulk bead with a fingertip. It should feel firm and dry, not tacky or soft.
- Visual Inspection: Look for any signs of moisture or shininess that might indicate it’s still wet.
Surface Preparation for Painting
Once you’ve confirmed the caulk is dry, prepare it for painting:
- Cleanliness: Wipe down the caulk bead with a slightly damp cloth to remove any dust or debris. Allow it to air dry completely.
- Smoothing: If there are any rough spots or imperfections, you can gently sand the caulk with very fine-grit sandpaper (e.g., 220-grit). Be careful not to damage the surrounding surface.
- Wipe Down Again: After sanding, wipe the area again to remove any sanding dust.
How Long to Wait to Paint Caulk: Recommendations
To reiterate, while some caulks are paintable within a few hours, waiting at least 24 hours is a solid general guideline for most applications, especially if you want to guarantee optimal caulk adhesion to paint and a professional-looking finish.
Here’s a quick reference table for common caulk types:
| Caulk Type | Touch Dry Time | Paintable Time (Minimum) | Recommended Waiting for Best Adhesion | Notes |
|---|---|---|---|---|
| Latex/Acrylic Latex | 30 mins – 1 hr | 1-2 hours | 24 hours | Water-based, easy cleanup. |
| Acrylic Latex with Silicone | 30 mins – 1 hr | 2-6 hours | 24 hours | Enhanced flexibility/water resistance. |
| Silicone (Paintable Types) | 1-2 hours | 24 hours | 48 hours+ | Check product label; not all are paintable. |
| Polyurethane | 1-2 hours | 24-48 hours | 72 hours | Very durable, cures with moisture. |
| Butyl | 24 hours | 48 hours | 72 hours+ | Exterior use, can remain slightly tacky. |
When in Doubt, Wait Longer
It’s always better to err on the side of caution. Waiting an extra day or two for caulk to cure can prevent a lot of headaches down the line. A fully cured caulk will provide a much better base for your paint, ensuring it doesn’t crack, peel, or distort when painted.
Optimizing Caulk Drying Time
While you can’t drastically change the chemical curing process, you can create ideal conditions:
- Ventilation: Open windows or use fans to improve airflow around the freshly applied caulk.
- Temperature Control: Maintain a consistent, moderate room temperature (ideally between 65-75°F or 18-24°C). Avoid extreme cold or heat.
- Humidity Management: If humidity is very high, consider using a dehumidifier. If it’s very low, you might not need to do anything, but be aware that surface skinning can occur faster.
Common Mistakes to Avoid
- Painting Too Soon: This is the most common error, leading to paint adhesion issues.
- Not Reading the Product Label: Caulk formulations vary. Always check the manufacturer’s instructions for drying and painting recommendations.
- Ignoring Environmental Conditions: Applying caulk in very cold or humid conditions will significantly extend its drying time.
- Applying Caulk Too Thickly: While it might seem efficient, thick beads take much longer to cure properly.
- Not Cleaning the Caulk Surface Before Painting: Dust or grime will prevent the paint from adhering well.
Frequently Asked Questions (FAQ)
Q1: Can I paint over caulk that feels dry but is still slightly tacky?
A1: No, you should not paint over caulk that is still tacky. Tacky caulk is not fully cured and will likely result in poor paint adhesion, peeling, or smudging. Wait until it feels firm and dry to the touch.
Q2: Does primer help when painting caulk?
A2: Yes, a primer can significantly improve paint adhesion to caulk, especially if you’re unsure about compatibility or if you want a more uniform finish. However, ensure the primer is compatible with your caulk type.
Q3: What happens if I paint caulk too soon?
A3: Painting caulk before it’s dry can lead to several problems:
* The paint may not adhere properly and could peel or crack.
* The moisture from the wet caulk can push through the paint, causing bubbles or discoloration.
* The paint might seal in the remaining moisture, preventing the caulk from fully curing.
* The caulk might distort or sag under the weight of the wet paint.
Q4: How can I tell if my caulk is fully cured?
A4: While a touch test is a good indicator of surface dryness, full curing involves the caulk becoming completely solid and stable throughout. For many latex caulks, after 24 hours, it’s generally considered cured enough for painting. For other types, like silicone or polyurethane, it might take several days. Referencing the product’s technical data sheet or label is the best way to know the specific cure time.
Q5: Is it okay to use a hairdryer to speed up caulk drying?
A5: While a hairdryer can speed up surface drying, it can also cause the caulk to skin over too quickly, trapping moisture underneath. This can lead to improper curing and potential issues with paint adhesion. It’s generally better to rely on good ventilation and moderate temperatures rather than artificial heat.
Q6: My paint is peeling off the caulk. What did I do wrong?
A6: The most likely reason is that you painted the caulk before it was sufficiently dry or cured. Other possibilities include an incompatible paint and caulk type, or a dirty surface before painting.
By respecting the caulk drying time and following these guidelines, you can ensure a smooth, durable, and professional-looking painted finish on your caulked surfaces. Patience is key to a successful DIY project!