
So, you’ve got treated lumber for your deck, fence, or outdoor project, and you’re eager to give it a fresh coat of paint. But how long do you actually need to wait? The general rule of thumb for the waiting period for treated lumber before painting is at least 24 to 48 hours after installation, but ideally, you should wait for the wood to thoroughly dry and cure, which can take several weeks to several months. This waiting period is crucial for ensuring the paint adheres properly and lasts.
Many factors influence this waiting time, and rushing the process can lead to peeling paint and a less-than-perfect finish. This guide will walk you through everything you need to know about painting treated lumber, from understanding the cure time for pressure-treated wood to selecting the best paint and ensuring proper prep work.
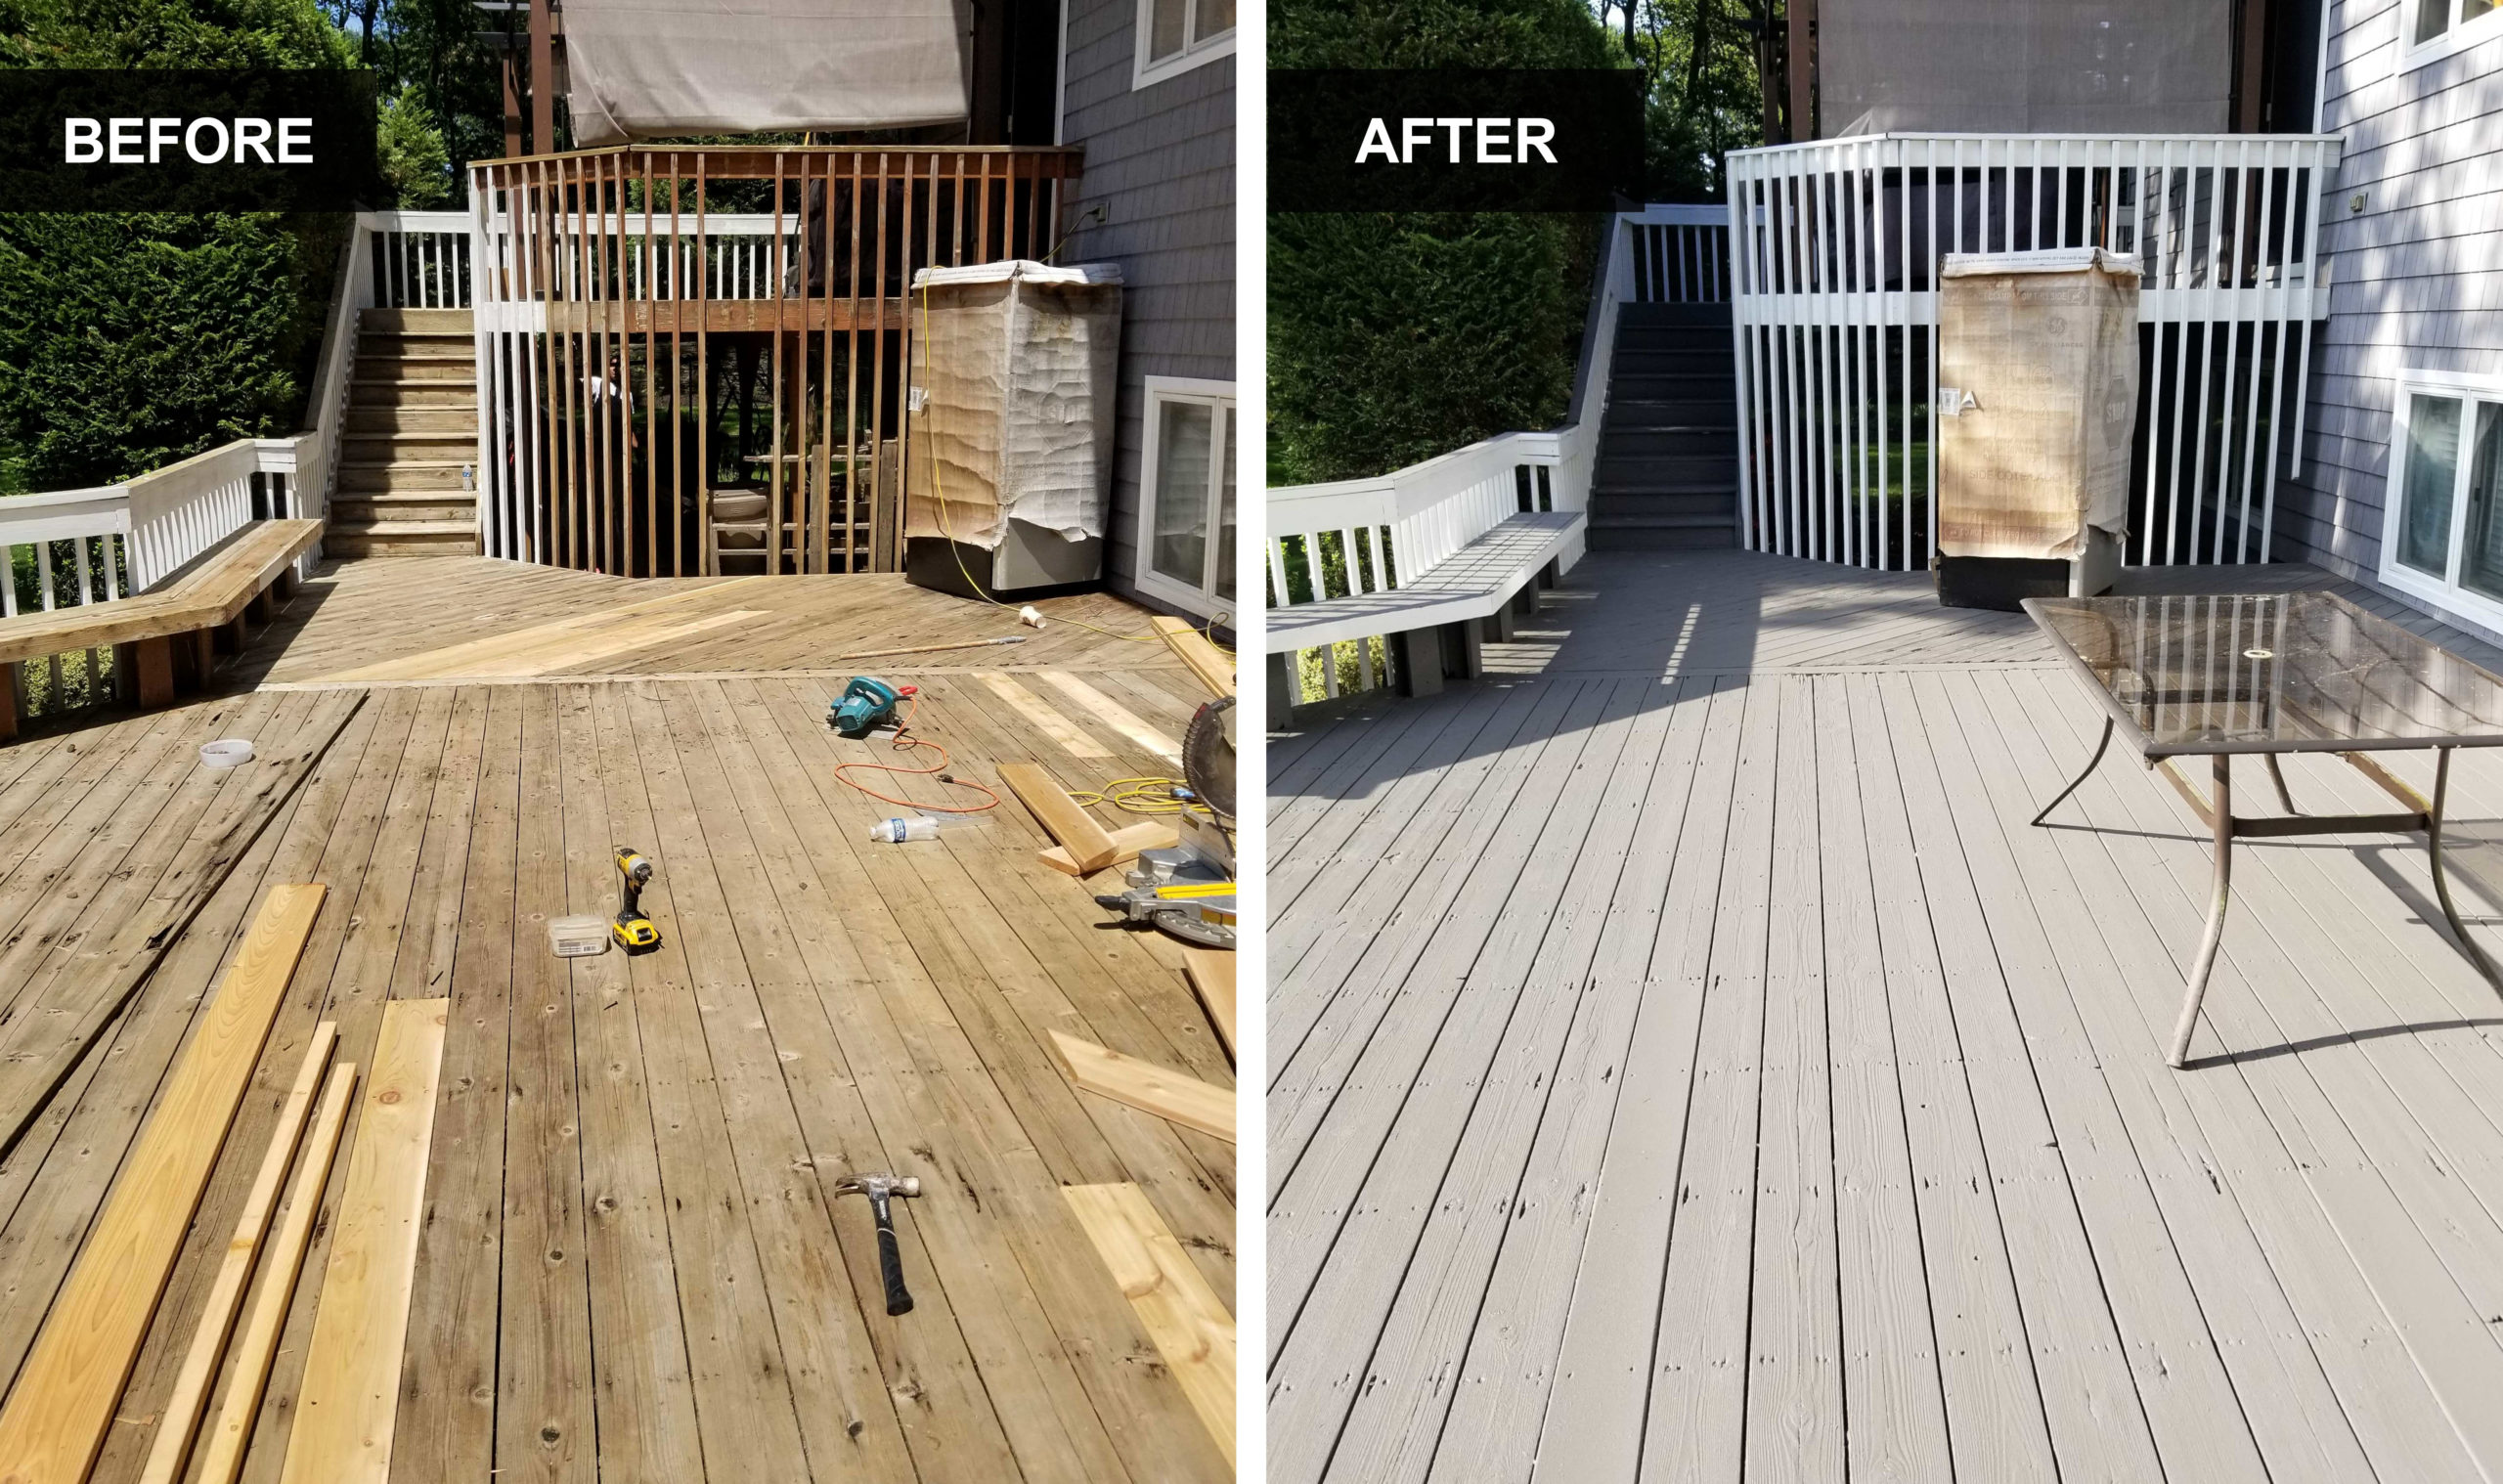
Image Source: www.precisionpaintingplus.net
Deciphering the Cure Time for Pressure-Treated Wood
Pressure-treated lumber is infused with chemicals to protect it from rot, fungi, and insects. These chemicals, while beneficial for the wood’s longevity, also introduce moisture. The chemicals are typically forced into the wood under pressure, meaning the wood can be quite wet when you purchase it. Before you can start painting over treated lumber, this excess moisture needs to evaporate.
The Role of Moisture Content
The moisture content of treated wood for painting is paramount. Wood that is too wet will not accept paint well. The paint will struggle to bond to the surface, leading to poor adhesion of paint to treated lumber. As the wood dries and shrinks, it can pull the paint away, causing bubbles, peeling, and flaking.
- Ideal Moisture Level: Experts recommend a moisture content of 15% or less for finished surfaces like decks and fences. For painting, aiming for a similar level is best.
- Why It Matters: Excess moisture can also react with certain paint formulations, compromising the integrity of the finish.
Factors Affecting Drying Time
Several elements influence how quickly your treated lumber will dry and be ready for painting:
- Weather Conditions: Warm, dry, and sunny weather accelerates drying. Humid or rainy conditions will significantly extend the waiting period.
- Wood Thickness: Thicker pieces of lumber will take longer to dry than thinner ones.
- Wood Species: Different wood species absorb and release moisture at varying rates.
- Exposure: Wood exposed to direct sunlight and good air circulation will dry faster than wood in shaded or enclosed areas.
- Treatment Level: The amount of preservative treatment can also play a role in how long the wood retains moisture.
How Long Before Painting Treated Lumber? The Waiting Game
So, let’s get to the core question: how long before painting treated lumber?
The Immediate Post-Installation Wait
Immediately after installing your treated lumber, you should allow it to air out for at least 24 to 48 hours, provided the weather is favorable. This allows any surface moisture from rain or transport to evaporate.
The Crucial Curing Period
This is where the real waiting begins. The chemicals in the wood need time to stabilize, and the wood itself needs to dry out naturally.
- Minimum Waiting Period: While some sources might suggest shorter periods, a safe minimum waiting period for treated lumber is often cited as six months to a year, especially for horizontal surfaces like decks that are exposed to the elements.
- Vertical Surfaces: For vertical surfaces like fences or siding, the drying process is usually faster, and you might be able to paint after three to six months, but this is still dependent on the aforementioned drying factors.
- The “Splash Test”: A simple test can give you an idea of whether your lumber is ready. Sprinkle some water on the wood. If the water beads up, the wood is likely still sealed and not ready. If the water soaks in, it’s a good sign that the wood is drying and ready for surface preparation.
Best Time to Paint Treated Lumber
The best time to paint treated lumber is when the wood is completely dry and has been exposed to the elements for a sufficient period to allow the preservative chemicals to leach out and the wood to “weather.” This weathering process also opens up the wood’s pores, making it more receptive to paint.
Sealing Treated Wood Before Painting: A Vital Step
Before you even think about applying paint, proper preparation is key. Sealing treated wood before painting is often a misunderstood step. In most cases, you do not need to apply a separate sealer before painting if you are using a high-quality exterior paint specifically designed for wood. The paint itself will act as the primary sealant.
However, there are nuances:
- Primer as a Sealer: A good quality exterior primer is essential. The primer acts as a bridge between the treated wood and the topcoat of paint. It helps to:
- Even out the surface.
- Provide a uniform base for the paint.
- Block any potential tannin bleed-through from the wood.
- Improve the overall adhesion of paint to treated lumber.
- When a Separate Sealer Might Be Considered (Rarely): If you are using a very specific type of paint or stain, or if you are concerned about tannins from the wood, you might consider a compatible stain-blocking primer or a thin, penetrating stain that is compatible with your chosen paint system. Always check the manufacturer’s recommendations for both the wood treatment and the paint.
Prep Work for Painting Treated Lumber: The Foundation of a Great Finish
Thorough prep work for painting treated lumber is arguably the most critical stage for a long-lasting and beautiful finish. Skipping steps here is a sure way to invite premature paint failure.
Cleaning the Lumber
- Remove Debris: Sweep or blow off any loose dirt, leaves, sawdust, or cobwebs.
- Wash Thoroughly: Use a mild detergent and water solution or a dedicated wood cleaner. A stiff brush can help remove stubborn grime.
- Rinse Well: Ensure all soap residue is completely rinsed away.
- Mildew and Mold: If you spot any mildew or mold, use a solution of 1 part bleach to 3 parts water. Apply it with a brush or sprayer, let it sit for a few minutes, scrub gently, and then rinse thoroughly. Always wear protective gear when working with bleach.
Sanding for Adhesion
Sanding is crucial for creating a surface that the primer and paint can grip.
- Purpose of Sanding: Sanding removes any remaining surface glaze, mill glaze (a smooth, shiny surface created by the milling process), or any loosely adhered fibers. This significantly improves the adhesion of paint to treated lumber.
- Grit Selection: Start with a medium-grit sandpaper (around 80-100 grit) to remove any surface imperfections and mill glaze. Follow up with a finer grit (120-150 grit) for a smoother finish.
- Sanding Technique: Always sand in the direction of the wood grain.
- Dust Removal: After sanding, it’s essential to remove all dust. A shop vacuum with a brush attachment or a leaf blower works well. Follow up with a tack cloth for a final, dust-free surface.
Inspecting for Damage
Before painting, check the lumber for any splits, cracks, or loose boards. Repair these as needed. Painting over existing damage will not hide it and can actually make it worse over time.
Types of Paint for Treated Lumber
Choosing the right paint is as important as the preparation. You need a durable exterior-grade product that can withstand the elements and flex with the natural expansion and contraction of the wood.
Best Options for Treated Lumber
- 100% Acrylic Latex Exterior Paint: This is generally the top recommendation.
- Benefits: Excellent flexibility, breathability (allowing moisture vapor to escape), adhesion, and durability. It holds up well to UV rays and temperature fluctuations.
- Application: Typically requires a good quality exterior primer.
- Oil-Based (Alkyd) Paints:
- Benefits: Historically known for their hard, durable finish. Can provide excellent adhesion.
- Considerations: Less flexible than acrylics, which can lead to cracking over time as the wood expands and contracts. They also tend to chalk more readily and may not be as breathable, potentially trapping moisture. Often require specific oil-based primers.
Primer: The Unsung Hero
- Exterior Latex Primer: A good quality, stain-blocking exterior latex primer is a must for treated lumber. It seals the wood, improves adhesion, and provides a uniform base for your topcoat.
- Specialty Primers: Some manufacturers offer primers specifically formulated for treated wood or for high-moisture environments. Always consult product labels.
Types of Finishes
- Solid Color Stains: These offer a painted look but allow some wood grain to show through, depending on the opacity. They are also flexible and breathable.
- Semi-Transparent or Transparent Stains: These are designed to enhance the natural beauty of the wood while offering protection. They are not technically “paint” but are a common finishing option for treated lumber. If your goal is a painted look, these are not the choice.
Factors Affecting Treated Lumber Painting Success
Beyond the basic waiting period and preparation, several other factors affecting treated lumber painting can influence the longevity and appearance of your finish.
Wood Quality and Treatment
- Green vs. Dried: Lumber that is still very “green” (high moisture content) will be much harder to paint successfully.
- CCA vs. ACQ/Newer Treatments: Older treatments like Chromated Copper Arsenate (CCA) may behave differently than newer alkaline copper quaternary (ACQ) or other copper-based treatments. Newer treatments are generally considered safer but might have slightly different drying characteristics.
Environmental Conditions During Application
- Temperature: Avoid painting in extreme temperatures. Most exterior paints have an ideal application temperature range (usually between 50°F and 85°F or 10°C and 30°C).
- Humidity: High humidity can slow drying and curing times.
- Direct Sunlight: Avoid painting in direct, hot sunlight, as this can cause the paint to dry too quickly on the surface, leading to brush marks and poor adhesion.
- Dew and Rain: Never paint if rain is expected within 24 hours or if there is a risk of dew settling on the surface overnight.
Application Technique
- Brush, Roller, or Sprayer: Ensure you use the appropriate tools for the type of paint you’re using.
- Number of Coats: Most exterior projects will require at least two coats of paint for full coverage and durability.
- Drying Time Between Coats: Always allow the recommended drying time between coats as specified by the paint manufacturer. This is crucial for building up a strong film.
Painting Over Treated Lumber: A Step-by-Step Recap
To summarize, here’s a simplified approach to painting treated lumber:
- Install and Wait: Allow the lumber to dry and cure for an extended period, ideally 6 months to a year for decks, and 3-6 months for vertical surfaces. Perform the splash test.
- Clean: Thoroughly clean the wood surface.
- Sand: Lightly sand the wood to create a profile for adhesion.
- Clean Again: Remove all sanding dust.
- Prime: Apply one or two coats of high-quality exterior stain-blocking primer.
- Paint: Apply two coats of high-quality exterior acrylic latex paint.
- Allow Drying: Ensure adequate drying time between coats and before exposing the surface to heavy use or moisture.
Troubleshooting Common Issues
Even with careful planning, you might encounter problems.
Peeling Paint
- Cause: Moisture trapped behind the paint, poor adhesion due to insufficient drying time, inadequate prep work (lack of sanding or cleaning), or using the wrong type of paint.
- Solution: Scrape off all loose paint, sand the affected area to feather the edges, clean the surface, prime, and repaint.
Fading
- Cause: Exposure to harsh UV rays, lower quality paint.
- Solution: Use high-quality exterior paints with good UV resistance. Consider a more durable finish if fading is a persistent issue.
Mildew Growth
- Cause: Damp, shaded conditions.
- Solution: Clean the affected area with a bleach solution. Consider using an exterior paint with mildew-resistant additives. Ensure good ventilation around the structure if possible.
Frequently Asked Questions (FAQ)
Can I paint treated lumber immediately after installation?
No, you should not paint treated lumber immediately. It needs to dry and cure for an extended period, typically several months, to allow excess moisture and treatment chemicals to dissipate.
What is the difference between staining and painting treated lumber?
Painting provides an opaque, solid color finish that completely covers the wood grain. Staining penetrates the wood to provide color and protection while allowing the wood grain to show through. Solid color stains can mimic a painted look.
Does treated lumber need to be sealed before painting?
Generally, no separate sealer is needed if you use a high-quality exterior primer. The primer and the subsequent paint coats will serve as the sealant.
How do I test if my treated lumber is dry enough to paint?
Perform the “splash test.” Sprinkle water on the wood. If it beads up, the wood is likely still sealed and not ready. If the water soaks into the wood, it’s a good indication it’s drying properly.
What is the best type of paint for treated lumber?
100% acrylic latex exterior paint is generally the best choice due to its flexibility, breathability, and durability.
Can I paint over old paint on treated lumber?
Yes, but only after properly preparing the surface. This involves cleaning, scraping off any loose or peeling paint, sanding to create a smooth surface, and applying a fresh coat of primer before repainting.
By following these guidelines, you can ensure your painted treated lumber project looks beautiful and lasts for years to come. Patience and proper preparation are your greatest allies in achieving a flawless finish.