Oil painting is one of the most inexpensive ways to paint, and allows you to apply your art to a myriad of surfaces, including wood.
Yes, you can do oil painting on wood, but there’s more to it than just slapping a brush against a 2×4.
You need something dry that won’t warp over time, which is usually why a cotton canvas is preferred.
Even then, the cotton canvas is stretched over thin bits of wood in an internal frame, and it’s done for a couple of reasons.
For one, it’s extremely easy to aerate.
You have to give your painting plenty of oxygen while painting it so that it dries out instead of rotting the material it’s being applied to.
This is obviously a big problem if you’re planning to paint on wood, but there’s a way to do it properly.
You have to prime the wood prior to painting on it.
There’s a few ways that this can be done, and it doesn’t take much time at all, but it absolutely must be done before any paint touches the wood.
Contents
How to Prime Wood for Oil Painting?
You need a mixture to treat the wood with first.
This creates a thin barrier between the paint and the wood, which will prevent damage and the wear and tear of time.
The goal is to dry the wood out.
Rot occurs when moisture is trapped and turns into mold, mildew, or when mold and mildew dry out and turn into dry rot.
Dry it out and create a seal, and this isn’t going to happen.
You can use three different things to prime the wood and dry it out.
Turpentine/Tung Oil
Turpentine dries wood out, but it also seals it.
Turpentine comes from a mixture of different tree gum and sap, which when mixed creates a strong-smelling resin that’s often added to wood varnish, paints, and paint thinner.
Turpentine is commonly used to thin out acrylic paints, and works well to treat wood that’s going to be put through harsh weather.
Turpentine should be mixed with a tung oil in a 50/50 blend in order to help treat and prime wood for painting.
Tung oil is found in varnishes as well as paints. Throwing straight turpentine into your oil paint could cause it to separate, so a 50/50 mix will do the trick.
Linseed Oil
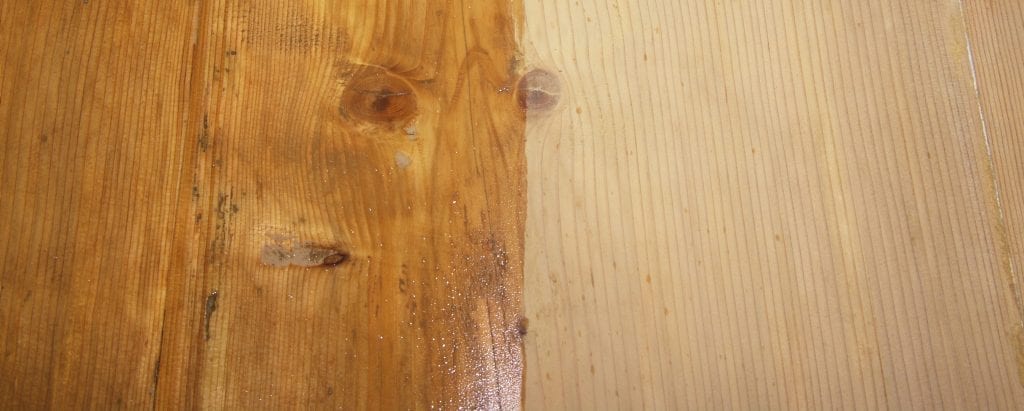
Linseed oil has been used for hundreds of years, and is the main alternative to using turpentine.
Since turpentine is very toxic, you might not want to use it if you have little ones in the house that could get their hands on the wooden surface.
It’s also better for you to not be inhaling the turpentine or tung oil fumes.
You may also know linseed oil by something else: flaxseed oil.
It’s a yellow liquid that’s taken from dried flax plants, and isn’t chemical-based, so it’s safe to use on your wooden surfaces. This doesn’t take long to dry, and acts as a shield between your wood and the oil paint.
Gesso
If you don’t fancy mixing turpentine and tung oil, your next best option is gesso.
You don’t hear much about it, because it’s no longer required for commercial construction. Joint compound and sheetrock are made with their own surface that holds onto paint extremely well.
However, it’s still used in smaller projects where you’re refinishing or repurposing something. Gesso was originally used to treat canvases so that the paint would stick to it.
Way back when they made canvases out of rough cotton, it was the only way to get paint to blend with the material.
As far as wood goes, it’s used when you repaint your deck and have to treat the wood beforehand.
Gesso also has multiple textures that you can get, including smooth, textured, and rough (which usually comes from a spray can).
There are two grades of gesso that you can buy.
Even though they might be made for canvases, you can apply them to wood.
Student grade gesso is, as you might imagine, slightly less viscous and powerful. It’s also cheaper and comes in more abundance.
Artist grade gesso is basically a super concentrated version of student grade gesso.
Less volume, more expensive, but you require less to dry out a canvas or wood.
Depending on the size of your wood surface (such as if you’re painting on an interior wooden wall), you might be better off buying a commercial grade gesso in a high volume for budgeting purposes.
This will allow you to cover the entire wall without going broke (after all, you still have to get the paint).
How Long Does Gesso Take to Dry?
Gesso is a drying agent, so it doesn’t take that long.
You can usually walk away from your project and return no less than twenty minutes later, and have a completely dry surface to paint on.
If you like to err on the side of caution as many of us do, leave it for an hour to be 100% certain that it’s dried properly.
What is the Best Wood for Oil Paints?
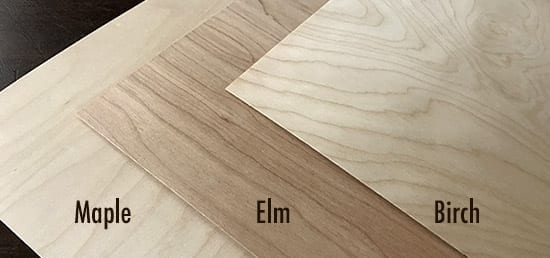
There are two main types of wood that are readily available, and absolutely perfect for applying oil paint to.
First is birch wood, which is often used by canvas makers.
Birch is fairly pouros, which is why we don’t want to immediately add the oil paint to it. Use two layers of gesso to ensure the liquid in oil paint doesn’t seep in and rot the wood.
Next is maple, which is a nice, rigid and hard wood.
It’s often used in decorative augmentations in furniture and aesthetic elements of your home, but if you can order a full panel of maple wood, it’s going to be the best thing you’ve ever oil painted on.
You can buy either of them from multiple online sources.
They will come completely untreated, so once again, have plenty of gesso, linseed oil, or your turpentine/tung oil blend at-the-ready.
You can also use other types of wood if these are too pricey.
Plywood or hardboard are both excellent, though they might require an additional coat of your preferred dying agent.
You can usually get pieces that are at least ¾” thick without spending a lot of money.
Plywood needs to be dried and sealed more than any other type of wood. It’s compressed during production, but there are still plenty of crevices for moisture to slip into.
If neither of those options are available to you or don’t seem like the best option, then you can go for a laminated compressed cardboard with a mica film on it.
It requires less treating, but is slightly more catatonic to deal with.
Research the individual wood that you’re planning on using.
Some woods can leach chemicals from the treatment process into the paint and yellow it, others can be extremely resistant to gesso (so you might need acrylic gesso instead).
Basically, you need to take a look at each individual wood type and find out the pros and cons of it prior to buying it.
Do I Need to Seal the Entire Piece of Wood?
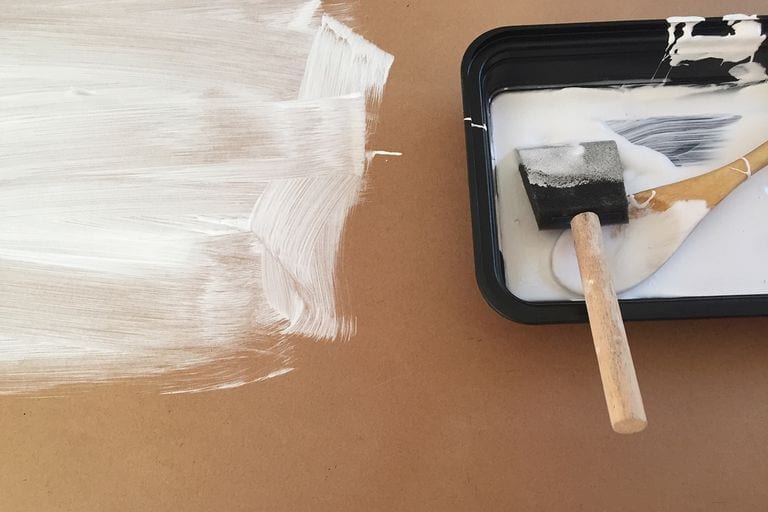
Yes, you should seal the entire piece of wood, regardless of what sealant or drying agent you’re using.
Even when it’s cut, prepared, and partially treated, raw pieces of wood still have a decent amount of moisture locked inside of them.
Apart from that, there are plenty of natural fibers that will absorb water the second that it touches it.
If you’re buying a panel of wood that’s going to be positioned somewhere and then painted, you have to seal the entire thing, even the backside.
It can get a little more complicated if you’re going to paint onto a pre-existing piece of wood in your home, such as an inside retaining wall or the front of a counter area.
How to Seal Wood?
Use a putty knife with a broad edge so you can apply the sealant of your choice.
The biggest difficulty you’re going to encounter with sealing or treating your wood board is getting the layers nice and even.
This is why you’ll need to apply multiple coats.
Apply the first coat with a putty knife.
Get it as even as possible. It’s plausible to assume that you can’t get a 100% perfectly even coat the first time, so use a sandpaper block with at least 600 grit to smooth it out.
Apply the second coat and repeat the process until smooth and sealed properly.
Art Applies to Everything
No matter what, there’s a way to apply art to literally everything in your life.
Whether it has to be treated, sanded, primed or built from scratch, you can use oil painting to transform just about anything in your home.
You’re the artist; the art is just a mark of your creativity that’s left behind, so apply it to everything you can get your brush on.

