Acrylic-style paint has been used for at least two millennium, all the way back to the Romans, and some dating back to ancient Egypt.
When it became true acrylic paint is up in the air, because they did use materials like manganese and lead to create paint that was then applied to glassware.
It’s a very long way off from modern day acrylic paints, but it’s cool to know the origin of it all.
The wonderful thing about acrylic paint is that you can apply it to a multitude of surfaces.
The sky’s the limit, and your brush is how you’re going to explore those limitless bounds.
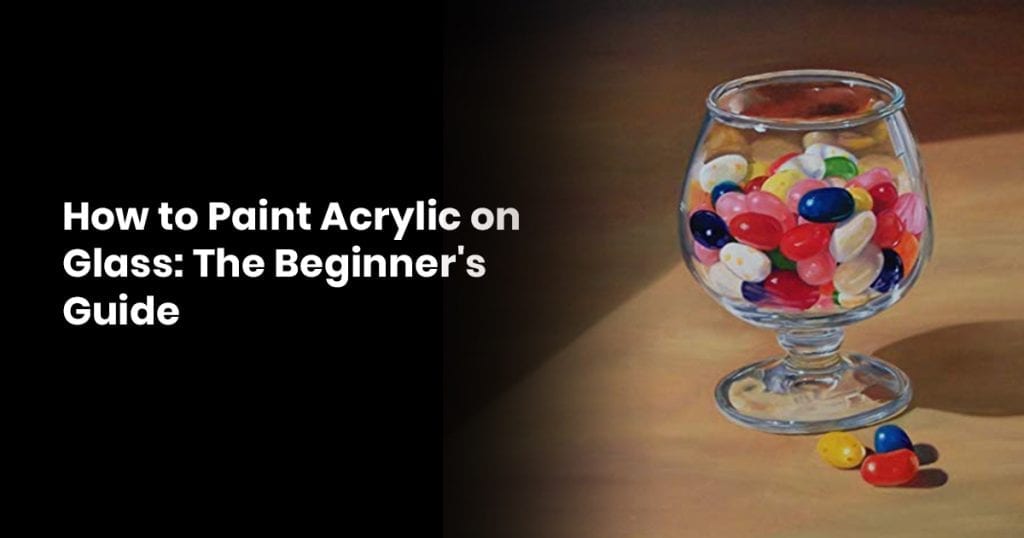
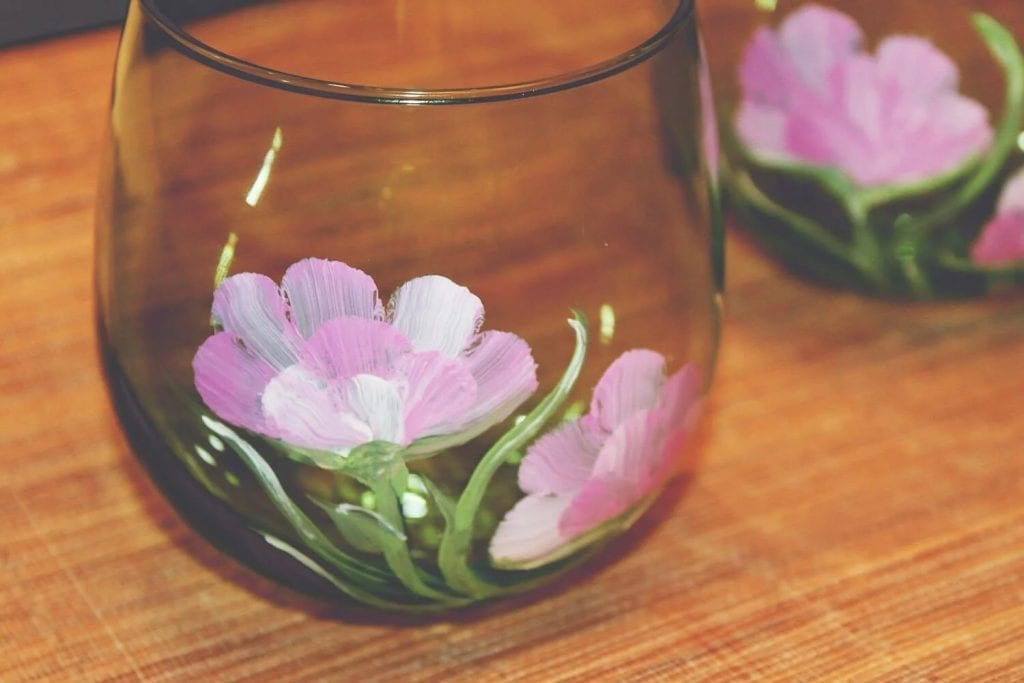
This brief guide will cover everything you need to know about applying acrylic paint to glass, including methods, paint types, and just about everything else under the sun.
Contents
Choosing the Right Acrylic Paint
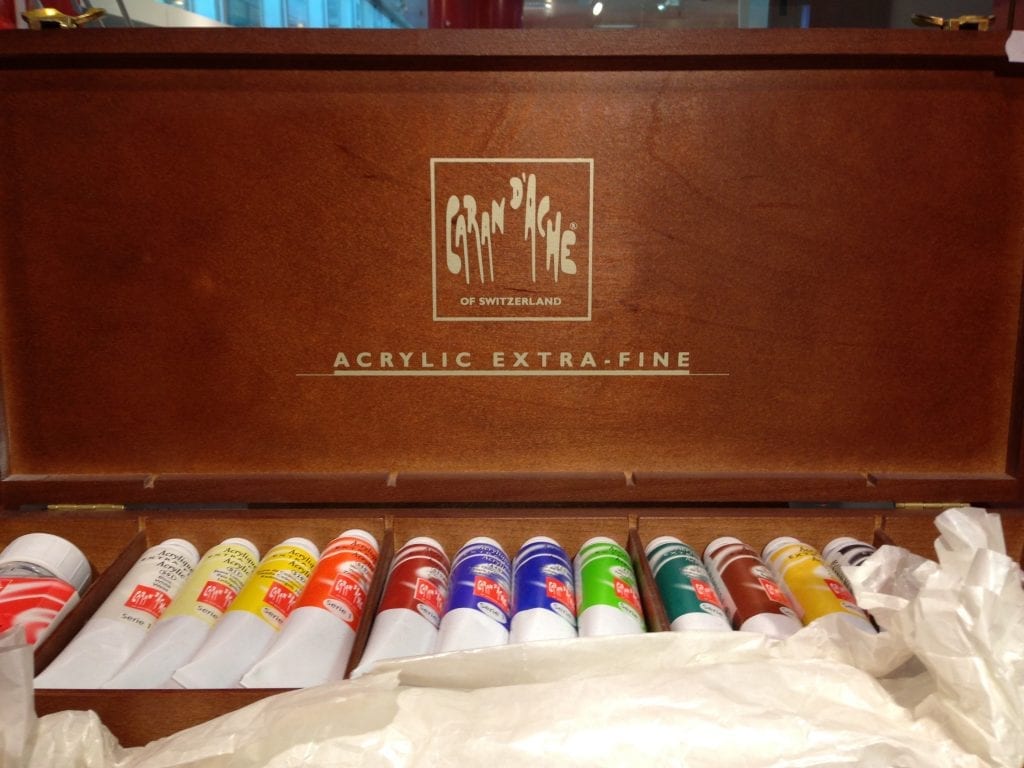
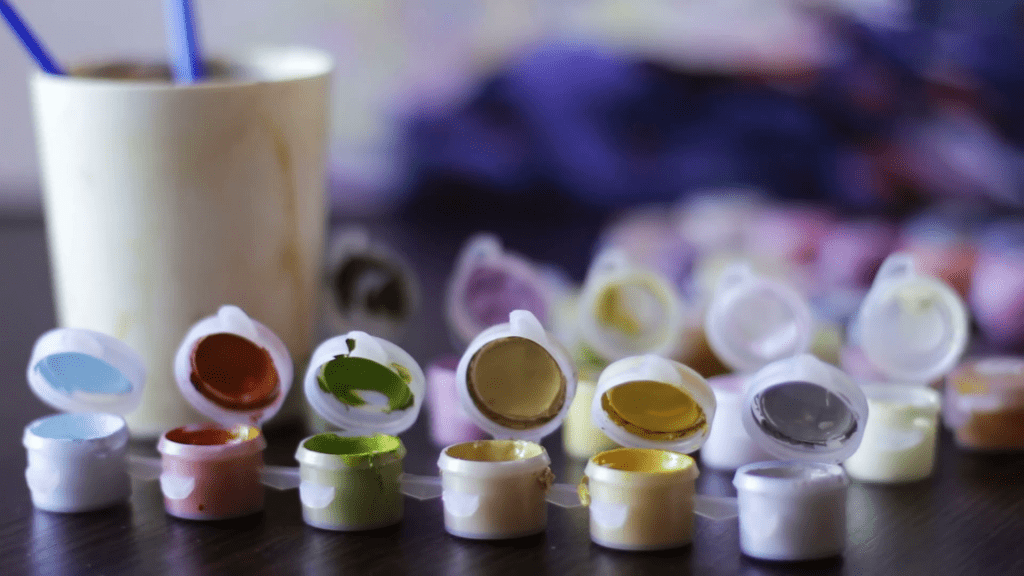
It all starts with the pain. You can choose from a wide range of different acrylics with varying attributes, but only a small minority of them are going to work well on glass.
You have to think that glass is fully transparent, so you don’t get the added benefit of a solid background like you would with a white cotton canvas.
Sometimes it’s a good thing to have the bits of white coming through from a canvas so you can add depth and layers of color to your work, but with glass, it’s an entirely different playing field.
While you can take artistic freedom and use some excellent tricks to make the glass (whatever color it may be) work in your favor, your paints should still have a few attributes in order to effectively cover the glass and stick to it. Some of those attributes include:
Transparency
The more opaque, the better.
The end goal for many painters is to have someone look at the completed work and say, “Whoa, how did you do that on glass?” while inspecting the piece.
If it’s completely covered the glass to the point that you can’t tell what it’s painted on, that sort of undoes the reason for painting it on glass, now doesn’t it?
If you don’t want transparent or opaque paints, consider leaving certain areas of the glass untouched as an artistic effect.
Finish (Frosted, Glossy, etc.)
This will depend on your preference and what you’re going for, but the finish on the paint is extremely important.
It’s going to make the difference between something looking like a hobby, and a piece of art looking like a masterpiece that you use to show off your skills.
For glass, a frosted finish has a very nice appeal to it, but of course, it all depends on the exactly art that you’re going for.
Just be careful here: too glossy and it can just reflect light and draw some of the mystique away from your painting.
True Color
True color is looking past all of the marketing and photoshopped images that brands use to display the colors of their acrylic paints.
How is that achieved?
Well, there are two ways. For once, you could go into a store and ask the associates if you could unscrew a tube of acrylic paint and see the actual color.
If it matches the label and looks how you expected it to, that’s probably a good brand for you to lookout for in the future.
If you don’t have any arts and crafts stores near you, or find that they’re too expensive (because they usually tend to be), then you can find excellent acrylic paint online.
It’s more difficult to find the true color online, but you can usually rely on user-submitted photos of the paint out of its tube.
Consistency
The last thing you want to do is mix brands together that don’t mesh well.
Stick with paints that have a consistency with each other both in texture, as well as finish, so that you’re not left with a horribly non-cohesive painting.
The best way to test this is to simply mix two dime-sized dots of paint together slowly with a brush.
Watch how they mix together, how they become one color, as well as the way the finishes interact.
Applying a Tooth Enamel to Your Glass
Well, it’s not a real tooth enamel like you would find in your mouth, but it still has a quality that is described as being tooth-like.
Your enamel covering of your glass is designed to actually hold onto the paint.
We’ll get into different glass types later, but for now it’s important to understand that acrylic paint doesn’t stick to glass easily: it needs a base.
You might be surprised to learn that even the canvas that you were previously painting on still needed a base applied to it for the paint to stick to.
There’s something called gesso that is applied to a canvas in order to let the paint stick to it.
After all, the cotton canvas beneath would absorb the paint, but it would warp the finished product from how you painted it on.
Glass is the same thing. Nearly all glass products (dinnerware, windows, furniture) are made to be smooth, making it difficult for paint to stick to it.
You can find this enamel in different finishes, enamel-based paints, and what we recommend: enamel-based primers.
These can either be in a spray form or brush applicable form, and they generally take between twenty-four and seventy-two hours to fully adhere to the glass of your choosing.
Once they’re completely dry, you should have a slightly rougher surface (where the word “tooth” comes into play) to work with which will actually grab and hold onto your paint. Specific acrylic paint that’s designed for glass is usable, but it’s more for arts and crafts on dinnerware or something along those lines.
Baking Your Glass
Now, you need the paint to stick to the glass and actually hold.
Yes, the base layer will help, but it’s not going to do the entire job. You need to bake your glass to get the paint to stick to it properly.
Whether it’s a sheet of glass or dinnerware, it should be able to withstand the heat in this method without shattering.
Glass doesn’t begin to melt until over 1,400 F, so an oven temp of 350 F isn’t going to shatter it. It’s all about easing the glass in to different temperatures.
If you’ve ever heard a horror story of a glass pan breaking or exploding after it’s been pulled out of the oven, there is some weight to those.
Glass bakeware can explode or shatter, but it’s not because the glass isn’t meant to withstand those temperatures, but the rapid shift in temperatures.
There’s something you have to know about called COE, or coefficient of expansion. Different types of glass expand and contract at different rates and temperatures.
The COE can be ridiculously different than the melting temperature, meaning different types of glass will work for this, and others will break.
Once you know which type of glass to use, this is what you need to do:
1. Place the glass in your oven while it’s still completely cold. You want to acclimate the glass to the rising temperature. Under no circumstances should you preheat the oven.
2. Turn the oven on to 350 degrees, no more. 350 is enough to cook the acrylic paint onto the glass without burning it, or damaging/splitting the glass.
3. Bake for thirty minutes—no more, no less—and turn the oven off. Wait an additional forty-five minutes after the oven has been turned off before even opening it; you’re bringing the temperature down slowly.
And… it’s done. After this point, the acrylic paint will have perfectly baked onto the tooth enamel, and it isn’t going anywhere. It’s going to take a lot of work if you want to get this off of the glass.

What Type of Glass is Best for Acrylic?
There’s not a real category of named glasses that you could peruse to find the right one.
Instead, you have to look at the COE as we mentioned earlier.
Glass that’s used in dinnerware is especially good, because it’s thin enough that the COE properties might be a little more flexible.
Thicker glass, such as bakeware, can have a harder time during expansion that could cause rapid outbursts.
It is important to note that thinner glass will be more susceptible to temperature fluctuations, so follow the steps in the previous section to a tee.
Then there’s panes of glass (usually a ¼” thick) that are used for windows and remodeling. These are great, but come with an added difficulty.
You don’t want to put a tooth enamel on the entire thing (being all four narrow sides and the back) since it’s going to make contracting and expanding extremely difficult.
It’s like putting a straitjacket on a balloon while you try to pump it full of helium; it’s a bad idea.
You can still finish the remainder of the glass if you’d like, just wait until it’s done in the oven and has had a chance to cool for a while.
Thicker glass is going to be a little harder to work with, since the COE rating could drop significantly.
For small projects at home and arts and crafts, it isn’t wise to work with larger pieces of glass (at least if they are going to be heat treated in your conventional oven). If you’re able to develop a workshop with a kiln, your options will open up.
What Should I Pay Attention to While Painting on Glass?
First and foremost, make sure that the glass is completely intact: no chips, no splits, no divots.
Just like you hear about with your windshield and small chips in it, these can be major weaknesses that will be exploited in the oven during the tempering process.
Also note how the acrylic paint is sticking to the glass.
It’s a lot easier to remove the paint with a few paper towels than it is to remove it with solvent after it dries; if it’s not attaching to the primer properly, clear it off and add another layer.
It’s also not a good idea to paint on recycled glass.
Glass bottles, windows, debris—whatever the recycling plant is selling to manufacturers—are all used to make recycled glass.
They’ll mix in additional soda ash along with the clean glass to reform it, but it usually comes out with a lesser COE, making it far less viable to rebake. Stronger glasses, like that for bakeware, is not sourced from recycled glass.
Can You Reuse Glass?
It’s a difficult thing to do, but it is possible.
After the enamel coating is applied, you have to use some sort of a solvent to dissolve it properly.
This solvent can even dissolve the acrylic paint, the “tooth” coating, and return the glass back to what it was before.
The one thing you need to keep in mind is that, when reusing a piece of glass, you have to retreat and reheat it again.
It’s a difficult task to remove the tooth enamel coating and the acrylic paint with it.
If you have a home workshop with a kiln, you could melt down the glass and reform it, but the paint and enamel will mix into it and affect everything. If you want to melt and reuse glass, you have to clear it off first.
A New Canvas of Sorts
Now that you have every bit of knowledge that you need to begin painting with acrylics on glass, it’s time to put it all to the test and show your stuff.
You’ll begin to look at the world with an entirely new, more creative eye that will turn every bit of glass into a canvas.
Look for items that you can repurpose like old entertainment cabinets with glass doors, glass coffee tables, and just about anything else you can get your hands on.
Everything is a canvas if you’re creative enough.