
Image Source: images.squarespace-cdn.com
How To Frame A Stretched Canvas Painting: Easy Guide
Can you frame a stretched canvas yourself? Yes, absolutely! Framing a stretched canvas painting is a rewarding DIY project that can elevate your artwork and protect it. This guide will walk you through the entire process, from choosing the right frame to securely mounting your masterpiece.
Why Frame a Stretched Canvas?
Framing a stretched canvas does more than just make it look good. It offers several key benefits:
- Protection: A frame acts as a barrier, shielding your painting from dust, dirt, and accidental damage. It helps preserve the integrity of your artwork for years to come.
- Aesthetics: The right frame can transform a simple stretched canvas into a stunning piece of decor. It complements your art, enhances its visual appeal, and ties it into the surrounding room.
- Presentation: For artists, framing is crucial for presenting work professionally. Whether for a gallery, a sale, or your home, a well-framed piece makes a significant impact.
- Handling: Frames provide a safer way to handle your canvas, reducing the risk of touching the painted surface.
Types of Stretched Canvas Framing
There are several popular ways to frame a stretched canvas. Each offers a different look and feel.
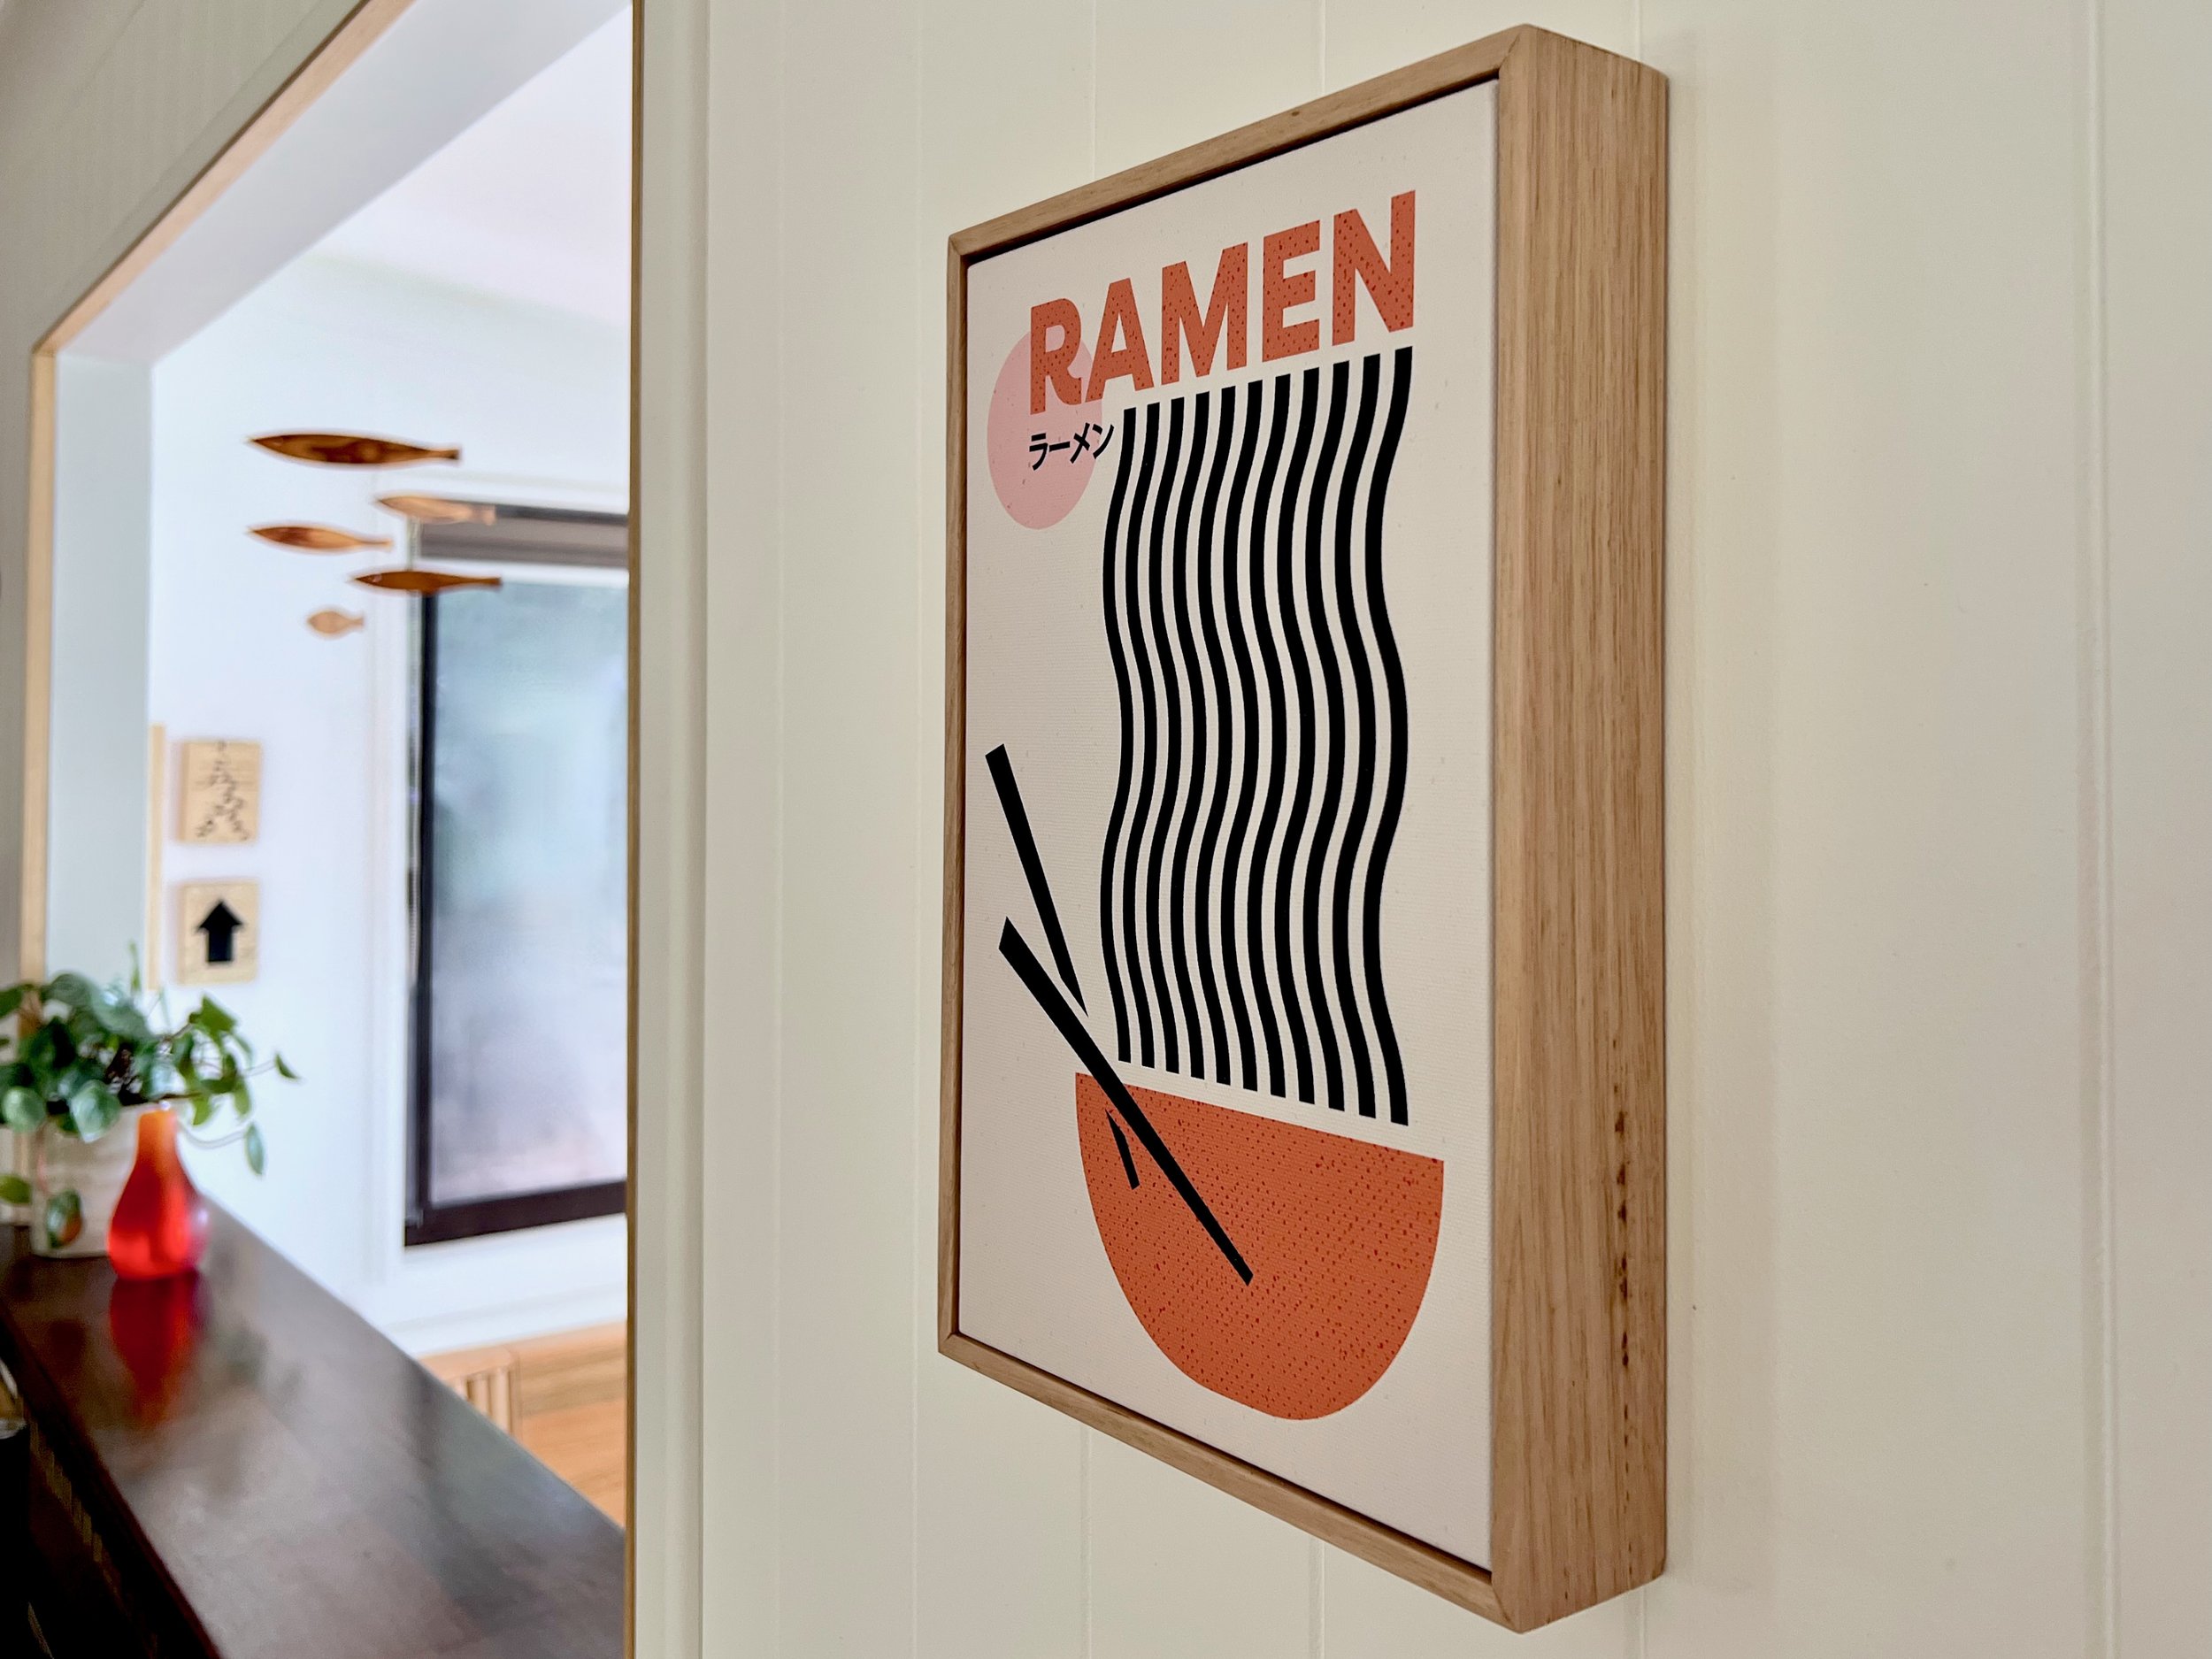
Floater Frames for Canvas
Floater frames are a modern and popular choice for stretched canvas framing. They create a “floating” effect by leaving a small gap between the canvas and the frame’s edge. This gap allows the canvas to appear as if it’s floating within the frame, highlighting the edges of the canvas itself.
Advantages of Floater Frames:
- Modern Look: Their clean lines and minimalist design suit contemporary art and interiors.
- Highlights the Canvas: They draw attention to the artwork without distracting from it.
- Protects Edges: They prevent the canvas edges from rubbing against the frame.
Considerations for Floater Frames:
- Canvas Depth: Floater frames are designed for canvases with a specific depth. Ensure your canvas depth matches the frame’s channel.
- Mounting: You typically mount the canvas from the back using screws, which are hidden by the frame’s lip.
Canvas Gallery Wrap Framing
Canvas gallery wrap framing refers to canvases where the fabric is stretched taut around the stretcher bars and then wrapped around the sides. This technique often means the artwork continues onto the sides of the canvas, creating a finished look without the need for a traditional frame. However, many people still choose to add a frame to a gallery-wrapped canvas for added impact.
Framing a Gallery Wrap Canvas:
- Floater Frames: As mentioned above, floater frames are ideal for gallery wraps as they maintain the “frameless” feel while adding a professional touch.
- Traditional Frames (with modifications): Sometimes, traditional frames can be used, but care must be taken to ensure the frame doesn’t obscure the wrapped edges if that’s a desired feature. Often, a spacer or a deeper frame is needed.
Traditional Framing Methods
While floater frames are prevalent, traditional frames can also be adapted for stretched canvases.
- Using a Mat: While less common for stretched canvases than for works on paper, a mat can be used. The canvas would be mounted onto a backing board, and then a mat would be placed over it, creating a border. The entire assembly would then be placed in a traditional frame. This method adds significant bulk and can detract from the simplicity of a stretched canvas.
- Deep Rebate Frames: For stretched canvases, frames with a deeper “rebate” (the groove where the artwork sits) are essential. This ensures the canvas fits comfortably within the frame.
Choosing the Right Frame
Selecting the perfect frame is key to showcasing your artwork. Consider these factors:
Material and Finish
- Wood: Offers warmth, durability, and a classic look. Wood frames come in various species (pine, oak, maple) and finishes (painted, stained, natural).
- Metal: Provides a modern, sleek aesthetic. Aluminum and steel frames are common choices.
- Plastic/Composite: A budget-friendly option, often mimicking wood or metal. Quality can vary significantly.
Style and Color
- Modern: Clean lines, geometric shapes, often in black, white, or metallic finishes. Floater frames are a prime example.
- Traditional: Ornate details, richer wood tones, and classic profiles.
- Rustic: Natural wood finishes, distressed textures, giving an earthy feel.
- Color: The frame color should complement or contrast with your artwork. Neutral colors (black, white, brown, gold, silver) are versatile. A bold color can make a statement if it aligns with the artwork’s mood.
Size and Proportions
- Frame Width: A wider frame can make a smaller canvas appear more substantial. A narrower frame is good for larger canvases or when a minimalist look is desired.
- Canvas Dimensions: Measure your canvas accurately (height and width). The frame opening (rabbet size) should match these dimensions, or be slightly larger to accommodate the canvas depth.
DIY Canvas Framing: A Step-by-Step Guide
Here’s a comprehensive guide to DIY canvas framing, focusing on using a floater frame, as it’s one of the most popular and accessible methods for stretched canvas framing.
Materials and Tools You’ll Need:
- Your Stretched Canvas: Ensure it’s dry and ready.
- Floater Frame Kit: These kits usually include the frame pieces, mounting hardware (screws, brackets), and sometimes a backing board or spacers.
- Screwdriver: A Phillips head screwdriver is most common. A power drill with a screwdriver bit can speed things up.
- Measuring Tape: For accuracy.
- Pencil: For marking.
- Optional: Wood Glue: For reinforcing corners if your frame kit doesn’t come pre-assembled.
- Optional: Sandpaper: If you need to smooth any rough edges on the frame or canvas.
- Optional: Corner Clamps: If you’re assembling a frame from scratch.
Step 1: Measure Your Canvas and Frame
- Canvas Dimensions: Measure the height and width of your stretched canvas. Note the depth of the stretcher bars.
- Frame Opening: Most floater frame kits are designed to fit standard canvas sizes. However, always double-check the internal dimensions of the frame. The important measurement is the inner dimension that will hold your canvas.
Step 2: Assemble the Floater Frame (If Necessary)
Many floater frames come as four separate pieces that you need to join at the corners.
- Pre-assembled vs. Kit: Some kits come with mitered corners that simply slot together. Others require you to screw or glue the corners.
- Joining Corners: If you need to join corners, align the mitered edges carefully. Apply a small amount of wood glue to the joint for extra strength. Use the provided screws or brackets to secure the corners. Corner clamps can be helpful here to hold the pieces steady while you fasten them.
Step 3: Prepare the Frame for Mounting
- Inner Lip: Floater frames have an inner lip or channel. This is where the canvas will sit. Ensure there are no obstructions.
- Pre-drilled Holes: Some frames have pre-drilled holes for mounting. If not, you’ll create these in the next step.
Step 4: Mount the Canvas to the Frame
This is the core of stretched canvas framing.
- Positioning: Place your stretched canvas face down on a clean, protected surface. Carefully place the assembled floater frame over the back of the canvas, ensuring the canvas edges are centered within the frame’s lip. The gap between the canvas and the frame should be consistent on all sides.
- Securing the Canvas:
- Most floater frame kits come with small L-brackets or metal plates and screws.
- Position a bracket so that one part rests on the stretcher bar of your canvas and the other part aligns with the inside of the frame.
- Mark the screw positions with a pencil.
- Crucially: Ensure the screws are the correct length. They should be long enough to securely hold the canvas to the frame but not so long that they pierce through the front of your artwork. If your screws are too long, you may need to find shorter ones or add a small spacer behind the bracket.
- Carefully drive the screws through the brackets into the stretcher bars and the frame. Start with one bracket on each side to hold the canvas in place, then add the remaining brackets for a secure hold.
- Canvas Mounting Hardware: Ensure you are using the appropriate canvas mounting hardware provided with your frame kit.
Step 5: Add Hanging Hardware
- D-rings and Wire: For most stretched canvases, especially those framed with floater frames, D-rings and picture hanging wire are the preferred method.
- Placement: Screw D-rings into the back of the stretcher bars, about one-third of the way down from the top edge. Ensure they are level with each other.
- Wire: Thread picture hanging wire through the D-rings and twist it securely. Leave enough slack so the wire forms a shallow “V” shape when pulled taut. This allows the painting to hang slightly off the wall, preventing the frame from scratching the paint.
Step 6: Final Touches and Inspection
- Clean the Frame: Wipe down the frame and the front of your canvas to remove any dust or fingerprints.
- Check Stability: Gently shake the framed canvas to ensure it feels secure and all hardware is tight.
Alternatives for Stretched Canvas Framing
While DIY is a great option, sometimes professional canvas framing is the best choice, especially for valuable artwork or specific aesthetic requirements.
Custom Canvas Frames
- Bespoke Solutions: If you have unique canvas dimensions or a very specific design vision, custom canvas frames offer a tailored solution.
- Expert Advice: Frame shops can provide expert advice on materials, styles, and preservation methods.
- Professional Finish: They have specialized tools and techniques to ensure a perfect, durable finish.
Art Framing Supplies
- One-Stop Shop: Reputable art framing supply stores offer a wide range of materials, including various frame profiles, canvas mounting hardware, mats, glass (though typically not needed for stretched canvases unless protecting against UV), and hanging systems.
- Quality Materials: Purchasing from specialized suppliers ensures you get high-quality materials that will protect and enhance your artwork.
How to Hang a Stretched Canvas
Once your canvas is framed, it’s time to display it. Here’s how to hang it securely:
Choosing the Right Hanging Method
- Picture Hooks/Screws: For most framed canvases, you’ll need sturdy picture hooks or screws that can support the weight of the artwork.
- Wall Anchors: If you’re hanging on drywall and the screw or hook won’t hit a stud, use appropriate wall anchors for added support.
- Level: Always use a level to ensure your painting hangs straight.
Hanging Process
- Determine Placement: Decide where you want to hang your painting. Consider the room’s layout, furniture, and other decor.
- Measure and Mark: Hold the framed canvas against the wall at your desired height. Use a pencil to lightly mark the wall where the top of the frame will be.
- Position Hooks/Screws: Measure the distance from the top of the frame to the hanging wire when it’s pulled taut. Subtract this measurement from your top mark on the wall. This is where your hook or screw needs to go. Use a level to ensure your marks are even if hanging multiple pieces.
- Install Hardware: Screw in your picture hook or screw securely into the wall (or wall anchor).
- Hang the Canvas: Carefully lift the framed canvas and hook the wire onto the picture hook or screw.
- Adjust: Step back and check if the painting is level. Make minor adjustments as needed.
Frequently Asked Questions (FAQ)
Q1: Do I need glass for a stretched canvas painting?
A1: Generally, no. Stretched canvases are typically finished with varnishes that provide protection. Glass can add weight, glare, and the risk of the canvas sticking to it if humidity is high. However, for very delicate works or those exposed to harsh environments, professional framing might include UV-protective acrylic or glass.
Q2: Can I frame a canvas that isn’t stretched?
A2: Yes, but the process is different. If you have a canvas that is not stretched (e.g., a rolled canvas or one on a thin board), you would typically need to mount it onto a backing board (like matboard or Gatorboard) and then frame it using a traditional frame with a mat or a spacer.
Q3: How do I measure my canvas for a frame?
A3: Measure the height and width of the outside edge of the stretcher bars. Also, measure the depth of the stretcher bars. This is crucial for selecting the correct frame size and type, especially for floater frames.
Q4: What if my canvas is an odd size?
A4: For odd or non-standard sizes, custom canvas frames are your best bet. You can order frames made to your exact specifications from a custom frame shop or some online retailers.
Q5: How do I clean a framed canvas?
A5: Gently dust the frame with a soft, dry cloth. For the canvas surface, use a very soft brush or a dry microfiber cloth to lightly dust the painting itself. Avoid any liquids or harsh chemicals, as they can damage the paint.
Q6: Can I reuse hardware from an old frame?
A6: It’s generally recommended to use new art framing supplies and hardware for a new frame to ensure the best fit and security. Old hardware may be worn or not compatible with your new frame.
By following this guide, you can confidently frame your stretched canvas paintings, enhancing their beauty and ensuring their longevity. Whether you opt for a modern floater frame or explore other stretched canvas framing techniques, the result will be a beautifully presented piece of art.