
Can you repair a torn art canvas? Yes, you absolutely can repair a torn art canvas. This guide will walk you through how to perform canvas repair safely and effectively, preserving your precious artwork. We’ll cover everything from assessing the damage to the final touches of art restoration.
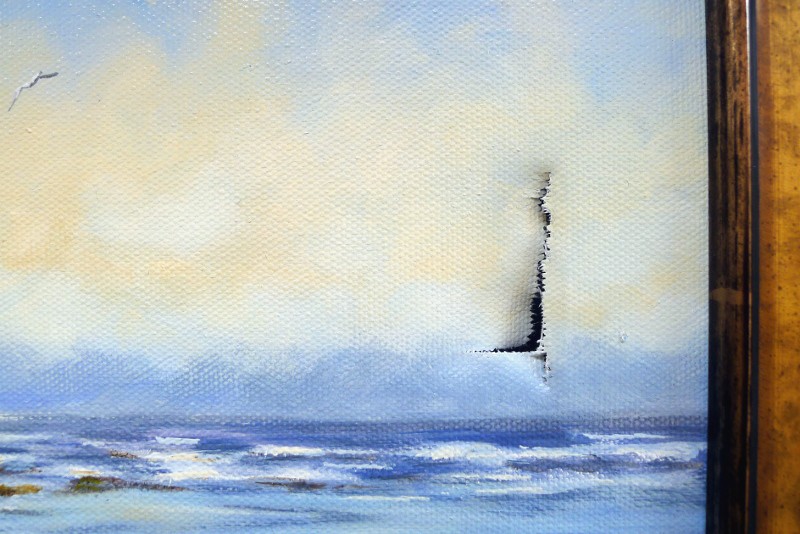
Image Source: www.chrischalkart.com
Assessing the Canvas Damage
Before you begin any fabric mending, take a close look at the tear. How big is it? Is it a clean rip, or is it ragged? Is the paint still attached, or has it flaked off? The extent of the damage will determine the best approach for fixing rips and restoring paintings.
Types of Canvas Tears
- Clean Tear: A simple rip through the canvas fibers.
- Ragged Tear: The canvas fibers are frayed and broken.
- Paint Loss: The paint layer has detached from the canvas along the tear.
- Stretching Issues: The canvas might be loose or sagging in addition to the tear.
Evaluating the Paint Layer
If the paint is lifting or already missing, this adds complexity to the canvas repair. For severe paint loss, professional art restoration might be the best option. However, for minor paint detachment, careful work can reattach flakes.
Gathering Your Supplies for Canvas Repair
Having the right tools and materials is crucial for successful canvas patching and overall art restoration.
Essential Materials
- Archival Adhesive: A reversible, pH-neutral adhesive specifically designed for paper or fabric conservation. Common options include wheat starch paste or conservation-grade PVA. Never use standard craft glue or rubber cement.
- Archival Fabric Patch: A piece of new, stable canvas (cotton or linen) that matches the weight and weave of your original canvas as closely as possible. It should be acid-free.
- Conservation Tape: Acid-free, reversible tape for temporarily holding pieces in place.
- Cotton Swabs and Brushes: For applying adhesive and cleaning.
- Soft Cloths: Lint-free cloths for gentle blotting.
- Weights: Clean, flat weights (like glass or smooth metal objects) to apply even pressure.
- Gloves: Nitrile or cotton gloves to prevent transferring oils from your hands to the artwork.
- Magnifying Glass: To closely inspect the fibers and paint.
- Spreading Tools: Bone folder or plastic spatula for smoothing.
- Scalpel or Fine Scissors: For trimming the patch.
- Backing Material (Optional but Recommended): A piece of acid-free board or a secondary canvas for added support, especially for larger tears. This is a key part of robust canvas backing.
Choosing the Right Adhesive
The adhesive for canvas is paramount. It needs to be strong enough to hold the fabric without damaging it and, ideally, reversible in case future adjustments are needed. Wheat starch paste is a traditional choice for its reversibility and gentle nature. Conservation-grade PVA glues are also excellent, offering strong adhesion and aging resistance. Always test your chosen adhesive on a scrap piece of canvas first.
Step-by-Step Canvas Repair Process
This section details how to perform fabric mending and canvas patching with care.
Step 1: Prepare the Workspace
Find a clean, flat, well-lit surface. Lay down a clean sheet of paper or a drop cloth to protect your work area. Ensure good ventilation if using any adhesives that emit fumes, though archival adhesives are generally low-odor.
Step 2: Stabilize the Tear Edges
Gently align the torn edges of the canvas. If the paint layer is intact, try to position the canvas so the paint doesn’t crack further. You can use small pieces of conservation tape on the back of the canvas to hold the edges in place temporarily. This prevents the tear from widening as you work.
Step 3: Prepare the Canvas Patch
Cut a piece of your archival fabric patch. The patch should be slightly larger than the tear, typically extending about half an inch to an inch beyond the edges of the rip on all sides. Ensure the weave of the patch runs in the same direction as the original canvas for structural integrity.
Step 4: Apply the Adhesive
This is where careful application of the adhesive for canvas is vital.
Method 1: Direct Adhesive Application (for smaller, clean tears)
- Using a fine brush or cotton swab, apply a thin, even layer of your chosen archival adhesive to the underside of one of the torn canvas edges.
- Gently press the other torn edge onto the adhesive-coated edge, aligning them as perfectly as possible.
- Carefully work along the tear, applying adhesive to one side at a time and then joining.
Method 2: Patch Application (for larger or more complex tears)
- Apply a thin, even layer of adhesive to the back of the prepared canvas patch.
- Carefully position the patched side down over the tear on the back of your artwork. Ensure the patch extends evenly around the tear.
- Gently press the patch into place, smoothing out any air bubbles.
- Now, apply a small amount of adhesive to the exposed edges of the tear on the front of the canvas.
- Using a fine tool (like a dental pick or a pointed chopstick), carefully coax the original canvas fibers over the patch.
Step 5: Smooth and Press
Once the adhesive is applied and the edges are aligned, gently smooth the repaired area. Use a clean bone folder or a plastic spatula to work from the center of the tear outwards, ensuring good contact between the canvas, adhesive, and patch.
Step 6: Apply Weight
Place clean, flat weights on top of the repaired area. This ensures even pressure while the adhesive dries, preventing the canvas from buckling. You can place a sheet of acid-free paper or a soft cloth between the weights and the artwork to prevent sticking or imprinting.
Step 7: Allow for Drying
Let the adhesive dry completely according to the manufacturer’s instructions. This can take several hours or even overnight. Resist the urge to touch or move the artwork until it is fully dry.
Step 8: Remove Temporary Supports
Once the adhesive is dry, carefully remove any conservation tape you used for temporary stabilization.
Step 9: Consider Canvas Backing (for added support)
For larger tears or if the canvas feels fragile, applying a canvas backing provides crucial structural support. This involves adhering a larger piece of archival fabric or acid-free board to the entire back of the canvas.
Canvas Backing Process
- Prepare the Backing Material: Cut a piece of archival canvas or acid-free board slightly larger than the entire artwork.
- Apply Adhesive: Apply a thin, even layer of archival adhesive to the backing material or the back of your artwork. Conservation-grade PVA is often preferred here for its strength and flexibility.
- Adhere and Smooth: Carefully lay the artwork onto the backing material, ensuring it is centered. Smooth out any wrinkles or air bubbles using a clean roller or spatula.
- Weight and Dry: Apply weights evenly across the entire surface and allow to dry thoroughly.
Addressing Paint Loss During Canvas Repair
If paint has flaked off along the tear, this requires a delicate touch.
Reattaching Paint Flakes
- Gentle Cleaning: Before reattaching, ensure the area is free of dust and debris. Use a very soft brush.
- Adhesive Application: Apply a tiny amount of archival adhesive using a fine brush directly onto the underside of the detached paint flake.
- Positioning: Gently nudge the flake back into place using a fine tool.
- Drying: Allow the adhesive to dry completely. If necessary, very gently press a small piece of tissue paper or a delicate weight on top.
Important Note: Reintegrating color or filling areas of missing paint is a complex aspect of art restoration and often requires specialized pigments and techniques. For significant paint loss, consult a professional conservator.
Special Considerations for Different Types of Artwork
The method for canvas repair can vary based on the artwork’s age and medium.
Age and Fragility
Older canvases can be more brittle and prone to further damage. When dealing with antique paintings, extreme care is necessary. If the canvas is very old, fragile, or valuable, professional art restoration is highly recommended.
Types of Canvas
- Stretched Canvas: The most common type, mounted on a stretcher bar.
- Canvas Board: Canvas glued to a rigid board. Tears here might be handled differently due to the rigid support.
- Linen Canvas: Often used for fine art, linen has different fiber properties than cotton.
Mediums (Oil vs. Acrylic)
While the fabric mending itself is similar, the paint layer’s condition will differ. Acrylics can sometimes become brittle with age, while oil paints might become more flexible. Be mindful of the paint’s state when working with either.
When to Seek Professional Art Restoration
Not all tears can or should be repaired at home. Here’s when to call in the experts:
- Valuable or Historically Significant Artwork: If the piece is priceless or important, professional conservators have the specialized knowledge and materials.
- Extensive Damage: Tears that are very large, complex, or have significant paint loss may be beyond a DIY repair.
- Fragile or Brittle Canvas: If the canvas itself feels like it could disintegrate with touch.
- Uncertainty: If you are unsure about any step of the process, it’s always safer to consult a professional.
A professional conservator can perform meticulous fabric mending and art restoration techniques that are far more advanced than DIY methods. They can also address issues like old, discolored varnish or previous poor repairs.
Maintaining Your Repaired Canvas
Once your artwork is repaired, proper care can help prevent future damage.
Display and Environment
- Avoid Direct Sunlight: UV rays can degrade canvas and paint over time.
- Control Humidity and Temperature: Stable environmental conditions are best. Avoid attics, basements, and rooms with fluctuating humidity.
- Proper Framing: Consider professional framing with UV-protective glass or acrylic, and ensure the artwork is not directly touching the glass.
Handling
- Always Handle with Care: Wear gloves when handling artwork.
- Avoid Touching the Painted Surface: Oils from your skin can damage the paint.
By following these steps, you can safely and effectively perform canvas repair, keeping your cherished artworks in good condition. Remember, patience and the right materials are key to successful fabric mending and art restoration.
Frequently Asked Questions (FAQ)
Q1: What is the best adhesive for canvas repair?
A1: For archival canvas repair, use a reversible, pH-neutral adhesive like wheat starch paste or a conservation-grade PVA glue. Avoid standard craft glues as they can damage the artwork over time.
Q2: Can I use regular tape to fix a canvas tear?
A2: No, regular adhesive tape is acidic and will yellow and damage the canvas over time. Always use acid-free, conservation-grade tape for temporary stabilization.
Q3: My painting has a small tear and some paint is missing. What should I do?
A3: For small tears with minor paint loss, you can attempt to reattach the paint flakes using an archival adhesive applied with a fine brush. For larger paint loss or if the canvas is fragile, professional art restoration is recommended.
Q4: How do I prepare a canvas patch?
A4: Cut a piece of new, archival canvas (cotton or linen) that matches the weight and weave of your original. The patch should extend about half an inch to an inch beyond the edges of the tear on all sides. Ensure the weave direction is consistent.
Q5: Is it safe to iron a canvas to flatten it after repair?
A5: It is generally not recommended to iron a canvas, especially if it has paint on it. The heat can damage the paint layer and the canvas fibers. If flattening is needed, gentle pressure with weights during drying is the preferred method.
Q6: What is canvas backing and why is it important?
A6: Canvas backing is an additional layer of archival fabric or board adhered to the back of the repaired canvas. It provides crucial structural support, especially for larger tears or fragile canvases, reinforcing the fabric mending and aiding in overall art restoration.
Q7: How long does the adhesive take to dry for canvas patching?
A7: Drying times vary depending on the adhesive used. Always follow the manufacturer’s instructions. It can range from several hours to overnight. Ensure the adhesive is completely dry before handling or applying weight.
Q8: Can I repair a tear in an oil painting?
A8: Yes, you can repair tears in oil paintings, but it requires extra care due to the paint layer. Ensure the paint is stable before attempting any fabric mending. Professional art restoration is often the safest route for valuable oil paintings.
Q9: What are the risks of DIY canvas repair?
A9: Risks include using the wrong adhesives that cause yellowing or damage, creating visible patching, causing further tears, or dislodging paint. For valuable or very old artwork, professional expertise is always the best option.
Q10: Where can I find archival materials for canvas repair?
A10: Archival materials like conservation tape, acid-free fabric, and specialized adhesives can be found at art supply stores that cater to conservators, or through reputable online suppliers specializing in art restoration materials.