
Can you paint treated wood right away? No, you generally cannot paint treated wood immediately after purchase. Treated lumber needs time to dry out and for the chemicals to stabilize before a finish can be successfully applied. This is crucial for a long-lasting, beautiful paint job.
When you buy pressure-treated wood, it’s often saturated with preservatives. These chemicals protect the wood from rot and insects. However, they also mean the wood is wet. Painting or staining wood that is still wet can lead to a host of problems. These include peeling paint, blotchy finishes, and compromised wood protection. So, how long to wait before painting treated wood? The answer varies, but typically, you should wait at least a few weeks, and often several months, depending on environmental factors and the type of wood treatment. This extended waiting period for treated lumber ensures the wood is ready to accept a coating.
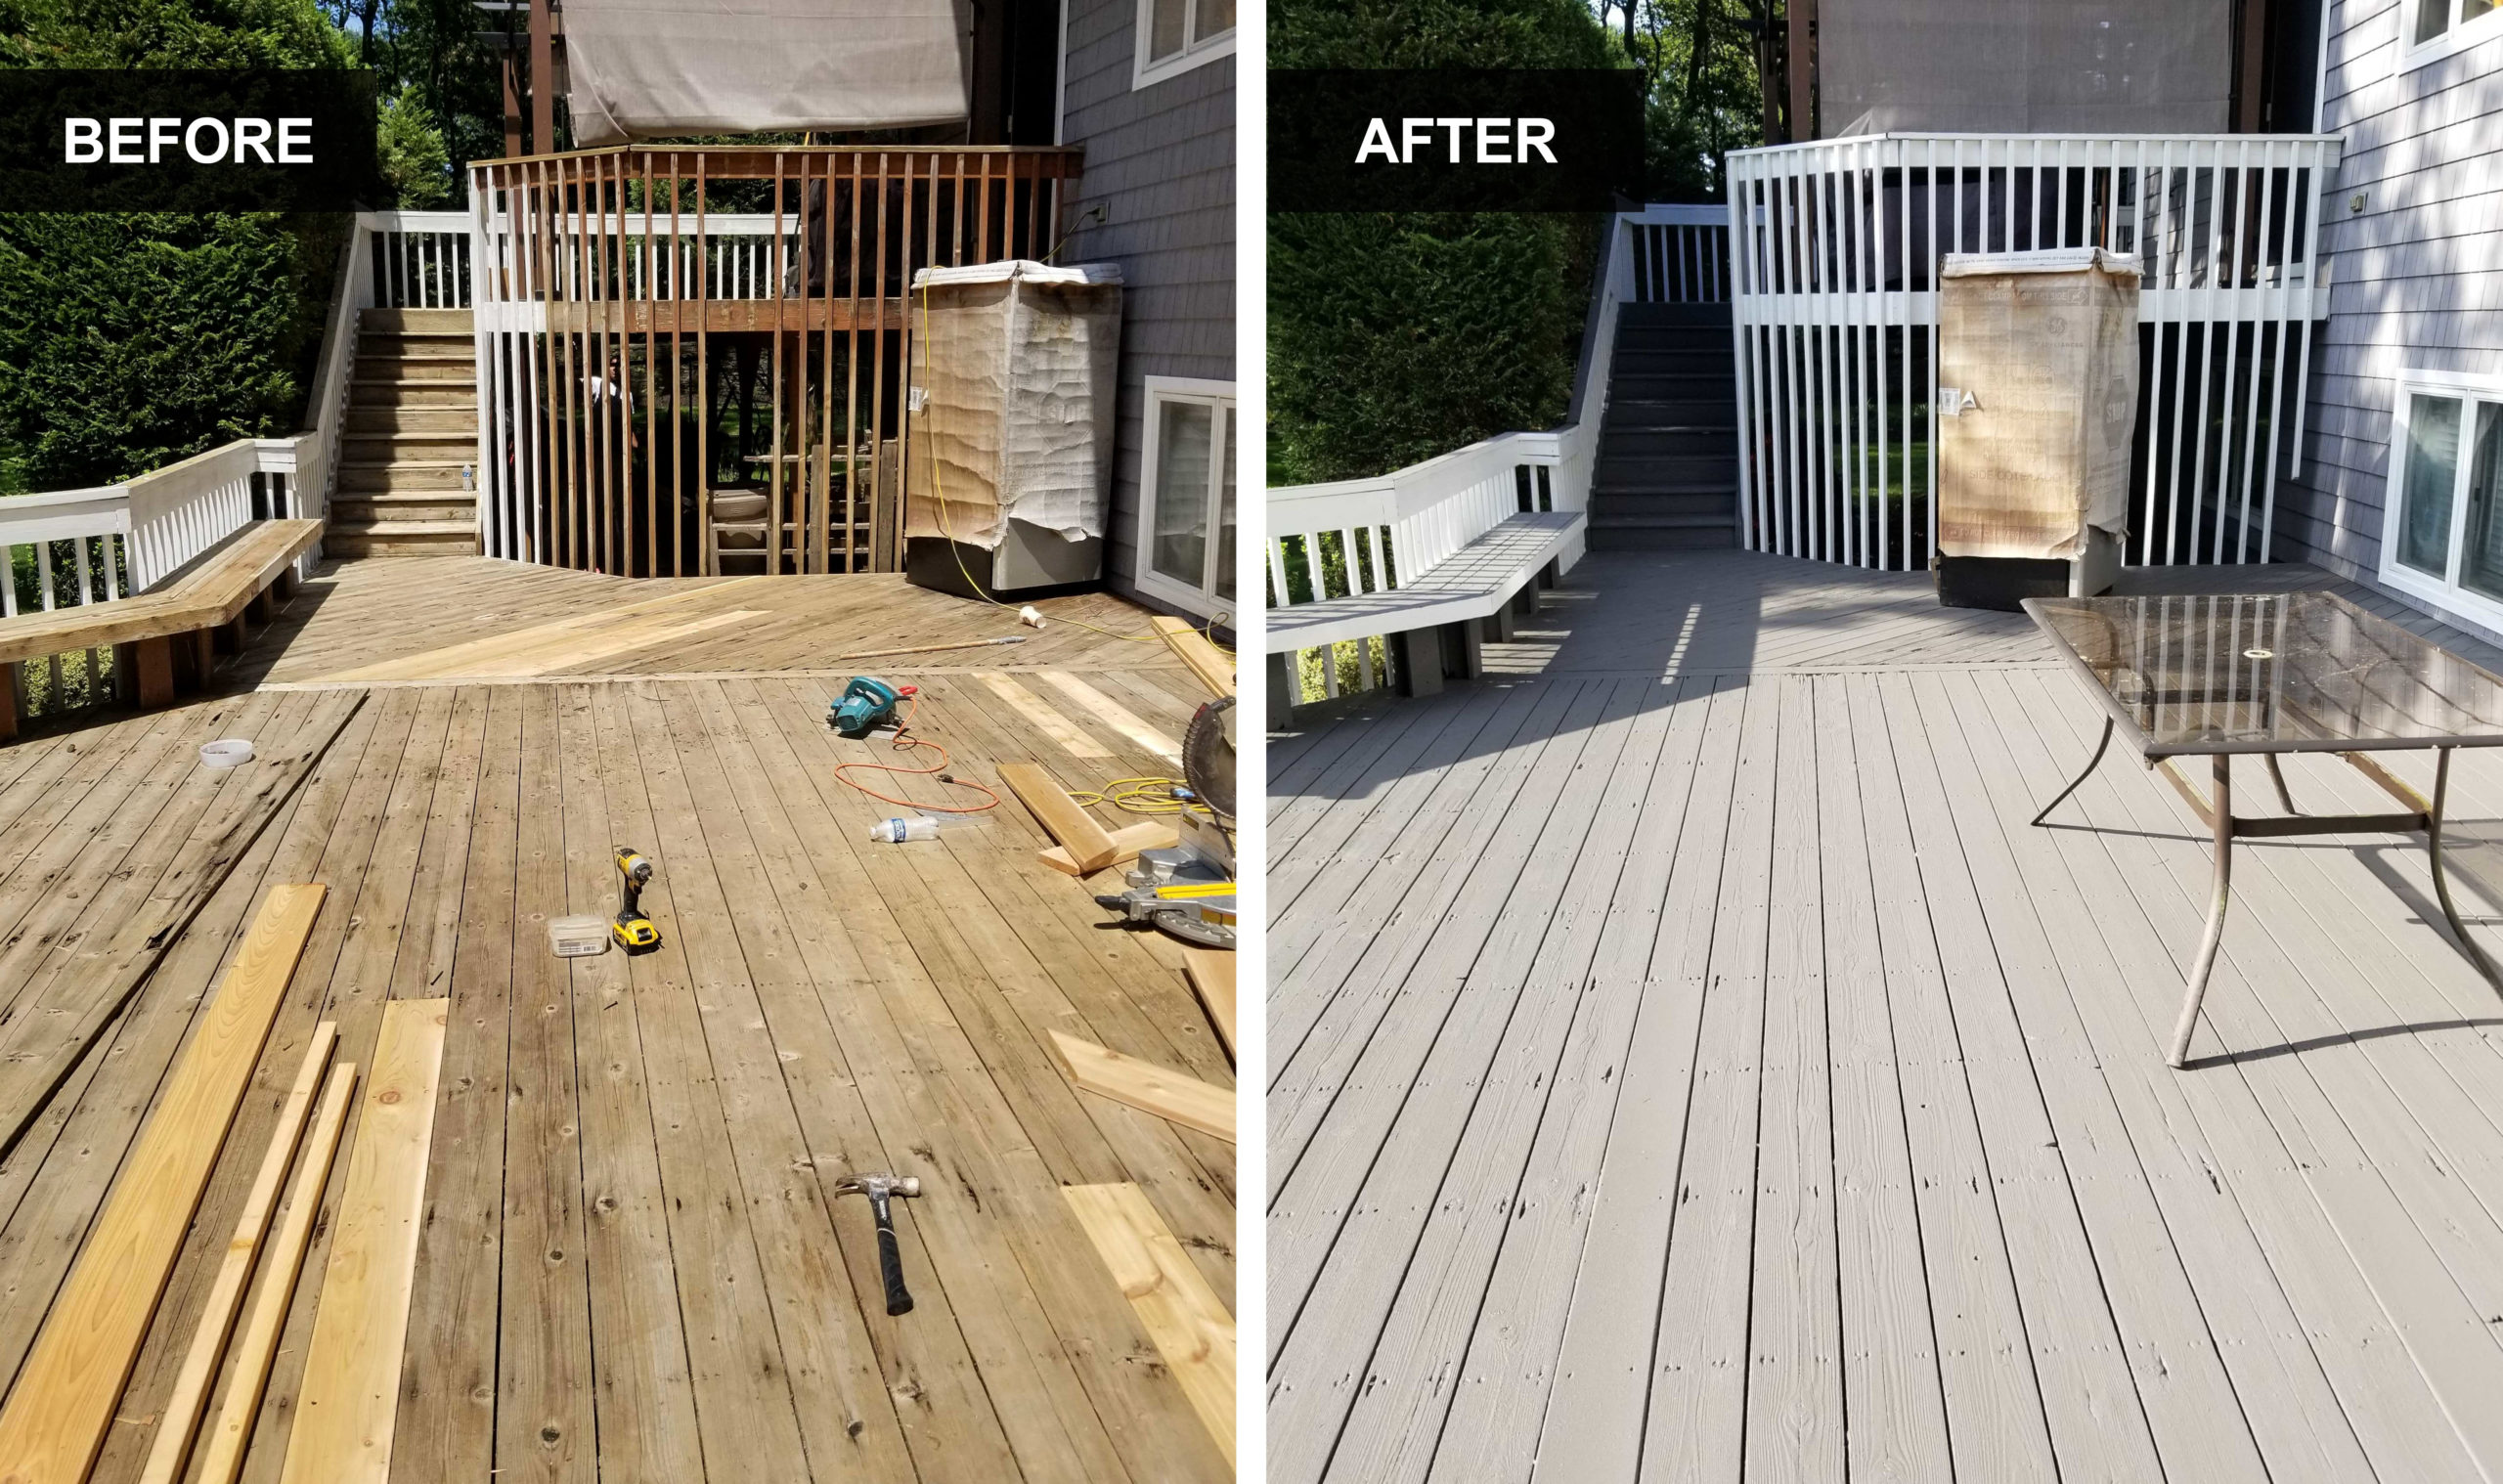
Image Source: www.precisionpaintingplus.net
Deciphering the Lumber Drying Process
Pressure-treated wood undergoes a process where chemicals are forced deep into the wood fibers. This process uses water, leaving the wood damp. This moisture content needs to reduce significantly before you can apply any paint or stain. Think of it like trying to paint a sponge that’s still dripping wet – the paint won’t adhere well and will likely peel.
Factors Affecting Lumber Drying Time
Several factors influence how quickly your treated wood will dry out:
- Environmental Conditions: Warm, dry, and breezy weather speeds up drying. Humid, cool, or rainy weather will significantly slow it down.
- Wood Species and Density: Denser woods generally take longer to dry than softer woods.
- Treatment Level: The amount of preservative solution used can also play a role. Higher treatment levels might mean more moisture to begin with.
- Storage: How the lumber was stored before you purchased it can affect its initial moisture content.
The Role of Moisture Content
The key to knowing when your treated wood is ready is its moisture content. Most paint and stain manufacturers recommend a moisture content of 12-15% or less for successful application.
Measuring Moisture Content
You can get a good idea of moisture content using a wood moisture meter. These are relatively inexpensive and provide a precise reading.
- How to Use a Moisture Meter:
- Insert the meter’s pins into the wood surface.
- Read the percentage displayed.
- Test several boards in different locations to get an average.
Interpreting the Drying Signs
While a moisture meter is the most accurate, there are also visual and tactile cues:
- Color Change: Untreated wood has a greenish or bluish tint due to the preservatives. As it dries, this color will fade, and the wood will turn a more natural, lighter brown or gray.
- Weight: Dry wood is lighter than wet wood.
- Feel: The wood will feel dry to the touch, not cool or damp.
The Waiting Game: Common Timeframes
The general consensus for the waiting period for treated lumber falls into a range. It’s not a one-size-fits-all answer, as we’ve discussed. However, here are some commonly cited timeframes:
Minimum Waiting Periods
- Weeks: In ideal, hot, dry, and breezy conditions, some very lightly treated or thinner boards might be ready after as little as 3-4 weeks. However, this is on the very short end and not recommended for most projects.
- Months: A more common recommendation is to wait at least 2-3 months. This allows for a more thorough drying process under average conditions.
Ideal Waiting Periods
- 6 Months to 1 Year: For optimal adhesion and a lasting finish, especially for projects like decks or fences that are exposed to the elements, waiting 6 months to a full year is often ideal. This ensures the wood has thoroughly dried and the chemicals have stabilized. This long lumber drying time is an investment in the longevity of your paint job.
Understanding Curing Time for Pressure Treated Wood
The term “curing time” is often used interchangeably with drying time, but it also refers to the time it takes for the wood treatment chemicals to fully settle and stabilize within the wood structure. This is an essential part of the wood treatment longevity.
- Chemical Stabilization: The preservatives, while protective, can sometimes interfere with the adhesion of paint or stain if they haven’t had enough time to properly bind with the wood. Rushing this process means the paint or stain might bond to the surface chemicals rather than the wood itself, leading to premature failure.
- Surface Efflorescence: Sometimes, a white, powdery substance called efflorescence can appear on the surface of treated wood as it dries. This is harmless and can be brushed off, but it’s another indicator that the drying and curing process is ongoing.
Preparing Treated Wood for Painting: A Step-by-Step Approach
Once you’ve determined your wood is sufficiently dry, proper preparation is key to a successful paint application. This involves cleaning, sanding, and priming.
Step 1: Cleaning the Wood
Even if the wood looks clean, it’s essential to wash it to remove any dirt, dust, mold, or residual treatment chemicals that might have surfaced.
Cleaning Methods
- Mild Detergent and Water: A mixture of warm water and a mild detergent or wood cleaner is often sufficient. Use a stiff brush or a pressure washer on a low setting.
- Pressure Washer Caution: If using a pressure washer, keep it on a low setting (around 500-800 PSI) and maintain a consistent distance (at least 12 inches) to avoid damaging the wood fibers.
- Oxygen Bleach Cleaners: For tougher grime or mildew, an oxygen bleach-based cleaner (like TSP substitute or specialized deck cleaners) can be very effective. Always follow the product instructions.
- Rinsing: Thoroughly rinse the wood with clean water after cleaning to remove all soap residue.
Step 2: Sanding the Surface
Sanding is crucial for creating a smooth surface for the paint to adhere to and for removing any rough spots or mill glaze (a smooth, hard surface created by the milling process that can hinder adhesion).
Sanding Techniques
- Grit Selection: Start with a medium-grit sandpaper (e.g., 80-100 grit) to remove any roughness or imperfections. Follow up with a finer grit (e.g., 120-150 grit) for a smoother finish.
- Sanding Direction: Always sand in the direction of the wood grain.
- Tools: You can sand by hand or use an orbital sander for larger areas like painting deck boards.
- Dust Removal: After sanding, thoroughly remove all dust using a brush, vacuum, or a damp cloth. A tack cloth is excellent for picking up fine dust particles.
Step 3: Priming the Wood
Priming is a critical step when painting treated wood. A good quality exterior primer will:
- Enhance Adhesion: Provide a better surface for the topcoat of paint to bond to.
- Block Stains: Prevent any residual chemicals from bleeding through the paint.
- Create a Uniform Surface: Ensure even paint absorption and a consistent finish.
- Improve Durability: Contribute to the overall longevity of the paint job.
Choosing the Right Primer
- Oil-Based Primers: These are often recommended for treated wood due to their excellent adhesion and stain-blocking properties. They are particularly good at preventing tannins from darker woods or any remaining treatment chemicals from showing through.
- Water-Based (Latex) Primers: Modern water-based exterior primers are also effective, especially those formulated for adhesion to challenging surfaces. Ensure the primer is specifically designed for exterior use and is compatible with your chosen paint.
Applying Paint to New Lumber requires a thorough priming stage to ensure the best results.
Painting Treated Wood: The Final Touches
With proper preparation, you’re ready to apply the paint. The type of paint you choose and the application method will influence the final look and durability.
Selecting the Right Paint
- Exterior Grade Paint: Always use high-quality exterior-grade paint. These are formulated to withstand UV rays, moisture, and temperature fluctuations.
- Paint Type: Acrylic latex paints are popular for their durability, flexibility, and ease of cleanup. Oil-based paints also offer good durability but can be more prone to cracking and peeling over time as the wood expands and contracts.
- Sheen: Consider the sheen. Satin or semi-gloss finishes are generally more durable and easier to clean than flat finishes, especially on high-traffic areas like decks.
Application Process
- Weather Considerations: Avoid painting in direct sunlight, extreme temperatures (too hot or too cold), or when rain is expected. Ideal conditions are mild temperatures with low humidity.
- Coats: Apply thin, even coats of paint. Two to three coats are usually recommended for good coverage and durability.
- Drying Time Between Coats: Always allow the recommended drying time between coats as specified by the paint manufacturer. This is crucial for proper film formation.
- Top and Bottom Surfaces: If painting deck boards, it’s highly recommended to paint the underside of the boards as well, if accessible. This provides a more complete moisture barrier.
Sealing Treated Wood vs. Painting
While this guide focuses on painting, it’s worth noting that sealing treated wood is another option for protection and aesthetic enhancement.
When to Seal
- Natural Look: If you prefer the natural look of wood, a clear sealer or a semi-transparent stain can be applied after the wood has adequately dried.
- Less Maintenance: Sealing often requires less prep work than painting, though it does need reapplication more frequently.
Stain Types
- Penetrating Stains: These soak into the wood, enhancing its natural grain. They are good for staining treated wood if you want a more natural appearance.
- Solid Stains: These act more like a thin paint, providing opaque color while still allowing some wood grain to show through. They offer more protection than semi-transparent stains.
Troubleshooting Common Issues
Even with careful planning, you might encounter problems. Here’s how to address them:
Peeling or Chipping Paint
- Cause: Most often due to moisture trapped under the paint, inadequate surface preparation (like not priming or not sanding), or applying paint to wood that wasn’t dry enough.
- Solution: Scrape away all loose paint, sand the area smooth, re-prime, and re-coat.
Blotchy or Uneven Finish
- Cause: Often caused by painting on wood with uneven moisture content, insufficient priming, or applying paint unevenly.
- Solution: Sand lightly to smooth the surface, re-prime if necessary, and apply thin, even coats of paint, ensuring consistent brush or roller strokes.
Paint Not Adhering Well
- Cause: Wood was too wet, residual treatment chemicals on the surface, or improper primer used.
- Solution: The best course is to remove the failing paint completely, re-clean and re-sand the wood, use an appropriate primer, and re-apply the paint.
FAQs About Painting Treated Wood
Q1: How do I know when my treated wood is dry enough to paint?
A1: You can use a wood moisture meter to check for a moisture content of 12-15%. Visually, the wood will lose its greenish hue and appear lighter brown or gray. It should also feel dry to the touch, not cool or damp.
Q2: Can I paint over old, peeling paint on treated wood?
A2: No, it’s best to remove all loose and peeling paint completely. Scrape, sand, and then re-prime the surface before applying new paint.
Q3: What is the best type of paint for treated wood decks?
A3: High-quality exterior acrylic latex paints are generally recommended for decks. They offer good flexibility, durability, and are easier to clean up.
Q4: Do I need to seal treated wood before painting?
A4: Priming is generally more important than sealing before painting. A good exterior primer will help the paint adhere and prevent issues from the wood treatment.
Q5: How long does paint typically last on treated wood?
A5: With proper preparation and application, paint on treated wood can last anywhere from 5 to 10 years, depending on the quality of the paint, the exposure to the elements, and the amount of wear and tear it receives. Regular maintenance and touch-ups can extend its life.
Q6: Can I apply a stain instead of paint to treated wood?
A6: Yes, you can stain treated wood after it has dried sufficiently. Similar to painting, it’s important to ensure the wood is at the correct moisture content and to clean and prepare the surface properly.
Q7: What happens if I paint treated wood too soon?
A7: Painting too soon can lead to paint peeling, blistering, cracking, or flaking. Moisture trapped beneath the paint will try to escape, pushing the paint off. It can also result in a blotchy or uneven finish because the paint won’t adhere properly to the damp or chemically active surface. This is why adhering to the wood finishing schedule is vital.
Q8: Is there a difference between painting and staining treated wood prep?
A8: The basic preparation steps (cleaning and ensuring dryness) are similar for both painting and staining treated wood. However, for painting, priming is essential. For staining, especially semi-transparent stains, a perfectly smooth surface achieved through sanding is even more critical, and a primer might not be used or a specific stain-compatible primer might be chosen.
Q9: How does sealing treated wood affect its longevity?
A9: Properly sealing treated wood adds an extra layer of protection against moisture, UV rays, and wear. This can significantly extend the wood treatment longevity and the overall lifespan of the project, especially for items like decks or outdoor furniture.
Q10: What are the best practices for painting deck boards?
A10: For painting deck boards, ensure they are thoroughly dry (wait several months if possible). Clean them meticulously, sand any rough spots, prime with an exterior-grade primer, and apply at least two thin coats of high-quality exterior paint. Consider painting the undersides and edges for maximum protection.
By following these guidelines and respecting the necessary waiting period for treated lumber, you can ensure your painted treated wood project looks great and lasts for years to come. Patience during the drying and preparation phases is the most important ingredient for a successful outcome when applying paint to new lumber.