
Can you paint over dirty concrete? No, you absolutely cannot paint over dirty concrete if you want the paint to last. Proper cleaning is the most crucial step for a successful and long-lasting paint job on any concrete surface. This comprehensive guide will walk you through everything you need to know about cleaning concrete for painting, from initial assessment to the final rinse. Whether you’re looking to refresh your driveway, patio, or basement floor, following these steps will ensure your painted concrete looks great and holds up over time.
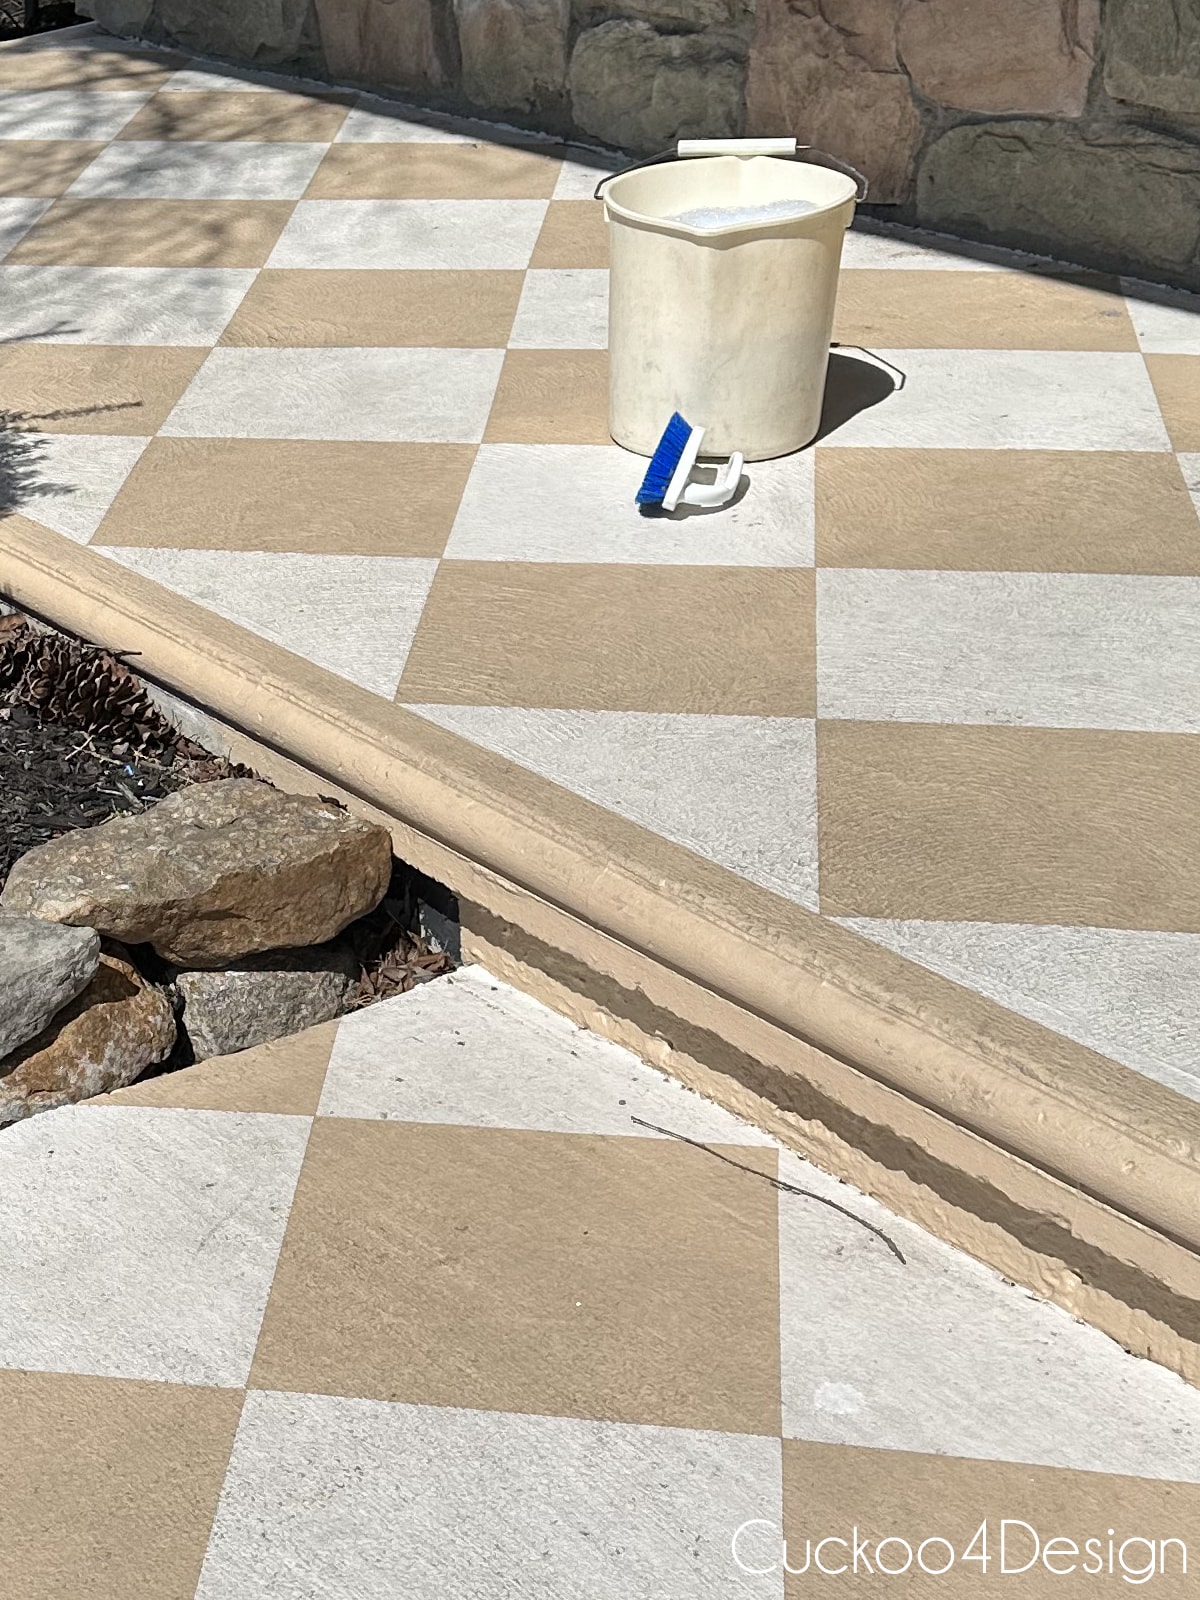
Image Source: cuckoo4design.com
Assessing Your Concrete Surface
Before you grab any cleaning supplies, take a good look at your concrete. What kind of dirt or stains are you dealing with? This will help you choose the right cleaning methods and products.
Common Concrete Issues Affecting Paint Adhesion:
- General Grime and Dust: Over time, concrete surfaces accumulate layers of dirt, dust, and debris. This creates a dull appearance and can prevent paint from bonding properly.
- Oil and Grease Stains: Driveways and garage floors often suffer from oil and grease spills from vehicles. These stains are notoriously difficult to remove and will repel paint if not treated.
- Mold and Mildew: Damp or shaded areas can develop unsightly mold and mildew growth. These organic materials will break down the paint film and can continue to grow through it.
- Algae and Moss: Similar to mold, algae and moss can grow on concrete, especially in outdoor environments. They create a slippery surface and hinder paint adhesion.
- Efflorescence: This is a white, powdery deposit that appears on concrete surfaces, caused by soluble salts migrating to the surface and crystallizing. It can significantly affect paint performance.
- Old Paint or Sealant: If your concrete has been painted or sealed before, you might need to remove the old coating to ensure the new paint adheres well to a fresh surface.
Essential Cleaning Tools and Materials
Having the right tools makes the job much easier and more effective. Gather these before you begin:
Cleaning Equipment:
- Stiff-bristled brush or broom: For sweeping loose debris and scrubbing tougher spots.
- Garden hose with a spray nozzle: For rinsing away dirt and cleaning solutions.
- Bucket(s): For mixing cleaning solutions and carrying water.
- Gloves: To protect your hands from dirt and chemicals.
- Safety glasses/goggles: To protect your eyes from splashes.
- Durable work clothes: You will get dirty.
- Optional: Pressure Washer: Significantly speeds up the cleaning process and provides a deeper clean.
- Optional: Wet/Dry Vacuum: Useful for removing excess water, especially in enclosed spaces.
Cleaning Solutions:
- Mild Dish Soap or Detergent: Good for general grime.
- Concrete Degreaser: Specifically formulated to break down oil and grease.
- All-purpose cleaner: Can be effective for light dirt.
- Bleach or Mold/Mildew Remover: For tackling biological growth.
- Muriatic Acid Concrete Cleaning Solution (Diluted): For stubborn stains, efflorescence, and creating a better surface for paint adhesion (use with extreme caution).
- TSP (Trisodium Phosphate): A powerful cleaner, but use with caution and follow safety guidelines.
Step-by-Step Concrete Cleaning Guide
Let’s get your concrete ready for a beautiful new paint job.
Step 1: Clear the Area
Remove everything from the concrete surface you plan to paint. This includes furniture, planters, rugs, vehicles, and anything else that might be in the way. Sweep the surface thoroughly with a stiff broom or brush to remove all loose dirt, leaves, and debris. This initial sweep prevents you from just pushing around dirt during the wet cleaning stages.
Step 2: Initial Wash and Sweep
Use your garden hose to wet the entire concrete surface. This helps to loosen surface dirt and prevents cleaning solutions from drying too quickly. After wetting, give it another good sweep to remove any remaining loose particles. If you’re cleaning a concrete patio, this step is vital to remove any soil or plant debris that might have accumulated.
Step 3: Tackling General Grime and Dirt
For everyday dirt and grime, a simple solution of water and a good all-purpose cleaner or mild dish soap is often sufficient.
- Mix your cleaning solution: Follow the instructions on your cleaner or mix a few tablespoons of dish soap into a bucket of warm water.
- Apply the solution: You can pour the solution directly onto the concrete or use a garden sprayer.
- Scrub: Use a stiff-bristled brush to scrub the concrete surface. Work in sections, focusing on areas with more noticeable dirt. For scrubbing concrete for paint preparation, vigorous scrubbing is key to lifting embedded grime.
- Rinse: Thoroughly rinse the area with your garden hose, ensuring all soap residue is washed away.
Step 4: Addressing Oil and Grease Stains
Oil and grease require a more aggressive approach. A good concrete degreaser is your best friend here.
Using a Concrete Degreaser:
- Apply the degreaser: Apply the degreaser directly to the stained areas. For heavy stains, you might need to pour it on liberally.
- Let it penetrate: Allow the degreaser to sit on the stains for the time recommended by the manufacturer (usually 10-30 minutes). This gives it time to break down the oil.
- Scrub: Use a stiff brush to scrub the treated areas vigorously.
- Rinse thoroughly: Rinse the area completely with plenty of water. You may need to repeat this process for stubborn or old stains.
- Absorb residual oil (Optional but recommended): For very deep oil stains, after degreasing and rinsing, you can sprinkle an absorbent material like cat litter, sawdust, or baking soda over the still-damp stain. Let it dry completely, then sweep it up. This can help draw out residual oil.
Oil Stain Removal Concrete Techniques:
- Poultice Method: For very tough oil stains, a poultice can be effective. Mix an absorbent material (like diatomaceous earth, talcum powder, or even flour) with a solvent (like mineral spirits or acetone – use in a well-ventilated area and wear appropriate protection). Apply the paste to the stain, cover it with plastic wrap, and tape down the edges. Let it sit for 24-48 hours. The solvent will lift the oil, and the absorbent material will soak it up. Scrape off the dried poultice and rinse.
Step 5: Removing Mold, Mildew, and Algae
Biological growth needs a disinfectant. Bleach is a common and effective option, but you can also use specialized mildew removers.
Mildew Removal from Concrete:
- Prepare a bleach solution: Mix one part bleach with three parts water in a bucket. Caution: Never mix bleach with ammonia or other cleaners, as this can create toxic fumes.
- Apply the solution: Use a brush or sprayer to apply the bleach solution to the affected areas. Avoid splashing on surrounding plants or grass; cover them with plastic if necessary.
- Let it dwell: Allow the solution to sit for about 10-15 minutes to kill the mold and mildew.
- Scrub: Scrub the areas with a stiff brush to dislodge the loosened growth.
- Rinse thoroughly: Rinse the entire surface with plenty of clean water. Ensure all bleach residue is gone.
- Alternative: You can use a dedicated concrete cleaner or mold and mildew remover purchased from a hardware store. Always follow the manufacturer’s instructions carefully.
Step 6: Dealing with Efflorescence
Efflorescence is a bit trickier as it’s an internal salt migration. Cleaning it usually involves mild acidic solutions.
Muriatic Acid Concrete Cleaning (Use with Extreme Caution):
Muriatic acid (hydrochloric acid) is a powerful chemical used for concrete etching for paint and removing efflorescence or stubborn stains. It is highly corrosive and dangerous if not handled properly. Always wear heavy-duty rubber gloves, safety goggles, a respirator mask rated for acid fumes, and protective clothing. Work in a well-ventilated area.
- Dilute the acid: This is crucial. Always pour acid into water, never water into acid. A common dilution for cleaning is 1 part muriatic acid to 10 parts water. Start with a weaker solution and increase if needed.
- Wet the concrete: Lightly dampen the concrete surface with plain water. This helps prevent the acid from soaking too deeply and unevenly.
- Apply the diluted acid: Using a plastic watering can (never metal), carefully pour the diluted acid solution onto the concrete.
- Scrub (briefly): Lightly scrub the surface with a stiff brush for a minute or two. You will see a slight fizzing action.
- Rinse IMMEDIATELY and thoroughly: This is critical. Rinse the area with copious amounts of water for at least 10-15 minutes. Use a hose with strong pressure.
- Neutralize: After the acid rinse, it’s good practice to neutralize the surface. Mix a solution of baking soda and water (about 1 cup of baking soda per gallon of water) and apply it to the concrete. Scrub lightly, then rinse again thoroughly with clean water. This neutralizes any remaining acid.
- Allow to dry completely: Ensure the concrete is thoroughly dry before proceeding to paint.
Important Note on Muriatic Acid: For most homeowners, unless dealing with extreme efflorescence or significant etching needs, milder alternatives are often preferred due to the safety risks. Many professionals recommend avoiding muriatic acid unless you have experience.
Step 7: Using a Pressure Washer
Pressure washing concrete is an incredibly effective way to remove ingrained dirt, mildew, and loose surface material. It significantly improves concrete surface preparation.
Power Washing Driveway and Other Surfaces:
- Choose the right nozzle: Start with a wider fan nozzle (e.g., 25 or 40 degrees). Avoid using a zero-degree (red) nozzle, as it can damage the concrete surface.
- Maintain a consistent distance: Hold the wand about 12-18 inches away from the surface.
- Use a sweeping motion: Move the wand in smooth, overlapping strokes. Don’t linger too long in one spot.
- Work from top to bottom: On vertical surfaces, start at the top and work your way down. For horizontal surfaces like a cleaning concrete patio, work across the surface in sections.
- Consider detergents: Many pressure washers have a detergent tank or can be used with specialized concrete cleaning detergents. Follow the manufacturer’s instructions. If using a degreaser or mild cleaner, you might apply it first, let it dwell, and then use the pressure washer to rinse and scrub simultaneously.
- Rinse thoroughly: After pressure washing, rinse the entire area with a garden hose to remove any loosened debris or cleaning solution residue.
Step 8: Concrete Etching for Paint (Optional but Recommended)
Concrete etching for paint creates a profile on the surface, giving the new paint more “tooth” to adhere to, ensuring a much more durable finish. This is especially important for smooth concrete or if you’re using a specific type of coating.
- Mechanical Etching: This can be done with a wire brush attachment on a grinder or by using a shot blaster or scarifier (these are usually rental equipment for larger jobs).
- Acid Etching: As discussed with muriatic acid, a diluted acid solution can etch the concrete. However, a milder acid like a phosphoric acid-based concrete etcher (available at hardware stores) is often a safer and easier option for DIYers. Always follow the product’s instructions precisely. After etching, thorough rinsing and neutralizing are critical.
When is etching most important?
* When painting over very smooth, troweled concrete.
* When using epoxy coatings or high-performance paints that require a profiled surface.
* When you want the absolute best adhesion and longevity for your paint job.
Step 9: Final Rinse and Inspection
After all cleaning and etching steps, give the entire concrete surface a final, thorough rinse with clean water. Use your hose with the strongest spray setting.
- Check for residue: Look closely for any remaining soap, cleaner, or acid residue. You don’t want any contaminants left behind.
- Inspect for remaining stains: If any stubborn stains persist, you may need to repeat a specific cleaning step or consider a specialized stain remover.
Step 10: Drying Time
This is a critical step that many people overlook. Concrete must be completely dry before painting.
- Air Drying: Allow the concrete to air dry for at least 24-48 hours, depending on the weather conditions (temperature, humidity, sunlight).
- Moisture Test: You can perform a simple moisture test: Tape a 2-foot square of plastic sheeting tightly to the concrete surface. Leave it overnight. In the morning, check for condensation on the underside of the plastic or dark spots on the concrete. If you see either, the concrete is still too wet and needs more drying time.
Cleaning Specific Concrete Areas
The principles of cleaning concrete remain the same, but some areas might present unique challenges.
Cleaning Concrete Patio
Patios are often exposed to soil, plant debris, food spills, and potentially mildew.
- Sweeping: Start by removing all leaves, dirt, and mulch.
- Degreasing: Address any grease spots from grills or food.
- Mildew Removal: If your patio is shaded, mildew is likely. Use the bleach solution or specialized cleaner.
- Pressure Washing: This is often the most effective method for large patio areas.
Power Washing Driveway
Driveways bear the brunt of vehicle fluids, tire marks, and general road grime.
- Degreaser is Key: You’ll likely need a potent concrete degreaser for oil and transmission fluid stains.
- Tire Mark Removal: A stiff brush and degreaser, followed by pressure washing, usually works best.
- Check for Sealants: If your driveway is sealed, be careful with strong cleaners or acid, as they might damage the sealant. You might need to strip old sealant before painting.
What to Avoid When Cleaning Concrete for Painting
- Using the wrong cleaner: Don’t use harsh chemicals without knowing what you’re dealing with.
- Not rinsing thoroughly: Leftover cleaning solutions will interfere with paint adhesion.
- Painting on damp concrete: This is a recipe for paint failure.
- Skipping the etching step (if needed): This can lead to peeling paint.
- Using too high pressure with a pressure washer: This can damage the concrete surface.
Table: Cleaning Solutions and Their Uses
| Problem | Recommended Cleaner/Method | Cautions |
|---|---|---|
| General Grime & Dirt | Mild soap/detergent and water, all-purpose cleaner | Ensure thorough rinsing to remove all residue. |
| Oil & Grease Stains | Concrete degreaser, poultice method | May require multiple applications and scrubbing. Use in a well-ventilated area if using solvents for poultice. |
| Mold & Mildew | Bleach solution (1:3 bleach to water), mildew remover | Never mix bleach with ammonia. Protect surrounding plants. Rinse thoroughly. |
| Efflorescence | Diluted muriatic acid (extreme caution!), mild acid etchers | Requires proper safety gear, dilution, and neutralization. Muriatic acid is highly corrosive. |
| Stubborn Stains | TSP, specialized concrete cleaners, muriatic acid | Follow product instructions precisely. Wear safety gear. Test in an inconspicuous area first. |
| Surface Preparation | Concrete etching for paint (acid or mechanical) | Creates a profile for better adhesion. Ensure proper rinsing and drying after etching. |
Frequently Asked Questions (FAQ)
Q1: How long does concrete need to dry before painting?
Concrete should be allowed to dry for at least 24 to 48 hours after cleaning and rinsing before painting. Perform a moisture test by taping plastic sheeting to the surface; if condensation forms or the concrete darkens, it’s still too wet.
Q2: Can I use a regular household cleaner to clean concrete for painting?
For light dirt and grime, a mild dish soap or all-purpose cleaner can work. However, for tougher stains like oil, grease, mold, or efflorescence, specialized concrete degreaser, mildew removers, or acidic cleaners are usually necessary for proper concrete surface preparation.
Q3: Is pressure washing concrete necessary?
While not strictly mandatory, pressure washing concrete is highly recommended. It’s one of the most effective ways to remove ingrained dirt, mildew, and loose surface material, greatly improving the adhesion of paint.
Q4: What is the best way to remove oil stains from concrete before painting?
The best way is to use a dedicated concrete degreaser. Apply it generously to the stain, let it penetrate, scrub with a stiff brush, and then rinse thoroughly. For very deep stains, a poultice method or repeating the degreasing process might be needed.
Q5: Do I need to etch concrete before painting?
Concrete etching for paint is highly recommended, especially for smooth concrete surfaces or when using coatings like epoxy. Etching creates a microscopic profile on the concrete, allowing the paint to bond much better and preventing peeling or flaking. You can use acid-based etchers or mechanical methods like grinding.
By following these detailed steps, you can ensure your concrete surface is impeccably clean and properly prepared for painting. This meticulous concrete surface preparation is the foundation for a durable and beautiful finish that you can enjoy for years to come.