
What is beach glass art? Beach glass art is a beautiful craft that uses smooth, weathered pieces of glass found on beaches. Can I make it? Yes, anyone can create stunning beach glass art with a few simple supplies and a little creativity! This guide will walk you through everything you need to know for your own DIY sea glass crafts.
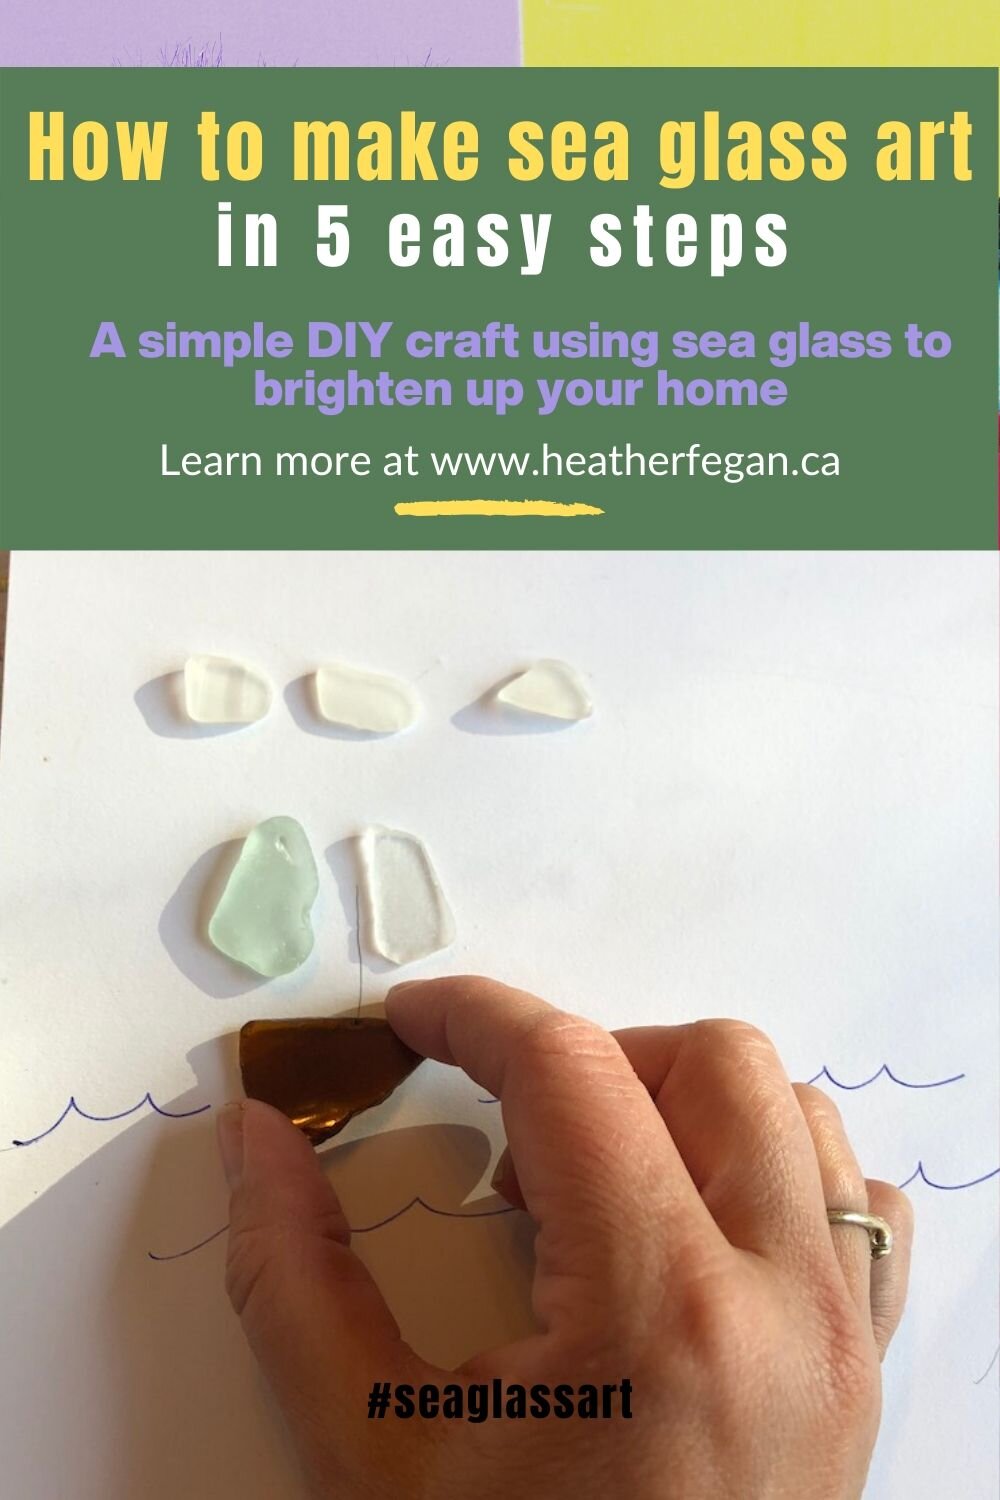
Image Source: images.squarespace-cdn.com
Embracing the Charm of Beach Glass
The magic of beach glass lies in its journey. Once discarded glass bottles, jars, or tableware, it’s tumbled and smoothed by the ocean’s waves, sand, and time. This natural process transforms sharp edges into soft, frosted treasures, perfect for upcycling beach finds into something new and beautiful. Making sea glass art is a fantastic way to bring a piece of the coast into your home and to get creative with nature’s discards.
The Allure of Beachcombing for Glass
The thrill of beachcombing for glass is a significant part of the appeal. It’s a treasure hunt where the ocean is your guide. Every shard you find tells a story of its past life and its transformation.
Tips for Successful Beachcombing:
- Timing is Everything: Visit the beach after a storm or high tide. These conditions often bring more treasures ashore.
- Look in the Right Spots: Focus on the tideline, areas with lots of pebbles, or near old piers or jetties where glass might have been dumped long ago.
- Wear Sturdy Shoes: Protect your feet from sharp objects on the beach.
- Bring a Bucket or Bag: You’ll need something to carry your precious finds.
- Be Patient: Sometimes you find a lot, and other times you find only a few pieces. Enjoy the process!
- Check Local Regulations: Some areas have rules about collecting items from the beach. Always be aware of these.
Gathering Your Supplies: What You’ll Need
To start your sea glass art journey, you’ll need a few basic items beyond your collected beach glass.
Essential Materials
- Collected Beach Glass: A variety of colors and sizes.
- Adhesive: A strong glue suitable for glass. Craft glue, E6000, or a hot glue gun can work. For more permanent pieces, consider specific glass glues.
- Base Material: This can be anything from a wooden board, a canvas, a picture frame, a piece of driftwood, or even a plain glass vase.
- Tweezers: Helpful for precise placement of small glass pieces.
- Protective Gear: Gloves and safety glasses, especially when handling potentially sharp edges.
- Cleaning Supplies: Water and mild soap to wash your beach glass. A soft cloth for drying.
Optional Materials for Enhanced Artistry
- Clear Sealant/Varnish: To protect your finished piece and add a glossy finish.
- Paint or Markers: For decorating your base material.
- Sand or Small Shells: To add extra texture and beachy feel to your beach decor projects.
- Small Tools: For detailed work, like toothpicks or small brushes.
Preparing Your Beach Glass: Cleaning and Sorting
Before you begin arranging sea glass, it’s crucial to clean it thoroughly. This removes any sand, dirt, or debris.
Step-by-Step Cleaning Process
- Rinse: Place your collected glass in a colander and rinse it under cool running water.
- Soak: Fill a bowl with warm water and add a few drops of mild dish soap. Submerge the glass and let it soak for about 15-30 minutes.
- Scrub (Gently): Use a soft brush or your fingers to gently scrub away any remaining residue. Avoid abrasive cleaners that could scratch the glass.
- Rinse Again: Thoroughly rinse the glass under clean water.
- Dry: Lay the glass pieces on a clean towel to air dry completely, or gently pat them dry with a soft cloth.
Sorting by Color and Size
Once clean and dry, sort your sea glass art treasures. Grouping them by color (blues, greens, whites, ambers) and size makes the arranging sea glass process much easier and more inspiring.
Designing Your Beach Glass Masterpiece
The design phase is where your creativity truly shines. Think about what you want your art to look like and where you’ll display it.
Inspiration for Your Designs
- Seascapes: Waves, sunsets, marine life (fish, dolphins, seahorses).
- Abstract Patterns: Color gradients, geometric shapes, swirling designs.
- Floral Motifs: Flowers, leaves, vines.
- Words or Quotes: Spell out meaningful words or phrases.
- Objects: Boats, lighthouses, beach huts.
Creating Stained Glass Effects
One of the most captivating aspects of sea glass art is its ability to mimic stained glass. When light shines through the translucent glass pieces, it creates beautiful colored patterns.
- Choosing Translucent Glass: Prioritize pieces that are naturally see-through for this effect.
- Arrangement: Place pieces close together to allow light to filter through the gaps.
- Backlighting: Display your finished art in a window or near a light source to maximize the creating stained glass effects.
Sketching Your Ideas
Before you start gluing sea glass, it’s helpful to sketch your design on paper or directly onto your base material. This helps visualize the layout and make adjustments.
The Art of Arranging Sea Glass
Arranging sea glass is more intuitive than difficult. It’s about playing with the shapes, colors, and textures until you achieve a look you love.
Layout Techniques
- Outline First: Start by outlining the main shapes or figures of your design.
- Fill In: Work from the outlines inwards, filling the space with glass pieces.
- Layering: For depth, you can slightly overlap pieces of glass.
- Negative Space: Don’t be afraid to leave some areas of the base material visible. This can help your design breathe.
- Symmetry vs. Asymmetry: Decide if you want a balanced, symmetrical look or a more free-flowing, asymmetrical arrangement.
Visualizing Your Creation
Place your glass pieces on the base material without glue. Move them around until you are happy with the composition. Take photos as you go so you can remember arrangements you like.
Gluing Sea Glass: Securing Your Treasures
Once your design is finalized, it’s time to permanently fix the glass in place. Careful gluing sea glass is key to a durable and beautiful finished product.
Choosing the Right Adhesive
- Craft Glue (PVA): Good for paper, wood, or canvas bases. Dries clear but might not be as strong for glass-on-glass applications or heavy pieces.
- E6000 Glue: A strong, flexible adhesive that works well on glass, wood, metal, and other surfaces. It’s waterproof and durable, making it excellent for beach decor projects.
- Hot Glue Gun: Quick and easy for initial placement, but may not be as permanent or heat-resistant as other glues. Best for temporary arrangements or when speed is essential. Ensure your base material can handle the heat.
- Super Glue (Cyanoacrylate): Can work for small pieces, but can be brittle and may not fill gaps well.
Application Tips for Secure Adhesion
- Apply Glue to the Base or the Glass: You can either apply a small amount of glue to the spot on your base where the glass will go, or apply it to the back of the glass piece itself.
- Press Firmly: Gently press each piece of glass into the glue.
- Wipe Away Excess: Use a damp cloth or cotton swab to wipe away any excess glue that squeezes out. This is easier to do while the glue is still wet.
- Work in Sections: If you have a large design, it’s best to work in small sections to prevent the glue from drying before you place the glass.
- Patience is Key: Allow adequate drying time for the glue. Check the adhesive’s instructions for recommended curing times.
Sealing Your Beach Glass Art: Protection and Polish
Sealing beach glass art adds a professional finish and protects your creation. A sealant can also enhance the colors and create a glossy or matte look.
When and Why to Seal
- Protection: Seals the glass and glue, protecting the art from dust and moisture.
- Durability: Adds a layer of protection against minor scratches or wear.
- Enhancement: Can make the colors of the glass appear more vibrant and can create a unifying sheen.
Types of Sealants and How to Apply Them
- Clear Acrylic Sealant Spray: Easy to apply. Hold the can about 8-12 inches away from your artwork and spray in light, even coats. Allow each coat to dry before applying the next.
- Brush-On Sealant/Varnish: Offers more control. Use a soft paintbrush to apply thin, even coats. Avoid over-brushing, which can create streaks.
- Mod Podge: A popular craft sealant that comes in various finishes (glossy, matte). It acts as both a glue and a sealant.
Important: Always test your chosen sealant on a scrap piece of beach glass or in an inconspicuous area of your project first to ensure it doesn’t react negatively with the glass or glue.
Creating More Than Just Wall Art: Expanding Your Sea Glass Crafts
Your sea glass art doesn’t have to be confined to flat surfaces. There are many other ways to use your upcycling beach finds.
Sea Glass Jewelry
Transforming beach glass into jewelry is a popular and rewarding craft.
Methods for Jewelry:
- Wire Wrapping: Use jewelry wire to wrap around individual pieces of sea glass, creating pendants or beads.
- Drilling: With specialized drill bits for glass, you can carefully drill holes in larger pieces to thread them onto cords or wires.
- Adhesive Bezels: Use strong adhesive to attach sea glass to metal bezels, then add earring hooks or pendant bails.
- Resin Art: Embed sea glass in clear resin to create unique pendants, earrings, or charms.
Decorating Other Items
- Vases and Jars: Glue sea glass onto the exterior of glass vases or jars for a beautiful, textured decorative piece.
- Picture Frames: Embellish plain picture frames with sea glass for a coastal touch.
- Mirrors: Create a unique mirror frame by adhering sea glass around the edges.
- Candle Holders: Add sea glass to the outside of hurricane lamps or candle holders.
Upcycling Old Items
Look for old wooden boxes, trays, or even furniture that could use a facelift. Covering them with sea glass can give them a completely new life and a charming, seaside aesthetic.
Troubleshooting Common Issues
Even with careful planning, you might encounter a few snags.
Glass Not Sticking
- Problem: Glass pieces fall off after gluing.
- Solution: Ensure surfaces are clean and dry before gluing. Use a stronger adhesive like E6000. Apply pressure as the glue sets. For smooth glass surfaces, you might need to lightly sand them first to create a better grip for the glue.
Glue Showing
- Problem: Visible glue lines or blobs.
- Solution: Use a minimal amount of glue. Wipe away excess immediately with a damp cloth or cotton swab. For clear glues, ensure they dry completely clear. Consider using a sealant to cover minor imperfections.
Uneven Surfaces
- Problem: Glass pieces don’t sit flat on an uneven base.
- Solution: Use a slightly thicker glue or add a small dab of glue to the back of the glass piece to help it adhere to the uneven surface. You can also use a filler adhesive if needed.
Frequently Asked Questions About Beach Glass Art
Q: Is beach glass sharp?
A: No, properly weathered beach glass has smooth, rounded edges. However, sometimes you might find pieces that are still in the early stages of weathering, so it’s always wise to handle them with care and wear gloves when collecting.
Q: Where can I find beach glass?
A: You can find beach glass on beaches all over the world. Look for areas known for being old dumping grounds for glass or areas where old structures have eroded. Beaches with rocky shorelines are often good places to start.
Q: Can I use any kind of glue for sea glass art?
A: While many glues can work, a strong, flexible adhesive like E6000 is highly recommended for durability. Craft glues may not hold as well over time, especially with temperature changes.
Q: How do I get vibrant colors in my sea glass art?
A: This depends on the colors of the glass you find. Translucent pieces will show colors best, especially when light shines through them. Arranging lighter colors next to darker colors can also create visual interest.
Q: Can I paint over beach glass?
A: You can paint over beach glass, but it’s not typically done in traditional sea glass art as the natural frosting and translucency are part of its charm. If you do paint it, use a paint specifically designed for glass, and consider sealing it afterward.
Q: How do I make my beach glass art last outdoors?
A: For outdoor display, use waterproof adhesives and sealants. Ensure your base material is also weather-resistant (e.g., treated wood, metal). Protect the art from harsh weather conditions if possible.
Making sea glass art is a rewarding and relaxing pastime. From the thrill of beachcombing for glass to the satisfaction of arranging sea glass into a beautiful composition, each step is a journey of creation. Whether you’re creating a simple mosaic, a detailed seascape, or delicate sea glass jewelry, these DIY sea glass crafts are a wonderful way to capture the essence of the ocean and bring lasting beauty into your home. Enjoy the process of upcycling beach finds and making your own unique beach decor projects!