
Can you paint over unetched concrete? While you can paint over unetched concrete, it’s highly discouraged for a durable, long-lasting finish. Etching creates a proper surface for paint adhesion. This guide will walk you through everything you need to know about concrete surface preparation for painting, focusing on the crucial step of etching.
Painting concrete is a fantastic way to refresh and protect your floors, patios, or driveways. However, for the paint to stick well and last, you need to prepare the concrete surface correctly. This often involves concrete cleaning and, most importantly, concrete etching.
Etching, often done with concrete etching solutions, creates a slightly rough texture on the concrete, similar to fine-grit sandpaper. This texture gives the paint something to grip onto, preventing peeling, chipping, and premature wear. Without proper preparation, your beautiful new paint job might only last a short time.
This comprehensive guide will cover why etching is essential, the different methods you can use, the materials you’ll need, and step-by-step instructions for achieving a perfect etched surface for your painting project. We’ll also touch on concrete degreaser use, neutralizing concrete etch, and how this process fits into concrete sealant prep and preparing concrete for stain.
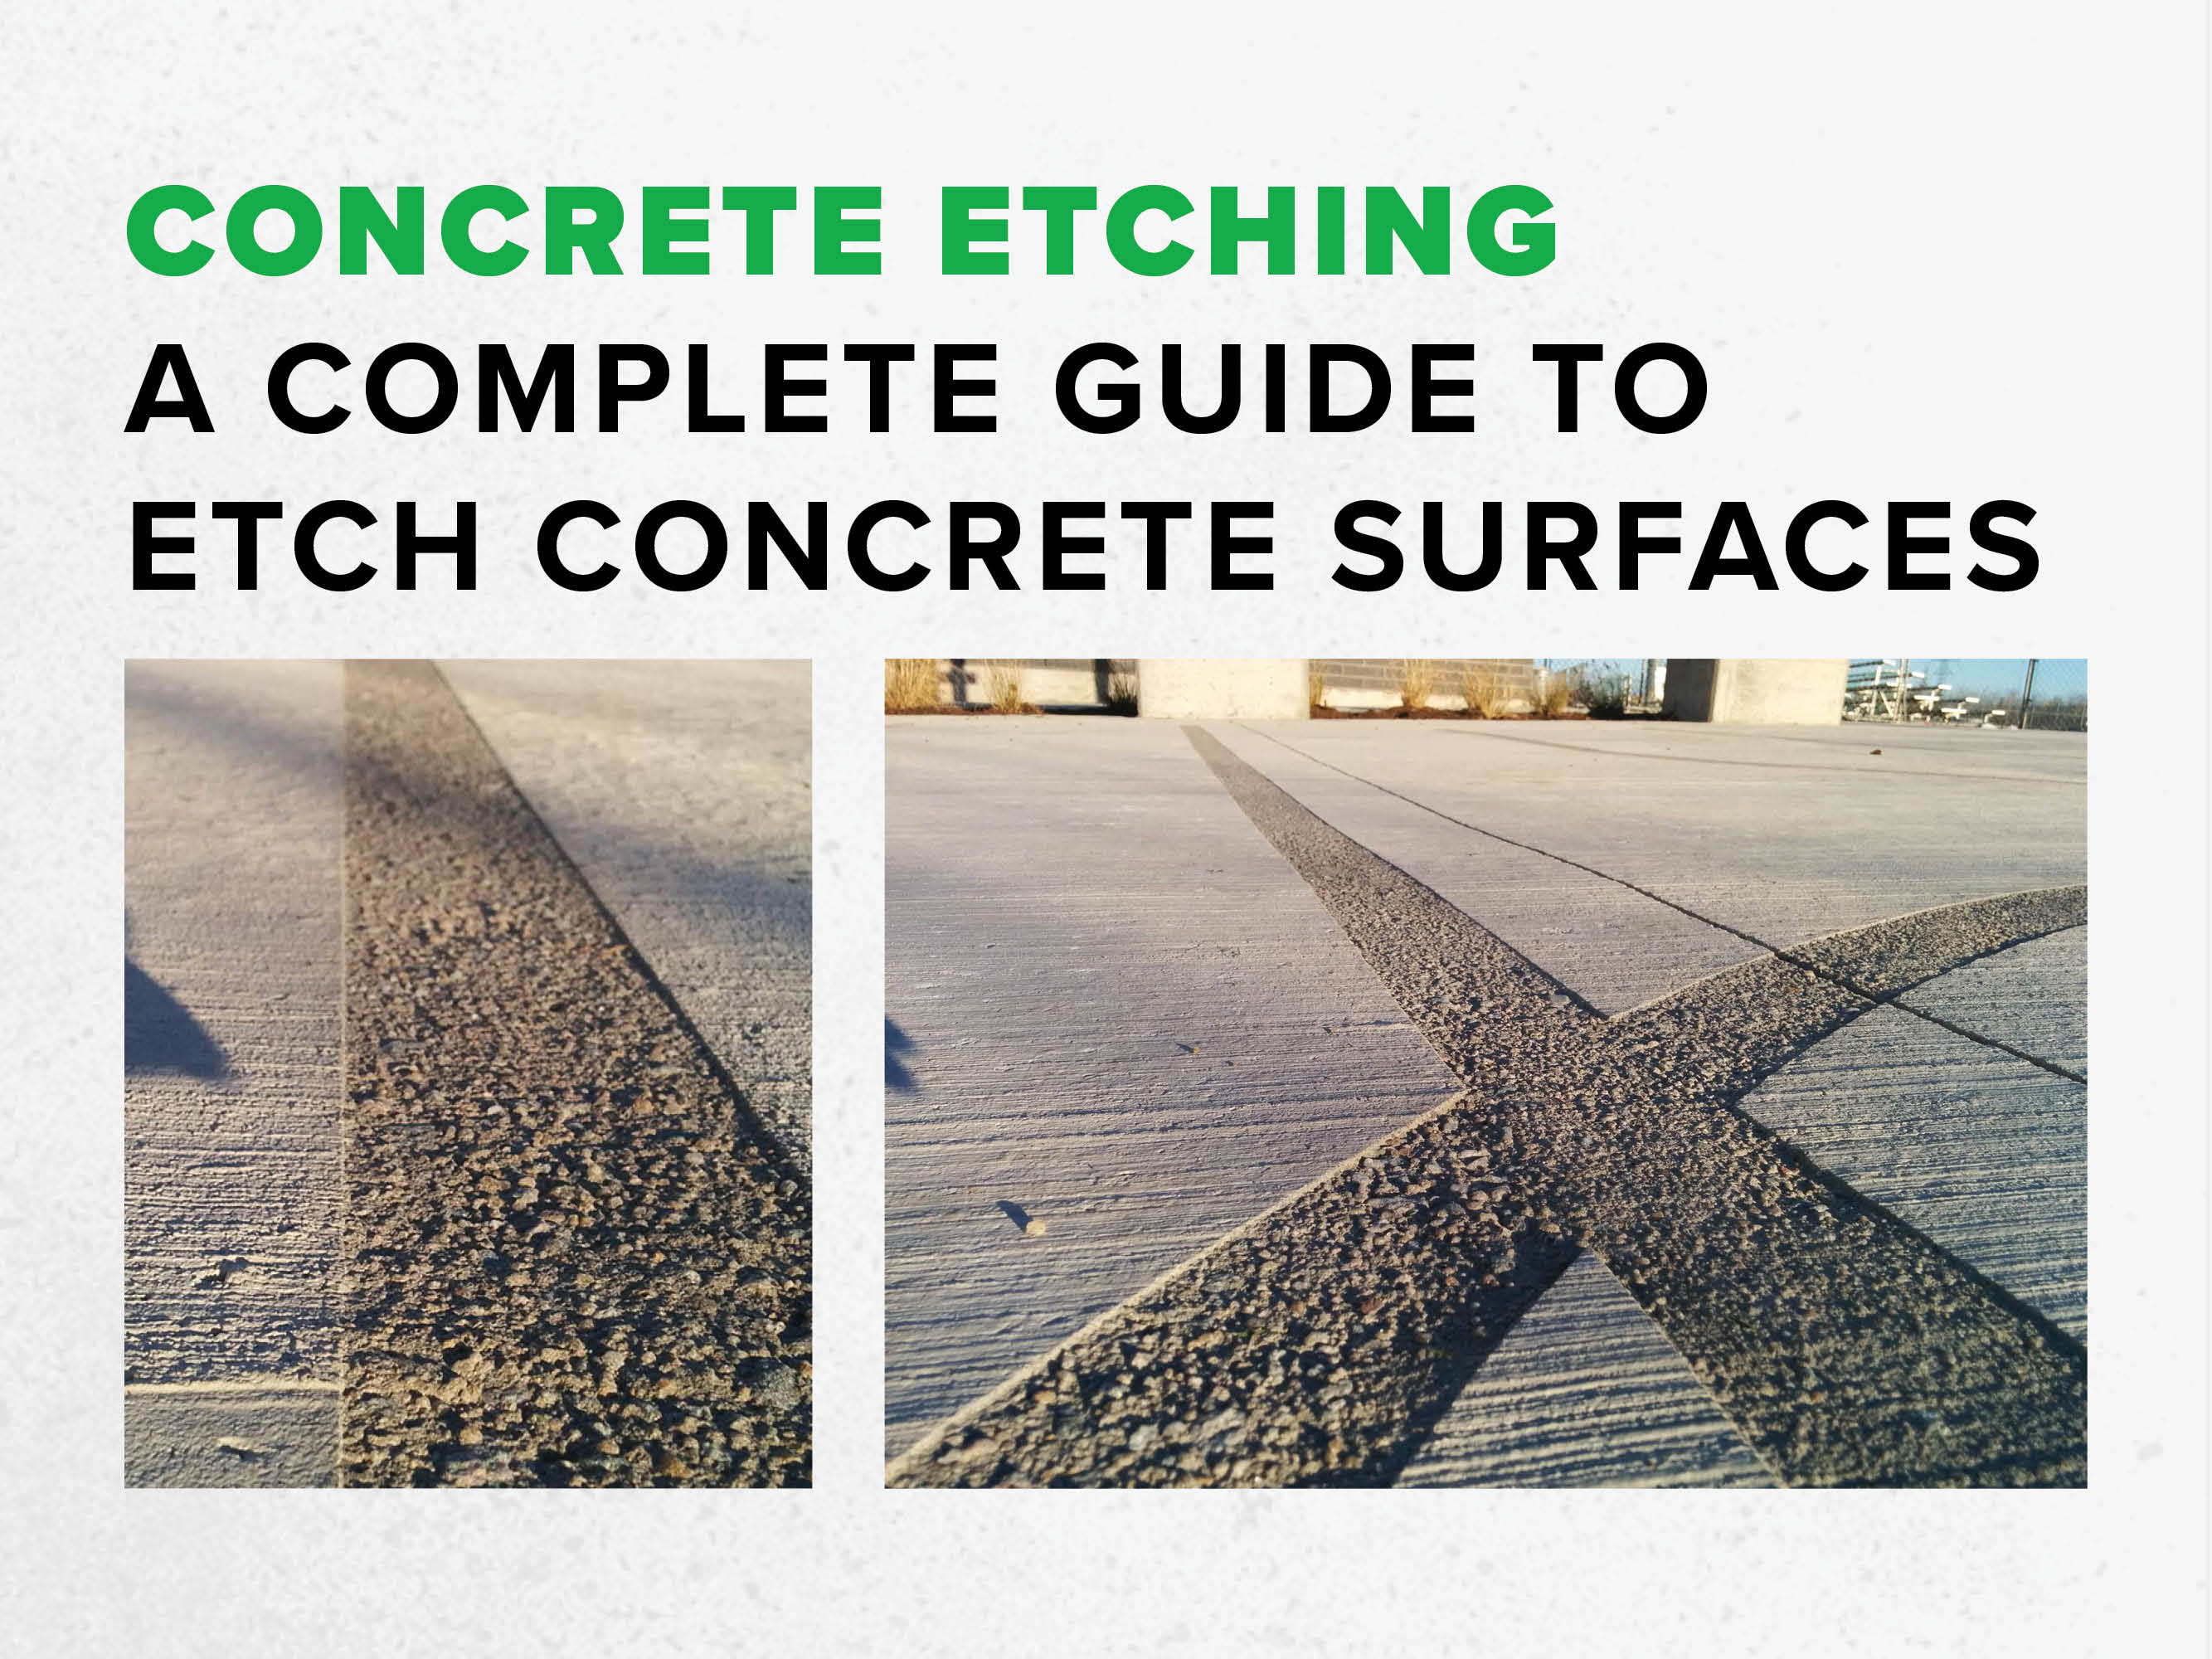
Image Source: www.dustlessblasting.com
Why Etch Concrete Before Painting?
Think of your concrete floor as a very smooth, almost slick surface. Paint, like any coating, needs a “tooth” to adhere to. Simply put, etching creates that tooth.
The Science Behind Adhesion
When concrete is poured and cures, its surface can become very dense and smooth. This smoothness, while aesthetically pleasing in some contexts, is a barrier to paint adhesion. Paint, whether it’s a latex-based floor paint, an epoxy coating, or a specialized concrete stain, relies on microscopic interlocking with the concrete surface.
Acid etching concrete is a chemical process that gently roughens this surface. The acid dissolves a very thin layer of the concrete, exposing porous areas that the paint can penetrate and bond with. This creates a much stronger mechanical bond than simply painting over a smooth, unconditioned surface.
Benefits of Proper Etching
- Enhanced Adhesion: This is the primary benefit. Etching ensures your paint adheres strongly to the concrete.
- Improved Durability: A well-etched surface leads to a paint job that resists chipping, peeling, and scratching from foot traffic, vehicle tires, or general wear and tear.
- Uniform Finish: Etching helps create a consistent surface texture, which can lead to a more even application and finish of your paint or stain.
- Longer Lifespan: By promoting better adhesion and durability, etching significantly extends the life of your concrete coating.
- Better for Water-Based Products: Water-based paints and sealers benefit greatly from the porous surface created by etching, allowing them to penetrate and bond effectively.
Methods for Etching Concrete
There are two primary methods for etching concrete: acid etching and mechanical etching.
1. Acid Etching Concrete
This is the most common and often recommended method for DIY projects. It typically involves using a diluted solution of muriatic acid or a milder, safer phosphoric acid-based cleaner.
Common Concrete Etching Solutions
- Muriatic Acid (Hydrochloric Acid): This is a strong acid that is very effective but also highly corrosive and requires significant safety precautions. It’s usually diluted with water.
- Pros: Very effective at etching concrete quickly.
- Cons: Highly corrosive, dangerous fumes, requires extensive safety gear, can damage surrounding vegetation and metal. Requires careful neutralization and disposal.
- Phosphoric Acid-Based Concrete Etchers: These are less harsh than muriatic acid and are generally safer to handle. They are often sold as ready-to-use liquids or powders that you mix with water.
- Pros: Safer to handle than muriatic acid, fewer fumes, still effective.
- Cons: May take slightly longer to etch than muriatic acid, can still be irritating to skin and eyes.
- Citric Acid: A natural and safer alternative. It’s weaker than phosphoric or muriatic acid but can be effective for lighter etching or for those prioritizing eco-friendly options.
- Pros: Very safe, biodegradable, easy to find.
- Cons: Less aggressive, may require multiple applications or longer dwell times for effective etching.
Important Note: Always follow the manufacturer’s instructions precisely when using any chemical etching solution.
When to Use Acid Etching
Acid etching is ideal for:
- Most residential concrete floors, garages, basements, and patios.
- When you want a consistent etch across the entire surface.
- When you don’t have access to specialized grinding equipment.
2. Mechanical Etching (Grinding or Shot Blasting)
This method uses abrasive tools to physically remove a thin layer of the concrete surface.
- Diamond Grinding: Using a floor grinder with diamond-impregnated cups or discs. This is a very effective method that creates an excellent profile for coatings.
- Pros: Very effective, creates a superior surface profile, fast.
- Cons: Requires specialized, often rented equipment, can be dusty (requires dust containment), more expensive for DIYers.
- Shot Blasting: Uses a machine that propels small steel spheres at the concrete surface at high speed, creating a uniform, textured profile.
- Pros: Highly effective, creates a very consistent and deep profile, excellent for heavy-duty coatings.
- Cons: Requires professional equipment, usually outsourced for smaller jobs.
When to Use Mechanical Etching
Mechanical etching is typically preferred for:
- Commercial or industrial applications where heavy-duty coatings are applied.
- When a very aggressive surface profile is required.
- When the concrete has existing coatings or sealers that need to be removed first.
For most homeowners looking to paint a garage floor or patio, acid etching concrete using a phosphoric acid-based product is the most practical and effective method.
Preparing Your Workspace and Materials
Before you start etching, thorough concrete surface preparation is key. This includes cleaning the concrete and gathering all necessary materials and safety gear.
Step 1: Thorough Concrete Cleaning
Etching works best on clean concrete. Any dirt, grease, oil, or old coatings can prevent the etchant from working properly or create an uneven etch.
Using a Concrete Degreaser
For oily or greasy spots, a dedicated concrete degreaser is essential.
- How to Use a Concrete Degreaser:
- Apply the degreaser directly to the stained areas.
- Allow it to dwell for the time specified on the product label (usually 15-30 minutes).
- Scrub the area with a stiff-bristled brush.
- Rinse thoroughly with water. For stubborn stains, you may need to repeat this process.
General Cleaning Procedure
- Sweep or Vacuum: Remove all loose debris, dust, and dirt from the concrete surface.
- Scrub with Water and Detergent: Use a stiff-bristled broom or brush with plain water and a pH-neutral cleaner or mild detergent. Scrub the entire surface to remove general grime.
- Rinse Thoroughly: Wash away all the soapy residue. You might need to use a hose and squeegee to push the dirty water off the surface.
- Inspect for Stains: After the initial cleaning, inspect the concrete for any remaining oil, grease, paint, or other stubborn stains. Treat these with appropriate cleaners (like a concrete degreaser) before proceeding to etching.
Step 2: Gathering Your Materials and Safety Gear
Safety first! Etching, especially with acids, requires proper protective equipment.
Essential Materials:
- Concrete Etching Solution: (Phosphoric acid-based is recommended for DIYers)
- Garden Sprayer: For applying the etching solution evenly.
- Stiff-Bristled Broom or Brush: For scrubbing the surface after applying the etchant.
- Garden Hose with Spray Nozzle: For rinsing the concrete.
- Squeegee: To help push water off the surface during rinsing.
- Buckets: For mixing solutions and rinsing brushes.
- Plastic Sheeting or Tarps: To protect surrounding areas (plants, walls, doorways).
- Painter’s Tape or Masking Tape: To secure the plastic sheeting.
- pH Neutralizer: (e.g., baking soda, ammonia, or a commercial concrete neutralizer) for neutralizing concrete etch.
- Wet Vacuum or Shop Vac: For removing excess water after rinsing.
- Optional: Wet/Dry Sandpaper or Scrub Pad: For spot-treating particularly smooth areas.
Essential Safety Gear:
- Chemical-Resistant Gloves: Long gauntlet-style gloves are best.
- Eye Protection: Safety goggles or a full face shield.
- Respiratory Protection: A respirator mask rated for acid fumes (especially if using muriatic acid).
- Protective Clothing: Long sleeves, long pants, and closed-toe shoes or boots. Consider chemical-resistant overalls.
- Ventilation: Ensure good airflow, especially when working indoors.
Step-by-Step Guide to Etching Concrete
Now that you’ve prepared your space and gathered your supplies, it’s time to etch!
Step 1: Protect Surrounding Areas
- Use plastic sheeting and painter’s tape to cover any walls, doorways, windows, or landscaping adjacent to the concrete area you’ll be etching. This prevents accidental splashes and damage.
Step 2: Mix the Etching Solution
- Carefully follow the manufacturer’s instructions for mixing your chosen concrete etching solution.
- For Acid Etching (e.g., Phosphoric Acid): Typically, you’ll mix a specific amount of the concentrate with water in a clean plastic bucket. Always add acid to water, never water to acid.
- Pour the mixed solution into your garden sprayer.
Step 3: Apply the Etching Solution
- Start in a corner of the concrete surface and work your way across the area systematically.
- Apply the solution evenly using the garden sprayer. Avoid over-applying in one spot, which can lead to an uneven etch.
- Work in manageable sections, especially if you have a large area.
Step 4: Scrub the Concrete
- Once the solution is applied to a section, immediately begin scrubbing with a stiff-bristled broom or brush.
- Scrubbing helps activate the etchant and ensures it penetrates the concrete evenly. You’ll notice a slight foaming action – this is normal and indicates the acid is reacting with the concrete.
- Work the solution into the concrete, ensuring good contact across the entire surface.
Step 5: Let it Dwell (If Recommended)
- Some etching solutions may recommend a short dwell time after scrubbing. Refer to the product’s instructions. Do not let the solution dry on the concrete.
Step 6: Rinse Thoroughly
- This is a critical step. Use a garden hose with a strong spray nozzle to rinse the concrete thoroughly.
- Start from the highest point and work your way down, pushing the dirty water and dissolved concrete residue off the surface.
- Use your squeegee to help direct the water and debris towards a drain or an area where you can collect it.
- Rinse multiple times to ensure all etchant and residue are removed.
Step 7: Neutralize the Concrete Surface
- After rinsing, you need to neutralize any remaining acid to stop the etching process and prepare the surface for painting. This is crucial for neutralizing concrete etch.
- Method 1 (Baking Soda): Mix a solution of 1 cup of baking soda per gallon of water. Apply this solution generously over the etched concrete. You’ll see some fizzing, which indicates neutralization.
- Method 2 (Ammonia): Mix 1 part household ammonia with 10 parts water. Apply as above.
- Method 3 (Commercial Neutralizer): Use a product specifically designed for neutralizing concrete etch.
- After applying the neutralizer, rinse the concrete again thoroughly with plain water.
Step 8: Remove Excess Water
- Use a wet vacuum or shop vac to remove as much standing water as possible from the surface. This speeds up the drying process.
- You can also use a squeegee to push water towards drains or collection points.
Step 9: Inspect the Etch
- Once the concrete is dry, inspect the surface.
- How to Check for a Proper Etch:
- Texture: The concrete should feel slightly rough, like 100-150 grit sandpaper.
- Appearance: It should have a uniform, matte appearance, with no shiny spots.
- Water Absorption Test: Sprinkle a few drops of water onto the dry concrete. If the water is absorbed quickly and darkens the concrete, it’s likely properly etched. If the water beads up or sits on the surface, the etch is insufficient, and you may need to repeat the process or use a more aggressive etching method.
Step 10: Allow Concrete to Dry Completely
- Concrete needs to be completely dry before painting. This can take 24-48 hours or even longer, depending on humidity and temperature.
- Ensure good ventilation to help the drying process.
Preparing Concrete for Other Finishes
The principles of concrete surface preparation extend beyond just painting. Etching is also a crucial step when preparing concrete for stain or for applying other types of coatings.
Preparing Concrete for Stain
When preparing concrete for stain, etching is vital for allowing the stain to penetrate the concrete evenly. A good etch ensures the stain doesn’t bead up or create blotchy results. The process is very similar to preparing for paint, focusing on cleaning and creating that porous surface. You might even opt for a slightly deeper etch to ensure good stain penetration.
Concrete Floor Prep for Various Coatings
Whether you’re applying a clear sealer, a topical coating, or a decorative overlay, proper concrete floor prep is non-negotiable. Etching, or a similar abrasive profiling method, provides the necessary adhesion.
- Concrete Sealant Prep: For sealants, etching ensures the sealant can bond to the concrete and create a protective barrier. Without etching, the sealant might just sit on the surface and peel off.
- Concrete Etching for Coating: This phrase generally refers to the overall process of preparing concrete to receive any type of coating. Etching is a fundamental part of concrete etching for coating projects, creating the ideal substrate for optimal performance and longevity of the applied product.
Frequently Asked Questions (FAQ)
Q1: How long does it take for concrete to etch?
A1: The etching process itself, from application to rinsing, typically takes about 30-60 minutes per section, depending on the product used and the concrete’s condition. The entire project, including drying and neutralization, can take 24-48 hours or more.
Q2: What if my concrete still looks smooth after etching?
A2: If the concrete appears too smooth or the water absorption test fails, the etch is insufficient. You may need to reapply the etching solution, scrub more vigorously, or consider a more aggressive product or mechanical method.
Q3: Can I skip the neutralizing step?
A3: No, you should never skip the neutralizing step. Failing to neutralize the acid can cause the paint or coating to fail prematurely, as residual acid can continue to react with the concrete and the coating.
Q4: Is etching necessary for all concrete painting projects?
A4: For a durable, professional-looking finish that lasts, yes, etching is highly recommended for almost all concrete painting projects. The only exceptions might be if the concrete is very new and has a naturally porous surface, or if you’re using a primer specifically designed for smooth, unetched concrete (though etching is still generally superior).
Q5: How often should I etch concrete?
A5: You only need to etch concrete before applying a new coating. It’s a preparation step for painting or sealing, not a regular maintenance task.
Q6: What is the best concrete etching solution?
A6: For most DIYers, a phosphoric acid-based concrete etcher is the best balance of effectiveness and safety. Muriatic acid is more aggressive but requires much stricter safety protocols. Citric acid is the safest but least aggressive option.
Q7: Can I use bleach to etch concrete?
A7: No, bleach is a disinfectant and cleaner; it does not have the chemical properties to etch concrete.
By following these detailed steps and prioritizing safety, you can effectively etch your concrete surface, creating a strong foundation for a beautiful and long-lasting paint job. Proper concrete surface preparation, including thorough cleaning and careful etching, is the secret to a professional finish.