
So, how long do you need to wait before painting over primer? Generally, you should wait at least 2 to 4 hours for latex primer and 6 to 8 hours for oil-based primer to dry to the touch before applying your first coat of paint. However, this is just a starting point, and several factors can significantly alter this primer drying time.
Getting the timing right when you’re priming and painting is crucial for a professional, long-lasting finish. Apply paint too soon, and you risk peeling, bubbling, or a patchy appearance. Wait too long, and you might lose the optimal adhesion window. This guide dives deep into how long to wait between coats of primer and before applying your topcoat, uncovering the secrets to perfect priming.
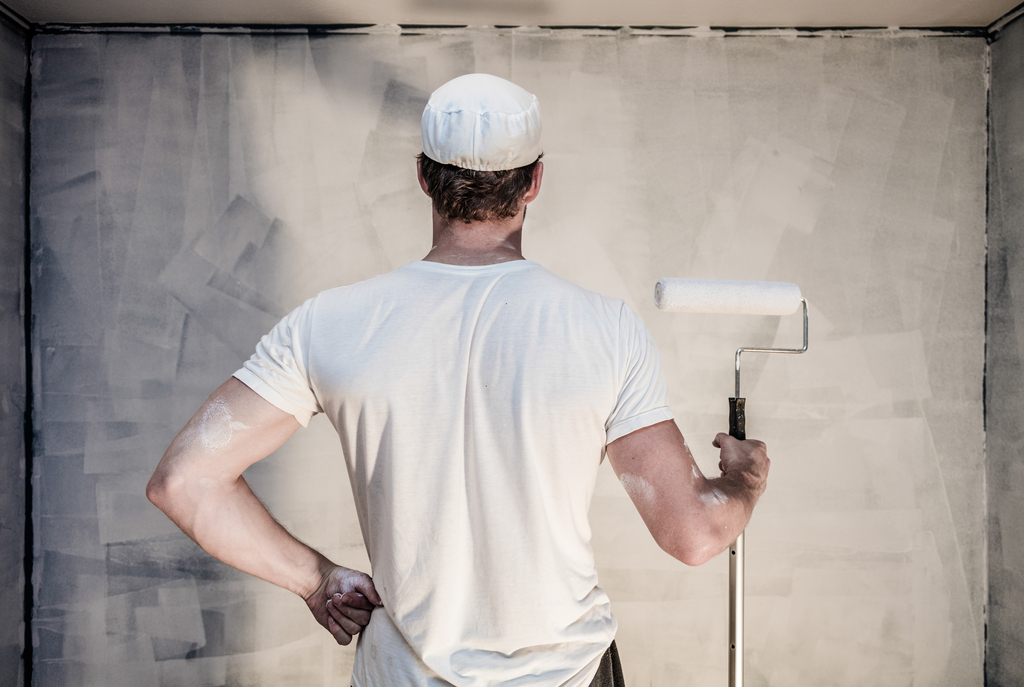
Image Source: lifetimepainters.ca
Why Waiting for Primer to Dry Matters
Primer is the foundation of your paint job. It seals porous surfaces, blocks stains, promotes adhesion, and creates a uniform base for your paint. But its magic can only happen if it’s properly dry.
- Adhesion: When primer is fully dry, its resins have had time to bond with the surface and create a strong base for the paint. Wet primer can lead to paint not sticking well.
- Leveling: Dry primer provides a smooth, even surface. If you paint over wet primer, you might get uneven texture or streaks.
- Moisture Content: Primer contains solvents or water that need to evaporate. Painting over still-wet primer means the topcoat will trap this moisture, which can cause problems later.
- Durability: A properly dried primer contributes to the overall durability of your paint job.
Factors Affecting Primer Drying Time
The general guidelines are helpful, but drying conditions play a massive role in how quickly your primer cures. Think of it like baking a cake – temperature and humidity can change the baking time significantly.
Temperature and Primer Drying
Temperature is a primary influencer. Most primers are formulated to dry best within a specific temperature range.
- Ideal Range: Many primers perform best between 65°F and 80°F (18°C and 27°C).
- Too Cold: In cooler temperatures (below 50°F or 10°C), the chemical reactions that allow the primer to dry and cure slow down considerably. This can lead to much longer primer drying time and potentially affect the final film formation.
- Too Hot: While not as common a problem as being too cold, extremely high temperatures can sometimes cause the primer to dry too quickly on the surface. This can trap solvents underneath and hinder proper adhesion or create a brittle film.
Humidity and Primer Drying
Humidity is the amount of water vapor in the air. High humidity is a notorious enemy of paint drying.
- High Humidity: When the air is already saturated with moisture, it becomes harder for the water (in latex primers) or solvents (in oil-based primers) to evaporate. This significantly extends primer drying time.
- Low Humidity: Very low humidity can sometimes cause surfaces to dry too quickly, especially with oil-based paints, potentially leading to brush marks or an uneven finish. However, for most primers, moderate to low humidity is ideal for faster drying.
Airflow and Ventilation
Good airflow helps carry away evaporated moisture and solvents, allowing fresh air to interact with the primer surface.
- Good Ventilation: Open windows and doors, or use fans, to ensure constant air movement. This is especially important in enclosed spaces like bathrooms or closets.
- Poor Ventilation: Stagnant air can trap moisture and slow down the drying process, making you wait longer to paint over primer.
Primer Thickness and Application Method
How you apply the primer also impacts its drying rate.
- Thin Coats: Applying thin, even coats is always recommended. Thinner coats have less moisture or solvent to release and will dry much faster than thick, gloppy applications.
- Brush vs. Roller vs. Sprayer: While all can apply primer effectively, an overly thick application with any of these tools will increase drying time. Sprayers can sometimes apply very thin, even coats, which can speed up drying if done correctly.
Different Types of Primer: What to Expect
Not all primers are created equal, and their chemical makeup dictates their primer drying time and how long you need to wait before applying paint.
Latex Primer Drying
Latex or water-based primers are the most common for interior use. They are known for their quick drying times and easy cleanup.
- Drying to Touch: Typically, latex primer dries to the touch within 1 hour.
- Recoat Time: You can usually recoat latex primer within 2 to 4 hours. Some fast-drying formulas might allow recoating in as little as 1 hour, but always check the product label.
- Full Cure: While dry to the touch and ready for the next coat, latex primer can take several days to a week to fully cure and reach its maximum hardness and durability. Be mindful of heavy scrubbing or extreme wear on freshly painted surfaces within this time.
Table 1: Typical Latex Primer Drying Schedule
| Stage | Approximate Timeframe (at 70°F/21°C, 50% Humidity) |
|---|---|
| Dry to Touch | 30 minutes – 1 hour |
| Recoat Primer | 2 – 4 hours |
| Full Cure | 7 – 14 days |
Oil-Based Primer Drying
Oil-based or alkyd primers are known for their excellent adhesion, stain-blocking capabilities, and durability, especially on tricky surfaces like glossy paint or wood. However, they take longer to dry.
- Drying to Touch: Oil-based primer usually takes 4 to 6 hours to dry to the touch.
- Recoat Time: You generally need to wait 6 to 8 hours, and sometimes even 24 hours, before you can paint over primer that is oil-based. This longer primer cure time is essential for the oils to oxidize and form a stable film.
- Full Cure: Oil-based primers also take longer to fully cure, often 7 to 14 days or more, similar to latex.
Table 2: Typical Oil-Based Primer Drying Schedule
| Stage | Approximate Timeframe (at 70°F/21°C, 50% Humidity) |
|---|---|
| Dry to Touch | 4 – 6 hours |
| Recoat Primer | 6 – 8 hours (or up to 24 hours) |
| Full Cure | 7 – 14 days |
Shellac-Based Primer Drying
Shellac-based primers are fantastic for blocking severe stains (like smoke, water, or tannin) and odors. They dry very quickly.
- Drying to Touch: Shellac dries extremely fast, often within 15-30 minutes.
- Recoat Time: You can usually recoat shellac primer in as little as 45 minutes to 1 hour. This makes it ideal for quick touch-ups or projects where speed is paramount.
Table 3: Typical Shellac-Based Primer Drying Schedule
| Stage | Approximate Timeframe (at 70°F/21°C, 50% Humidity) |
|---|---|
| Dry to Touch | 15 – 30 minutes |
| Recoat Primer | 45 minutes – 1 hour |
| Full Cure | 24 – 48 hours |
Bonding Primer Drying
Bonding primers are designed to stick to difficult surfaces like laminate, tile, or glass. Their drying times are generally similar to latex primers.
- Drying to Touch: Usually 30 minutes to 1 hour.
- Recoat Time: You can typically recoat bonding primer in 2 to 4 hours.
Deciphering the Product Label: Your Best Guide
The most accurate information about primer drying time and when you can paint over primer will always be on the product’s can or technical data sheet. Manufacturers conduct extensive testing to determine optimal drying and recoating windows for their specific formulations.
- Always Read the Label: Before you even open the can, read the instructions. It will tell you the recommended temperature range, humidity levels, and the critical how long to wait between coats and before painting.
- Specific Product Claims: Some premium primers are formulated for faster drying or enhanced performance. Don’t assume all latex primers behave the same way.
What Does “Dry to Touch” Mean?
“Dry to touch” means the surface feels dry when you lightly brush your finger across it. It doesn’t mean the primer is fully cured or ready for heavy abuse. It simply means you can likely apply another coat without lifting the primer or causing immediate adhesion issues.
What Does “Recoat Time” Mean?
“Recoat time” is the minimum amount of time you must wait before applying the next layer of primer or your topcoat of paint. This is the crucial number to follow for a successful paint job.
What Does “Primer Cure Time” Mean?
“Primer cure time” refers to the period it takes for the primer to reach its maximum hardness, durability, and chemical resistance. This is much longer than recoat time. While you can paint over primer after the recoat window, the surface might still be susceptible to damage (scratches, scuffs) if it hasn’t fully cured.
Common Mistakes to Avoid
Several missteps can sabotage your primer’s effectiveness and your final paint finish.
- Ignoring Drying Times: The most common mistake is rushing the process and not allowing the primer sufficient primer drying time between coats or before painting.
- Painting in Poor Conditions: Applying primer when it’s too cold, too hot, or too humid significantly affects drying and curing.
- Applying Too Thick: Thick coats of primer hold moisture or solvents longer, increasing how long to wait between coats.
- Not Stirring Properly: If the primer isn’t mixed well, the binders might not be evenly distributed, leading to inconsistent drying and adhesion.
- Contaminated Surfaces: Painting over a dirty or oily surface, even with primer, will prevent proper adhesion. Always clean surfaces before priming.
Pro Tips for Optimizing Primer Drying
Want to speed things up or ensure a perfect dry? Follow these expert tips.
1. Control Your Environment
- Temperature: Aim for consistent temperatures within the recommended range (usually 65-80°F or 18-27°C). Use space heaters or air conditioners if necessary.
- Humidity: Use a dehumidifier in humid conditions or an air conditioner, which also helps reduce humidity. Ensure good ventilation in damp areas.
- Ventilation: Keep windows and doors open, or use fans to create a cross-breeze.
2. Apply Thin, Even Coats
- Quality Over Quantity: It’s better to apply two thin coats of primer with adequate drying time between them than one thick, heavy coat.
- Work in Sections: For larger areas, work in manageable sections so you can apply primer evenly.
3. Choose the Right Primer for the Job
- Specific Needs: If you’re dealing with tough stains or glossy surfaces, an oil-based or shellac primer might be necessary, but be prepared for longer drying times.
- Water-Based for Speed: For general purposes, a good quality water-based primer will offer faster drying times.
4. Test a Small Area
If you’re unsure about how your primer is drying, or if you’re working in less-than-ideal conditions, test a small, inconspicuous area. Apply your topcoat after the recommended recoat primer time. If it adheres well and doesn’t lift, you’re likely good to go.
Frequently Asked Questions (FAQ)
Q1: Can I paint over primer if it’s still a little tacky?
A: It’s generally not recommended. While it might seem dry to the touch, a slightly tacky surface indicates residual moisture or solvents that haven’t fully evaporated. Painting over it can lead to adhesion problems, bubbling, or a soft finish. It’s best to wait the full recoat primer time specified on the can.
Q2: How long does primer take to dry before sanding?
A: For most primers, especially latex and water-based, you can sand them after they are dry to the touch or after the recommended recoat time, usually 2-4 hours. Oil-based primers may require a longer drying period, potentially 6-8 hours or more, before sanding to avoid gumming up your sandpaper. Always check the product’s specific instructions for sanding.
Q3: Does primer cure faster in direct sunlight?
A: While sunlight can provide warmth, direct sunlight can also cause primers (especially oil-based ones) to dry too quickly on the surface, creating an uneven film or trapping solvents. It’s usually better to paint in indirect light or controlled conditions for the most consistent results and to ensure proper primer cure time.
Q4: What happens if I don’t let the primer dry long enough?
A: If you don’t wait the proper primer drying time before applying your next coat of paint, you risk several issues:
* Poor Adhesion: The topcoat might not stick well to the primer, leading to peeling or chipping later.
* Bubbling or Blistering: Trapped moisture or solvents can expand as they try to escape, causing bubbles.
* Soft Finish: The paint might remain soft and be easily scratched or damaged.
* Uneven Appearance: The paint might not lay down smoothly over wet primer, leading to streaks or a mottled look.
Q5: How long should I wait between coats of primer?
A: This is critical for a good finish. For latex primer, you typically wait 2 to 4 hours. For oil-based primer, you often need to wait 6 to 8 hours, or sometimes even longer, up to 24 hours. Always refer to the product instructions for the exact how long to wait between coats guidance.
Q6: Can I use a fan to speed up latex primer drying?
A: Yes, using a fan can certainly help speed up the drying process for latex primer drying. It improves air circulation, which helps the water evaporate faster. Just ensure the fan isn’t blowing dust or debris directly onto the wet primer.
Q7: How do I know if my primer is fully dry and ready for paint?
A: The product label will give you a “recoat time.” This is the primary indicator. You can also gently touch a small, inconspicuous area. It should feel dry and not lift or stick to your finger. If it’s still even slightly tacky, give it more time, considering the drying conditions like temperature and humidity.
Q8: Is it better to use latex or oil-based primer?
A: The choice depends on your project. Latex primer is fast-drying, easy to clean, and good for most interior walls. Oil-based primer offers superior adhesion, stain blocking, and durability, making it ideal for high-traffic areas, glossy surfaces, or problematic stains, but it requires more drying time.
Q9: What if the can doesn’t specify a recoat time?
A: In the rare event that a product label is unclear, err on the side of caution. For latex primer, wait at least 4 hours. For oil-based primer, wait at least 8-12 hours, and ideally 24 hours, before applying your topcoat. It’s always better to wait longer than to risk a failed paint job.
Q10: Does humidity affect oil-based primer drying time differently than latex?
A: Both types of primer are affected by humidity, but oil-based primers rely on oxidation and solvent evaporation. High humidity slows down the evaporation of solvents, which are essential for the oil-based primer to cure properly. While less critical than for latex primers where water evaporation is key, it still extends the primer drying time and the overall primer cure time.