
Can you paint over caulk? Yes, you can paint over caulk, but it’s crucial to wait for the caulking drying time to be sufficient. Painting too soon can lead to peeling, cracking, and a messy finish. This article will guide you through the essential factors influencing how long should caulking dry before painting, ensuring a smooth and lasting paint job. We’ll explore different types of caulk, their drying processes, and best practices for successful painting over caulk.
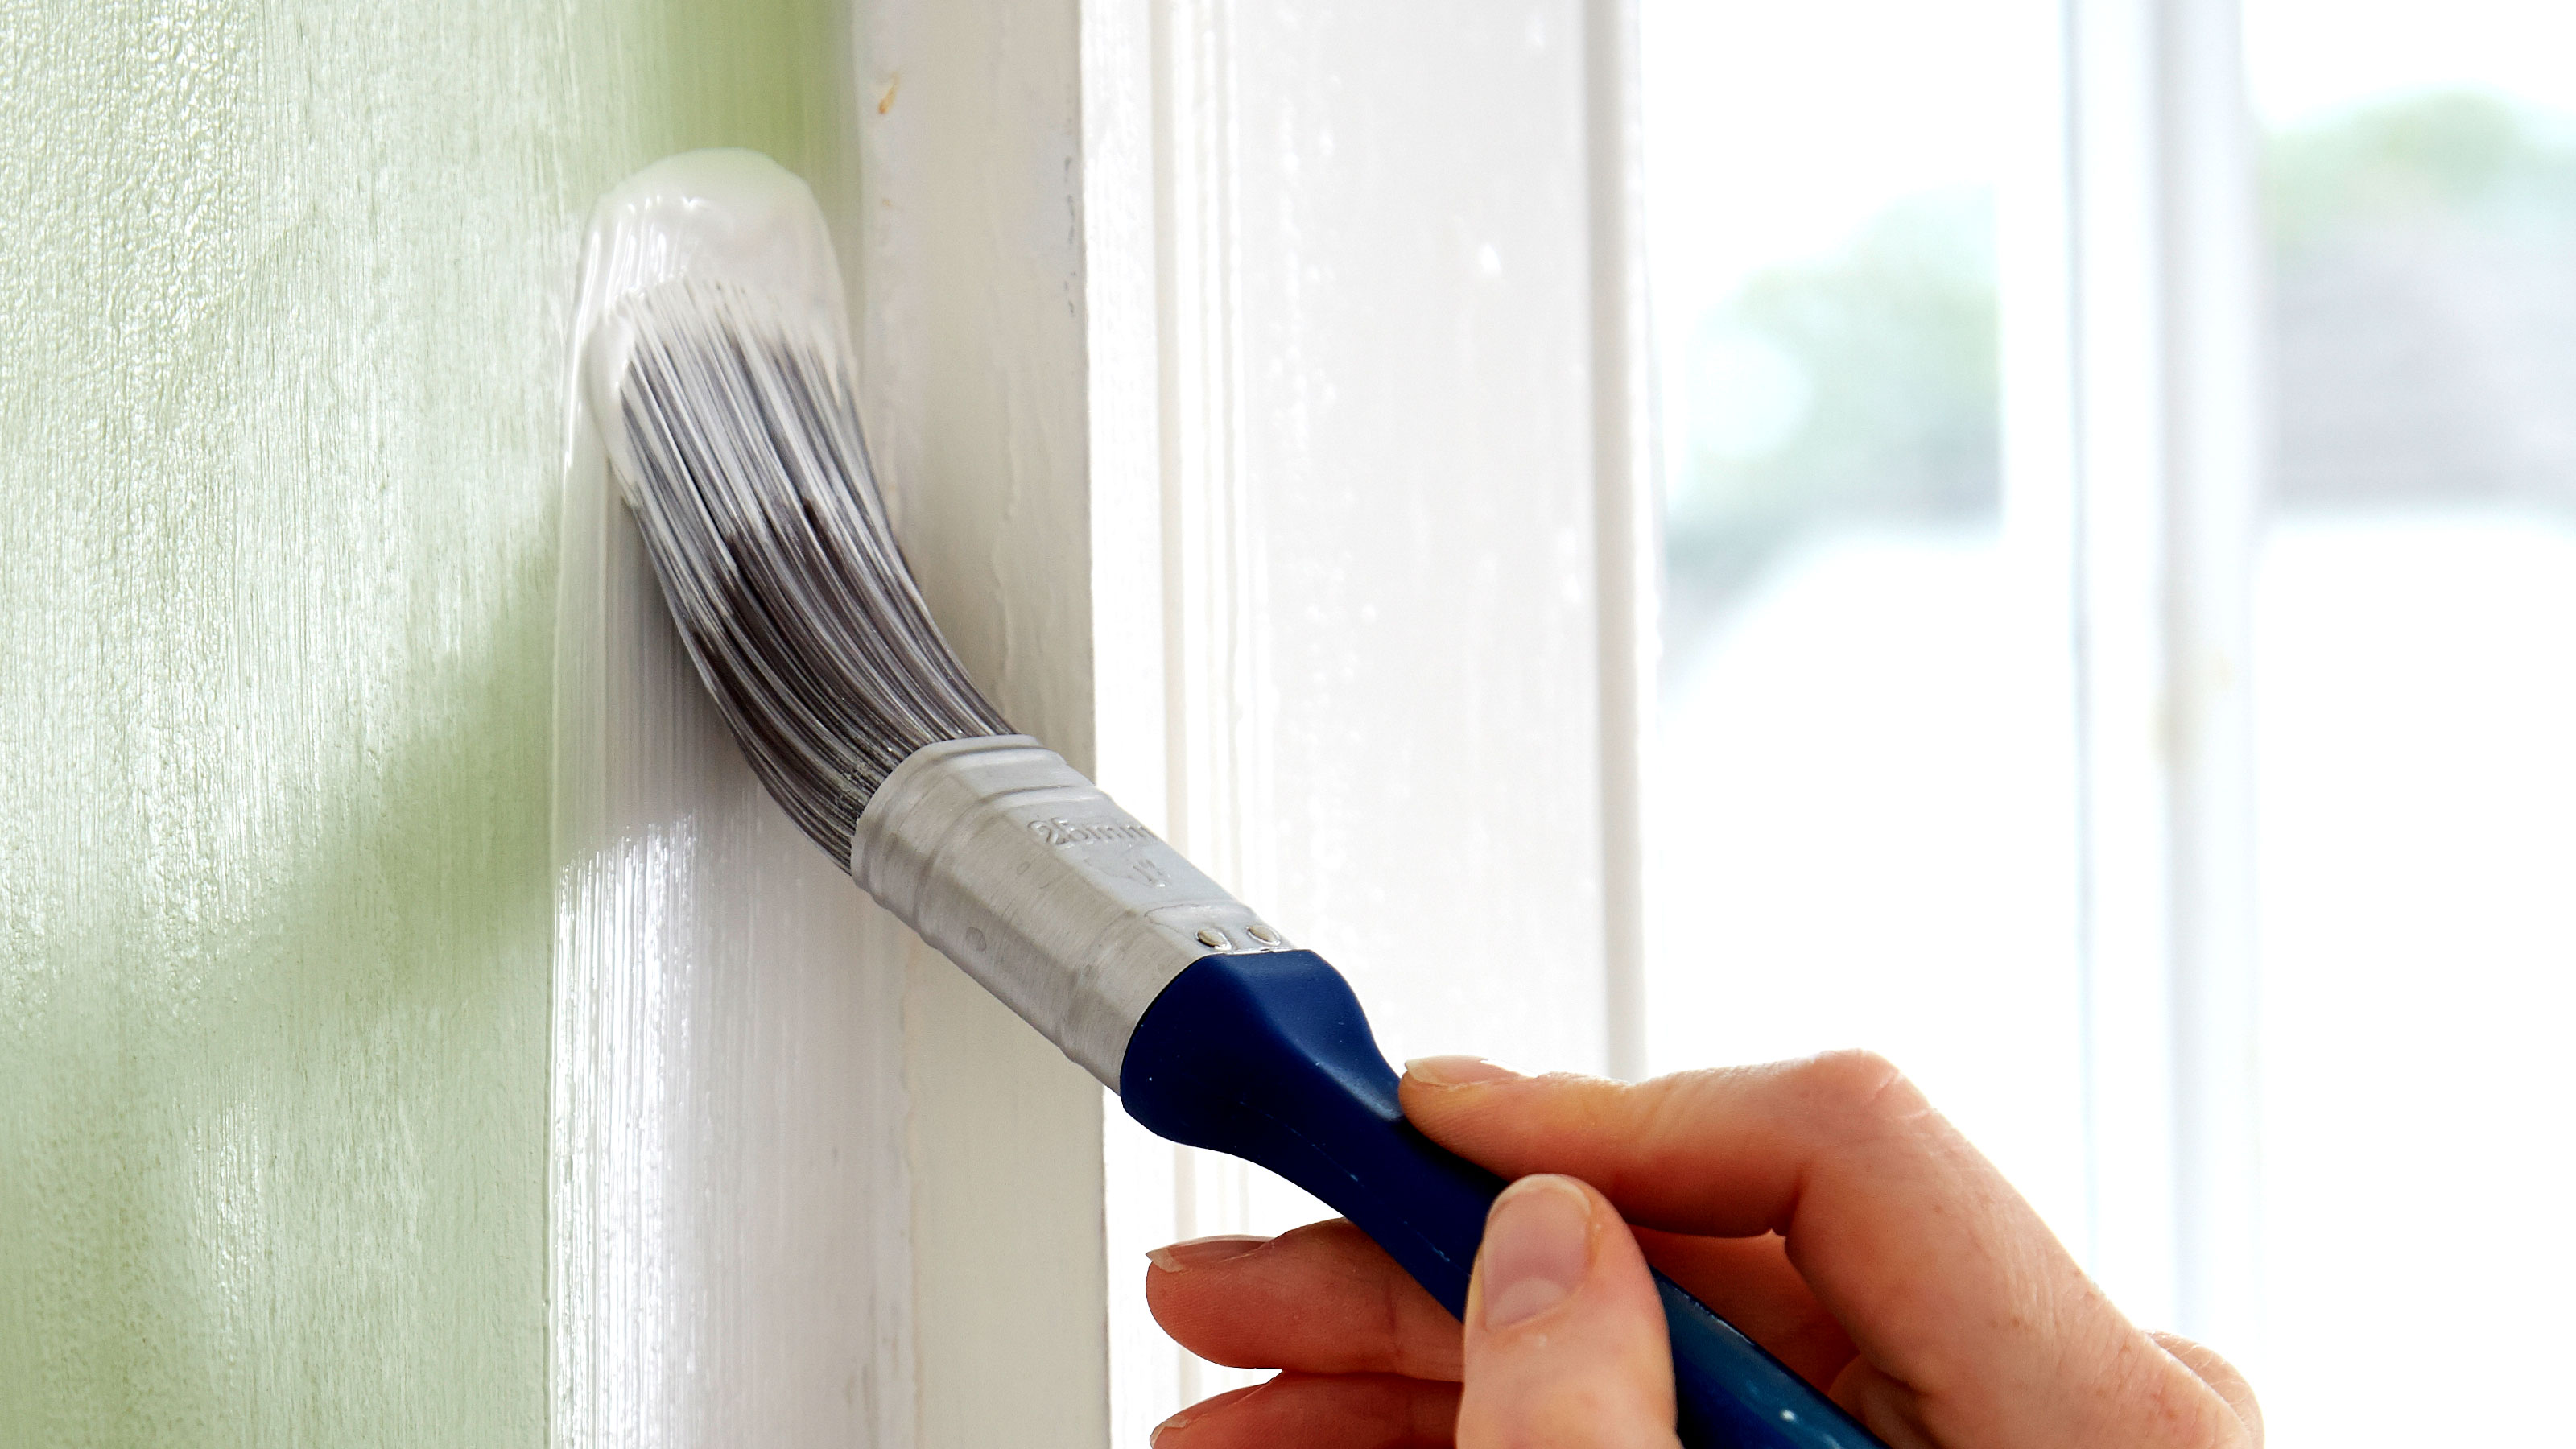
Image Source: cdn.mos.cms.futurecdn.net
Why Waiting for Caulking to Dry is Important
Caulking is a sealant used to fill gaps and cracks. It creates a barrier against moisture, air, and pests. When you apply paint over uncured caulk, several problems can arise:
- Peeling and Cracking: Wet or partially dry caulk will move and flex as it cures. Paint applied too early will be pulled and stretched with this movement, leading to unsightly cracks and peeling.
- Poor Adhesion: Paint needs a solid, dry surface to adhere to properly. If the caulk is still releasing moisture or chemicals, the paint won’t bond well, resulting in a weak finish.
- Discoloration: Some caulks can release compounds that stain or discolor paint, especially lighter shades. This can ruin the intended look of your painted surface.
- Uneven Finish: The difference in texture and flexibility between paint and uncured caulk can create an uneven appearance.
The key to a good paint job over caulk is allowing the caulk sealant drying process to reach its optimal state. This means understanding the caulk cure time for paint.
Types of Caulk and Their Drying Characteristics
Different types of caulk have different formulas and, therefore, different caulking drying time requirements. Knowing what type of caulk you’ve used is the first step in determining how long you should wait before painting.
Latex Caulk (Water-Based)
Latex caulk, often called acrylic latex caulk, is the most common type for interior use. It’s water-based, making it easy to clean up with soap and water.
- Drying Process: Latex caulk dries primarily through evaporation. Water evaporates from the surface, causing it to skin over and harden. However, the interior of the bead continues to cure through a chemical process.
- Surface Dry Time: Typically, latex caulk becomes tack-free within 30 minutes to an hour. This means it won’t stick to your finger when lightly touched.
- Paintable Time: For painting over caulk, it’s generally recommended to wait at least 1 to 2 hours after the surface is tack-free. However, the caulk cure time for paint can be longer, especially in humid conditions or for thicker beads. Some manufacturers recommend waiting 24 hours to ensure full curing for optimal adhesion.
- Factors Affecting Latex Caulk Drying Time:
- Humidity: High humidity slows down evaporation, increasing drying time.
- Temperature: Warmer temperatures generally speed up drying.
- Airflow: Good ventilation helps moisture escape, speeding up the drying process.
- Caulk Bead Thickness: Thicker beads take longer to dry and cure thoroughly.
- Substrate Porosity: Porous surfaces can absorb some of the water, slightly speeding up drying.
Latex caulk drying is a gradual process. While it might feel dry to the touch, it can still be curing internally.
Silicone Caulk
Silicone caulk is known for its flexibility, durability, and excellent waterproofing properties, making it ideal for bathrooms, kitchens, and exterior applications.
- Drying Process: Silicone caulk cures through a chemical reaction with moisture in the air. This is often referred to as “acetoxy cure” or “neutral cure.”
- Surface Dry Time: Silicone caulk typically skins over within 15-30 minutes.
- Paintable Time: Here’s the crucial point: most silicone caulk is NOT paintable. While some specialty “paintable silicone” products exist, standard silicone caulk will resist paint adhesion. If you try to paint over it, the paint will likely peel or flake off. If you absolutely need to paint over a silicone sealant, you must use a specialized product designed for this purpose. The caulk cure time for paint for these specialized products can vary, but generally, you’ll still need to wait at least 24 hours, and sometimes longer, for it to fully cure before attempting to paint.
- Key Takeaway: When considering painting over caulk, if you’ve used silicone, check the product label carefully. If it doesn’t explicitly state “paintable,” assume it’s not.
Other Caulk Types
- Acrylic Latex with Silicone: These are a hybrid of latex and silicone, offering better flexibility and adhesion than pure latex while being paintable. Their drying and paintable times are often similar to latex caulk, but always check the manufacturer’s instructions.
- Polyurethane Caulk: Very durable and flexible, often used for exterior applications. They cure via moisture in the air and can take 24 hours or more to become fully paintable. They offer excellent adhesion but require paint thinner for cleanup.
- Spackle/Joint Compound: While not technically caulk, these are often used to fill small gaps. They dry much faster than caulk, typically within 1-3 hours, and are ready for painting once dry.
Determining the Caulk Cure Time for Paint
The term “paintable” on a caulk tube refers to when the caulk has cured enough to accept paint without adverse reactions. This is a critical consideration for painting over caulk.
How long should caulking dry before painting? The answer depends on the caulk type and environmental conditions. Here’s a breakdown:
| Caulk Type | Surface Dry Time (Approx.) | Paintable Time (Typical) | Notes |
|---|---|---|---|
| Latex (Acrylic Latex) | 30 mins – 1 hour | 1-2 hours (minimum) | Can take up to 24 hours for full curing in humid/cool conditions. Always check the product label for specifics. |
| Silicone | 15-30 mins | Not Paintable (Usually) | Unless explicitly labeled as “paintable.” |
| Acrylic Latex w/ Silicone | 30 mins – 1 hour | 1-2 hours (minimum) | Similar to latex, check product label. |
| Polyurethane | 1-2 hours | 24+ hours | Longer cure time for maximum durability and paint adhesion. |
| Spackle/Joint Comp. | 15-30 mins | 1-3 hours | Dries very quickly, suitable for minor filling. |
Important Note on Caulk Sealant Drying: Even when a caulk feels dry to the touch, it might still be releasing moisture internally, which can affect paint adhesion. The caulk cure time for paint is about more than just surface dryness; it’s about the chemical and physical transformation within the sealant.
Testing for Paint Readiness
A simple test can help you determine if your caulk is ready for paint:
- The Finger Test: Lightly touch the caulk bead with your finger. If it feels tacky or leaves any residue on your finger, it’s not ready. It should feel firm and dry.
- The Paint Test (On an Inconspicuous Area): If you’re unsure, apply a small amount of your chosen paint to a small section of the caulk bead in an out-of-the-way spot. Let it dry for the recommended paintable time. If the paint adheres well, doesn’t crack or peel, and doesn’t discolor the caulk, it’s likely ready.
Factors Affecting Caulking Drying Time and Caulk Cure Time for Paint
Several environmental factors play a significant role in how quickly caulk dries and cures. Understanding these can help you plan your projects effectively.
1. Temperature
- Warmth Speeds Up Drying: Higher temperatures accelerate the evaporation of water from latex caulks and can also speed up the chemical curing process for other types.
- Cold Slows Down Drying: Low temperatures can significantly prolong caulking drying time. Some caulks have minimum temperature requirements for application and curing. Applying caulk in cold weather can lead to improper curing and poor performance.
2. Humidity
- High Humidity Slows Evaporation: For water-based caulks like latex, high humidity means there’s more moisture in the air, slowing down the rate at which water can evaporate from the caulk bead. This extends the caulking drying time.
- Moisture for Curing: Conversely, some caulks (like silicone and polyurethane) actually need moisture from the air to cure. In extremely dry environments, these might cure slower. However, typical indoor humidity is usually sufficient.
3. Airflow
- Ventilation Aids Drying: Good airflow, such as from an open window or a fan, helps carry away evaporated moisture, which speeds up the drying process for all types of caulk.
- Enclosed Spaces Can Prolong Drying: In poorly ventilated areas, moisture can become trapped, extending the time it takes for the caulk to fully cure.
4. Caulk Bead Size and Application
- Thicker Beads Take Longer: A larger, thicker bead of caulk has more material and surface area to dry. This means thicker beads will always take longer to cure than thinner, neatly applied ones. Caulk application tips include applying only the amount needed.
- Even Application is Key: An evenly applied bead dries and cures more consistently. Streaky or uneven application can lead to sections of caulk drying at different rates.
5. Substrate Porosity
- Porous Surfaces Absorb Moisture: Materials like unpainted drywall or wood can absorb some of the water from latex caulk, which can slightly speed up the surface drying process.
- Non-Porous Surfaces: Smooth, non-porous surfaces like tile or metal won’t absorb moisture, so the drying relies solely on evaporation or air moisture, which might take slightly longer.
Applying Paint Over Caulk: Best Practices
Once you’ve determined the appropriate caulk cure time for paint, follow these best practices for the best results:
1. Choose the Right Caulk
- Paintable Caulk is Essential: When you know you’ll be painting, always opt for a paintable caulk. Most acrylic latex caulks are paintable. Always check the label to confirm. Avoid standard silicone caulk unless it’s specifically designed for painting.
- Consider the Application: For bathrooms and kitchens, look for mildew-resistant caulk. For exterior use, choose an exterior-grade caulk.
2. Proper Caulk Application Tips
- Prepare the Surface: Ensure the gap or crack is clean, dry, and free of debris, old caulk, or paint.
- Use the Right Tool: A caulk gun with a fine-point nozzle allows for precise application. Cut the nozzle tip at a 45-degree angle to create a bead of the desired size.
- Apply a Consistent Bead: Aim for a smooth, consistent bead that fills the gap without excessive excess. Too much caulk will extend drying time and make cleanup harder.
- Smooth the Bead: Immediately after applying the caulk, use a damp cloth, a wet finger (dip your finger in water occasionally), or a caulk smoothing tool to create a neat, concave bead. This reduces the surface area and makes it look cleaner. Wipe away any excess caulk.
3. Priming Before Painting
- Primer Enhances Adhesion: Applying a thin coat of primer over the fully cured caulk can significantly improve paint adhesion and ensure a uniform finish. This is especially true for darker paint colors or if you’re using a different sheen than your wall paint.
- Use an Appropriate Primer: Choose a primer that is compatible with both the caulk and your topcoat paint. Water-based primers are generally suitable for latex caulks.
4. Painting Technique
- Thin Coats are Better: Apply paint in thin, even coats rather than one thick coat. This allows the paint to adhere better to the caulk and surrounding surface.
- Avoid Overworking the Caulk: Try not to scrub or manipulate the caulk bead excessively while painting, as this can sometimes lift the paint before it’s fully dry.
- Caulk to Paint Ratio: There isn’t a strict “caulk to paint ratio” in terms of volume. The concept is more about ensuring the paint coverage is appropriate for the caulk surface. You’re essentially painting over the caulk, so you’ll use paint as you normally would. The key is that the caulk is ready to accept the paint.
5. Multiple Coats
- Allow Drying Between Coats: If multiple coats of paint are needed, allow each coat to dry according to the paint manufacturer’s recommendations before applying the next.
Troubleshooting Common Painting Over Caulk Issues
Even with careful planning, you might encounter issues. Here’s how to address them:
Problem: Paint Peeling or Cracking Over Caulk
- Cause: Caulk was not fully cured before painting.
- Solution: Scrape off the peeling paint. If the caulk is still soft or tacky, wait longer. If it’s fully cured but the paint is failing, you may need to remove the caulk and reapply using a high-quality, paintable caulk and allowing adequate drying time. Consider using a primer.
Problem: Paint Not Adhering to Caulk
- Cause: The caulk is not paintable (e.g., standard silicone), or the surface was dirty or oily.
- Solution: If it’s standard silicone, you’ll need to remove it and use a paintable caulk. Clean the area thoroughly with rubbing alcohol to remove any residues before reapplying caulk or paint. Priming can also help.
Problem: Caulk Discolored the Paint
- Cause: The caulk leached color or chemicals into the paint. This can happen with certain types of caulk or if the caulk wasn’t fully cured.
- Solution: Scrape off the discolored paint. Ensure the caulk is completely dry and cured. Apply a stain-blocking primer over the caulk before repainting.
Problem: Uneven Finish or Texture
- Cause: Inconsistent caulk application or painting over uncured caulk.
- Solution: Smooth the caulk bead properly during application. Ensure full curing before painting. Apply paint in thin, even coats.
Frequently Asked Questions (FAQ)
Q1: How long does latex caulk take to dry before painting?
A1: Latex caulk typically becomes tack-free in 30 minutes to an hour. You can usually paint over it after 1-2 hours, but waiting 24 hours is often recommended for optimal adhesion, especially in humid conditions.
Q2: Can I paint over silicone caulk?
A2: Generally, no. Standard silicone caulk is not paintable. Paint will not adhere to it and will peel or flake off. You must use a specialized “paintable silicone” caulk if you need a paintable silicone sealant.
Q3: What is the difference between caulk drying time and caulk cure time for paint?
A3: Drying time refers to when the caulk surface is no longer wet or tacky to the touch. Cure time for paint is when the caulk has undergone its full chemical hardening process, allowing paint to adhere properly without cracking or peeling. The cure time for paint is always longer than the surface dry time.
Q4: Does humidity affect caulk drying time?
A4: Yes. High humidity slows down the drying of water-based caulks like latex because it hinders evaporation. For caulks that cure with moisture, very low humidity can slow their curing.
Q5: What are some good caulk application tips for a smooth finish?
A5: Prepare the surface, cut the nozzle at a 45-degree angle for a precise bead, apply a consistent bead, and immediately smooth it with a damp cloth, wet finger, or smoothing tool. Clean excess caulk promptly.
Q6: Is there a specific caulk to paint ratio I should be aware of?
A6: No, there isn’t a volume ratio. The focus should be on ensuring the caulk is fully cured before painting. You apply paint over the caulk as you would any other surface, aiming for even coverage.
Q7: What if I paint over caulk too soon?
A7: If you paint over caulk before it’s sufficiently cured, the paint can peel, crack, bubble, or blister as the caulk continues to dry and cure underneath.
Q8: Should I prime the caulk before painting?
A8: Yes, priming the caulk is highly recommended. It helps ensure better adhesion, a more uniform finish, and can prevent the caulk from showing through the paint, especially with lighter colors.
By following these guidelines, you can ensure that your caulking is properly dried and cured, leading to a professional and long-lasting painted finish. Always refer to the manufacturer’s instructions on the caulk packaging for the most accurate caulking drying time and paintability recommendations.